Полная версия
The Batch Lady
This means that at the end of the hour you will have a double portion of each of the five meals ready to be portioned up and frozen for later. That’s a total of 40 individual servings made in 1 hour! Below are some tips to get you started …
SHOPPING FOR INGREDIENTS
Once you have decided which of the 10-meals sections you want to cook from, simply check the shopping list for the entire batch against what you already have in your cupboards.
If I’m planning to cook one of these menus, I will often do an online shop and have it delivered just before I want to start cooking. That way, I can simply arrange everything on my sides ready to go without having to put it all away first then having to dig through my kitchen to extract it all again later.
PREPPING YOUR KITCHEN
Before you embark on one of these mammoth cook-offs, you will want to make sure that your kitchen is clean and that your countertops are clear to arrange your ingredients on. It’s a good idea to make sure your food-waste and recycling bins are empty as well as your dishwasher, if you have one – that way you can tidy as you go. I also fill my sink with hot, soapy water so I can quickly wash my utensils as I use them, ready for reusing. I find it helps to have kitchen cleaner and fresh tea towels on hand so that I can quickly wash down the sides as I hop between prepping meals. This also avoids having a huge mound of washing up to tackle at the end!
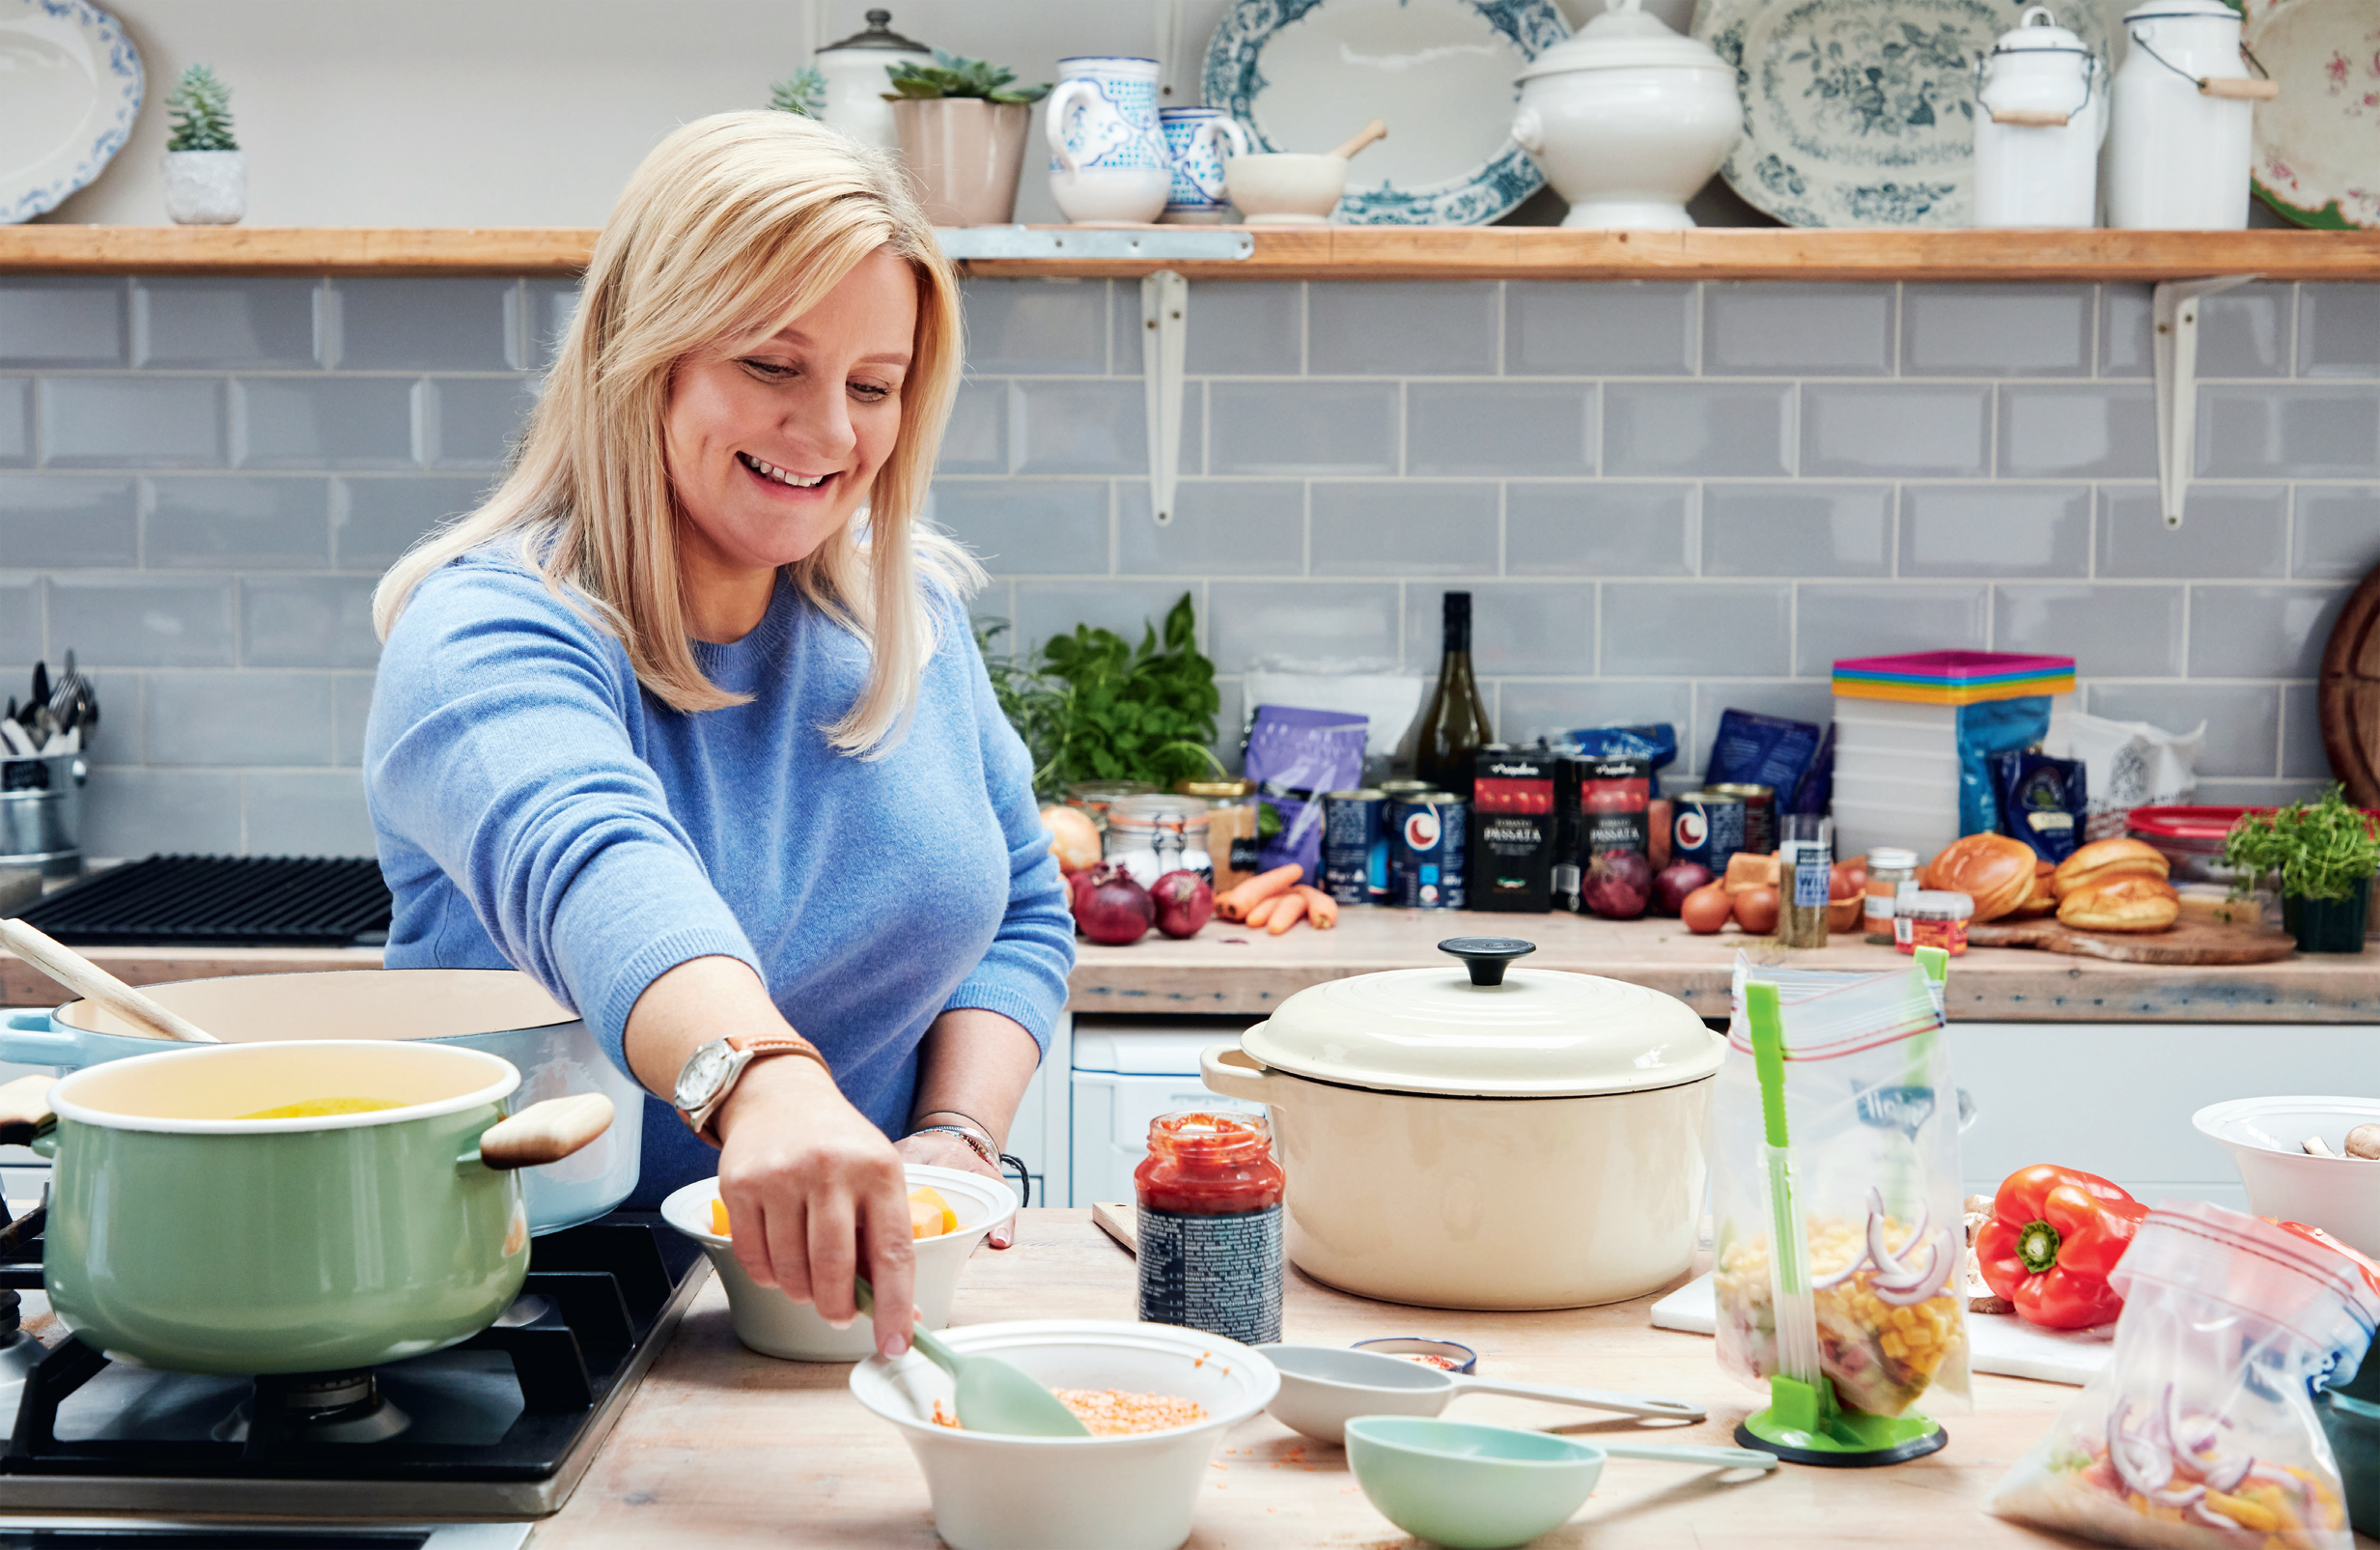
Once your kitchen is ready to go, it’s a good idea to lay out all of the equipment that you will need – that way you won’t be scrabbling through the cupboards trying to find a pan or utensil halfway through a recipe. Don’t forget to have a supply of freezer bags and a pen for labelling to hand, too, so that you can bag up your wares ready for freezing at the end of each recipe.
SETTING OUT YOUR INGREDIENTS
In each 10-meals section, you will find an individual list of ingredients for each of the recipes you will be making, in the order that you will be making them. Make clearly-defined piles of ingredients according to each of these lists, that way you can easily jump back and forth between each recipe without wondering which pile of onions is for which recipe! If you have the space, leave the work surface directly around your stovetop clear to use during the actual cooking, then set the piles of ingredients out so that the pile closest to you is for the first recipe that you will be making, and so on.
BE REALISTIC WITH YOUR TIME
Don’t be disheartened if it takes more than an hour the first time you attempt to make one of these menus. Like anything new, it can take a little practice to get the hang of but, believe me, once you’re in the swing of it, each time will be quicker. Because I have made them so many times, I can now cook some of the menus in just 30 minutes!
A top tip for cooking these menus is to choose a time when the house is quiet and you won’t get distracted. When my kids were small, I would batch when they were at nursery, now they are teenagers and sleep late on Sunday mornings, I now batch for the week ahead then.
FILLING YOUR FREEZER
If you want a variety of dishes in your freezer and prefer not to cook from scratch at all mid week, then I suggest cooking one of these 10-meals sections every few weeks. I make a 10-meal batch every second Sunday, and if I cooked the fish batch last time, then I will do the chicken batch next. That way, I always have variety of different foods in my freezer.
THE BATCH LADY LARDER
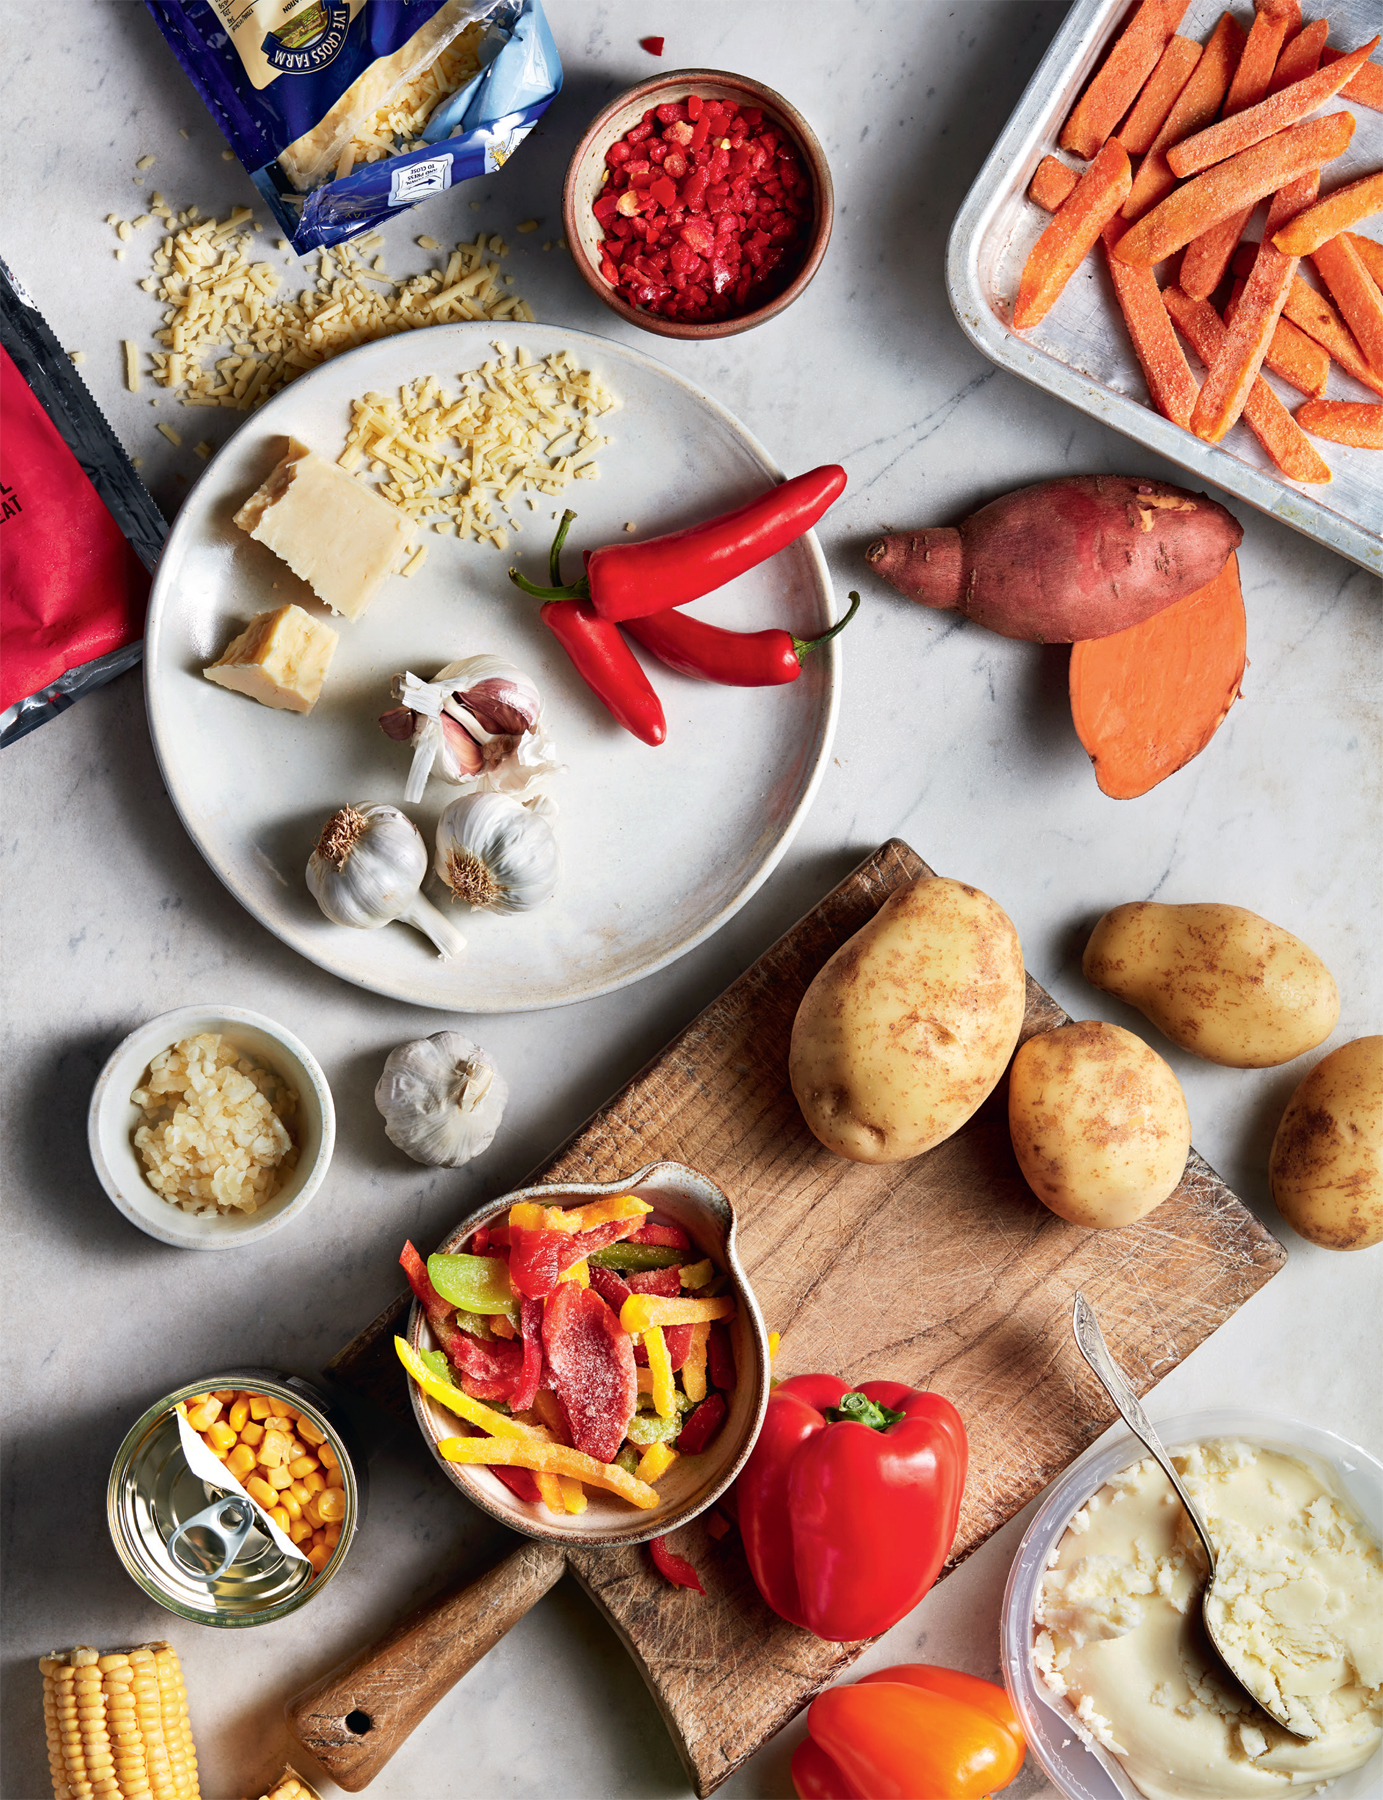
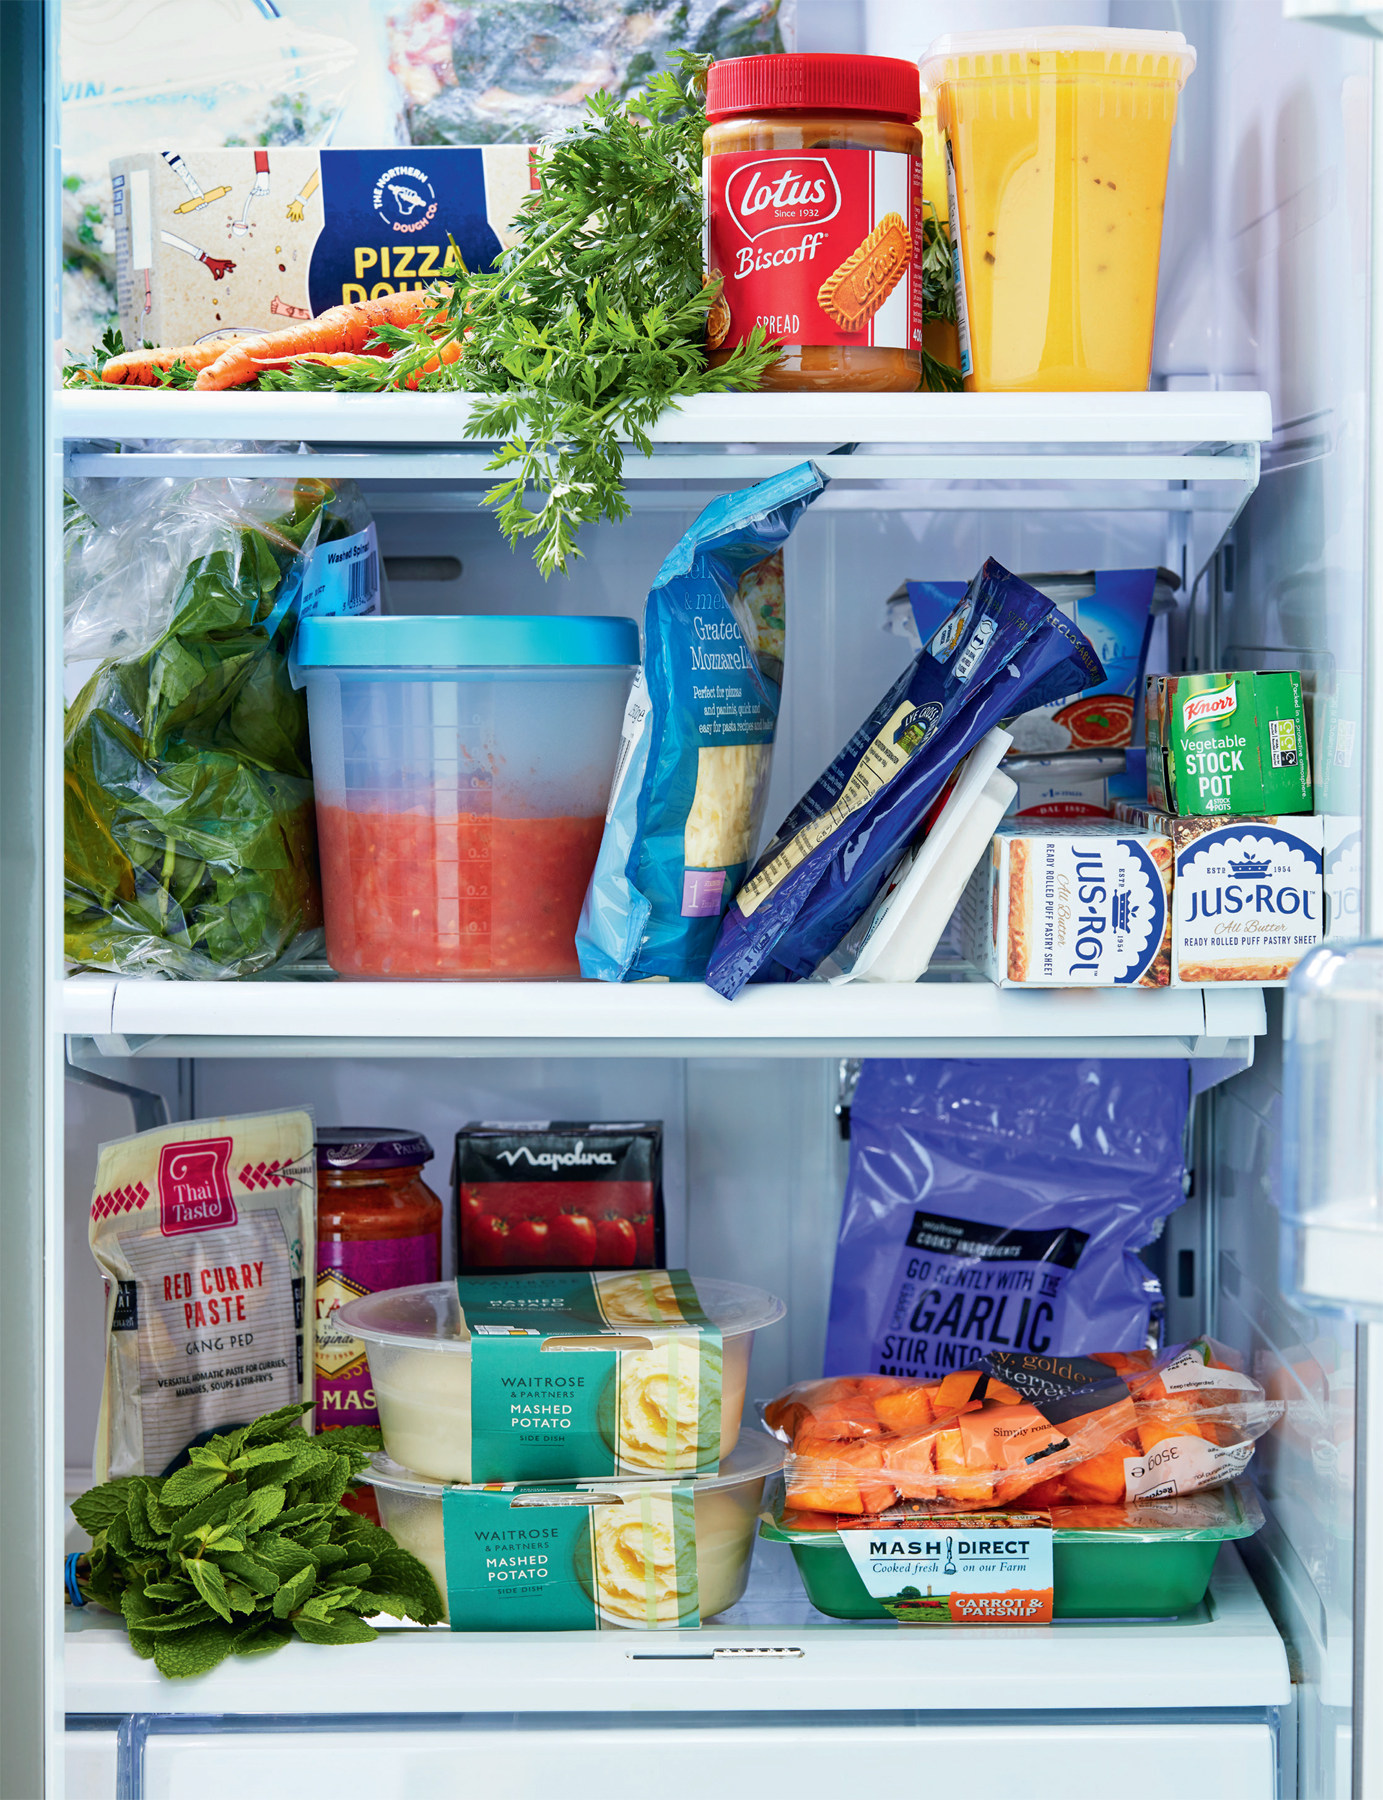
You will notice as you go through this book that I use many different ingredients, from ready-made, shop-bought mash to frozen veg and herbs. I’m all about time saving so I want the fastest way to make a meal – if it requires something shop bought, then so be it. I figure that my made-in-advance, home-cooked meal with the odd shop-bought ingredient is much better than me not cooking at all.
EASY CHEATS
‘Cheats’, as I like to call them, are my saving grace. I’m a big believer that experts generally know best. If my dishwasher is broken then I call a plumber – I would never attempt to fix it myself! The same applies if I need to use pastry in a recipe – I leave it to the experts and simply buy the ready-rolled variety. It saves me time and stress. It’s quicker, I know the recipe will work and I won’t waste any ingredients. (Besides, I’m rubbish at pastry!)
That said, I’m a no judgment type of gal. If you want to make your own mash or pastry, then by all means go ahead. If you prefer to chop fresh onions instead of buying frozen, then do. Just remember that it will take longer to make the recipe than it would if you used the ‘cheats’ listed.
PASTES
I tend not to use many jarred sauces, but I do love concentrated pastes as they really pack a punch of flavour, especially curry pastes. When I am feeding my family, it’s really important that the meals I serve taste the same every time that I make them – kids really notice if a recipe is different from the last time – and pastes are brilliant for this. I’m not an expert in Thai or Japanese cuisine, and this is another example of a time that I would rather leave it to the professionals! From a health standpoint, concentrated pastes are generally a lot better to use than large jars of ready-made sauces, which can have lots of hidden sugars.
CHOPPED, FROZEN VEGETABLES
I’m a huge advocate of pre-chopped, frozen vegetables for many reasons. Obviously, they save a lot of time as someone else has done the hard work for you but they are also usually packed and flash frozen within an hour of being picked, so they retain all their healthy nutrients. They are also often cheaper than fresh, which, given the work that has already been done for you, still astounds me. They will keep in the freezer for ages, so you don’t have to worry about using up the veg languishing in the back of the veg drawer and you always have a ready on hand.
The one downside is that they come in plastic packaging, but many fresh vegetables nowadays do too. The good news is that the frozen-food industry has pledged to go plastic-free and is looking to change packaging.
The only two vegetables that I prefer to use fresh are broccoli and mushrooms, as they just don’t freeze well. Otherwise, I’m a freezer fan all the way!
If you prefer to use fresh veg, then go ahead – just be aware that the meals will take longer to prepare because of the extra chopping and peeling involved.
CHOPPED, FROZEN HERBS
Fresh herbs are so lovely, but they’re expensive and have a short shelf-life. Because of this, I always have a ready supply of frozen herbs in my freezer which are cheaper than fresh and keep for as long as you need them. Most supermarkets have a good range of frozen herbs but, if you can’t find them where you live, just substitute them for fresh or dried.
READY-MADE MASH
This is my biggest time-saver of all, and I have to say I’m a huge fan! Ready-made mash isn’t just convenient, it also freezes far better than homemade, which has a tendency to separate and become watery in the freezer. Store-bought, ready-made mash has been made in a large churner, so tends to keep its lovely, fluffy texture once frozen and defrosted.
READY-ROLLED PASTRY
Ready-rolled pastry is a great time saver and, most importantly, it always works! It also freezes really well. If I’m making a chicken pie, for example, I simply freeze the pie filling alongside a roll of puff pastry, then reheat the filling in the oven, with squares of puff pastry alongside. Everyone gets a spoonful of pie filling crowned with a beautifully puffed, golden square of puff pastry. All the joy of a pie without any of the hassle!
READY-ROLLED PIZZA DOUGH
Shop-bought pizzas are expensive and often disappointing. Making your own at home is easy, fun for the kids and you have complete control over the toppings! I use packs of ready-rolled pizza dough, which are great for making pizzas and also my Calzone recipes.
STORECUPBOARD INGREDIENTS
As well as the ‘cheats’ that I always fall back on, I always keep my cupboards stocked with a few essential ingredients that are versatile, store well and are packed with flavour.
DRIED HERBS AND SPICES
Jars of dried Italian seasoning, mixed herbs or oregano are great to have on hand. I use these in a lot of my recipes, so it’s good to get the large jars if possible. I also use a lot of fajita or taco seasoning to add instant spice to any Mexican or Cajun-inspired dishes, such as the Cajun Pork Steaks here. You can buy the seasoning in individual sachets or jars and it’s a good idea to stock up on a few so that you always have a ready supply on hand.
STORECUPBOARD SUNDRIES
The other essentials that pack a lot of bang for their buck and, therefore, crop up a lot in my recipes are Worcestershire sauce, olive oil, tinned tomatoes, passata and condensed soup.

ESSENTIAL KIT
As you work through the recipes in this book, you will see that there are certain tools that are used time and again to speed up the batching process. In truth, there are only a couple of things that are really essential, but it is worth investing if you are going to be adopting this way of cooking.
MEASURING CUPS
Cups are a brilliant time-saver as they save all the time spent painstakingly weighing your ingredients. Instead, you can simply scoop the ingredients into the right-sized cup and pop it straight into your dish. I have listed cup measurements first in all of my recipes (though there are of course gram measurements, too), to try and get you into this way of thinking. It’s important to be aware that 1 cup is a standard measurement, so don’t just grab the mug that you make your morning coffee in! What you really need is a set of large measuring spoons in cup sizes. They are available from my website (details here) and other retailers. For more information on using cups, see here.
FREEZER BAGS
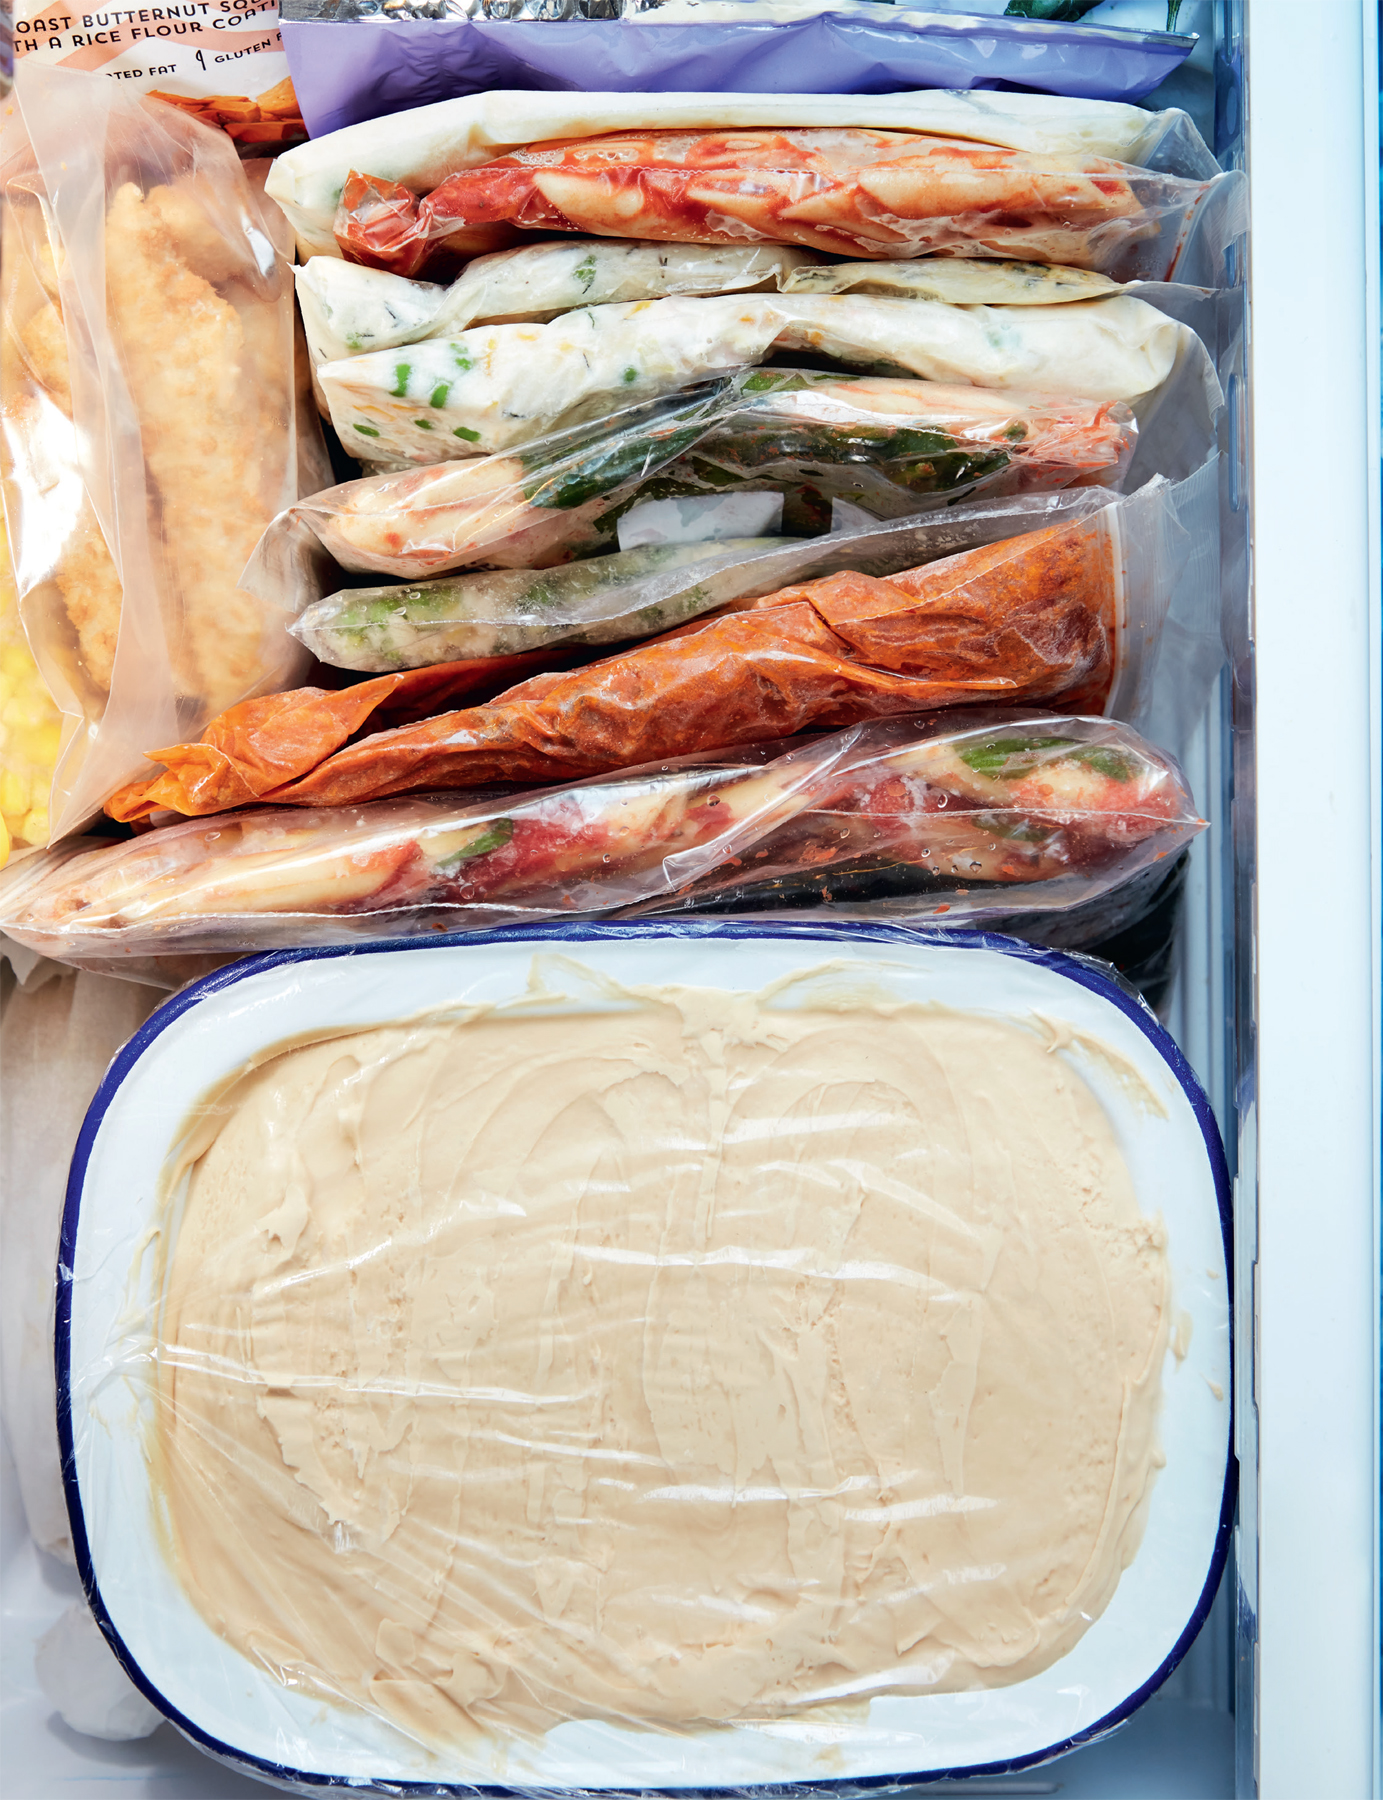
Freezer bags are great space savers, as you can freeze everything flat and thus get more in. They also prevent freezer burn as you can take all the excess air out of the bag before sealing. Lastly, they help food defrost quicker as they are thin and flat, so you don’t end up with a huge block to defrost as you would do using a tub. Most brands are now washable and reusable so no need to feel bad about using too much plastic!
MARKER PENS
Great for writing on your bags and won’t rub off in the freezer, so you never end up with a UFO (Unidentified Frozen Object!) Ensure you label everything as it all looks the same once frozen.
TWO LARGE COOKING POTS
‘Go big or go home’ is a saying that comes to mind. You will need some large pots and, if you’re going to invest in anything for batching, I’d say good, stainless steel pots that can go from your stove top to oven should be at the top of your list!
TWO LARGE BOWLS
Much like the pots, these are good to have, and will be used throughout most of these recipes.
GLASS DISHES WITH PLASTIC LIDS
I cannot recommend these highly enough, they transition from freezer to oven perfectly – just take the lid off and pop it straight in the oven. They also look good so you can put them in the middle of the table and serve your meals straight from the dish. I use these when I am batching fish pies, enchiladas, pasta bakes etc. I recommend Pyrex dishes as the best for freezing.
Finally, the following kitchen items are always good to have on hand: knifes, chopping boards, foil, Tupperware, scissors. If you get into batching and are using freezer bags a lot, then I would also recommend a set of ‘baggy holders’ that help hold your bags open. These are available from my website and other online retailers.
GET ORGANIZED!
Planning what you are going to eat during the week ahead may seem laborious, but it saves time, money and waste, and often means that you eat a greater variety of food and that that food is more healthy. In fact, planning and writing down the meals that you want to make means you are much more likely to actually make those meals. Writing a meal plan can be daunting and many people struggle for inspiration the first few times, so below are some tips to help you get started.
HOW TO MEAL PLAN
There are many different ways to write your meal plan, from physical boards that hang in your kitchen to apps that you can carry with you on your phone. I like to use an old-fashioned board, however, as it helps me to have my list of meals for the week ahead hanging in my kitchen. This also means that the family knows what they will be eating ahead of time, which helps avoid mutterings of dissent if they’re surprised with a meal that’s not their favourite!
When starting to write my meal plan, I look at my diary for the week and work the plan around that. If I know that I’ll be ferrying the kids around to various afterschool activities on Tuesday, then I’ll make sure to plan something quick and easy for then. If I’m in the house all day on Thursday, but tied up with work, I’ll plan something that I can pop in the oven and forget about for a few hours. I like to start by thinking about which proteins we will be eating throughout the week to ensure they are varied. An example week might look like this:
Monday: Meat-free
Tuesday: Beef
Wednesday: Fish
Thursday: Chicken
Friday: Fakeaway
Once I know my schedule and have the basic outline of which proteins we will be eating on each day, I start to think about the specific meals that I will cook. So, following the breakdown that I have outlined above, the weekly menu might look like:
Monday: Spanish Omelette
Tuesday: Shepherd’s Pie
Wednesday: Thai Sweet Potato Fishcakes
Thursday: Spinach & Ricotta Stuffed Chicken
Friday: Calzone
If you are vegetarian, I would suggest taking a similar approach to ensure that you are eating a variety of foods throughout the week. Plan your menu so that you are focusing on one main ingredient, such as potatoes, beans or pulses, on each night, then add in the usual Friday-night curry or fakeaway. A well-balanced weekly vegetarian meal plan might look like this:
Monday: Baked Spinach Ziti
Tuesday: Chilli Bean Burgers
Wednesday: Spanish Omelette
Thursday: Oven-baked Mushroom Risotto
Friday: Thai Red Sweet Potato Curry

PLANNING FIVE DAYS OUT OF SEVEN
You will notice that I only ever plan my meals Monday-Friday. This is because, no matter how well you plan, there are always hiccups along the way and plans inevitably change throughout the week, meaning that food could potentially be wasted. By building in a two-day buffer, you can swap one or two of the meals to the weekend without wasting any food. If everything goes to plan, then then weekends are generally the time when you have a bit more time in the kitchen to cook something from scratch, or might eat out, so this gives you the freedom to still do that.
HOW TO USE YOUR FREEZER
Your freezer is the kitchen equivalent of an on-demand TV. Nowadays, very few people will sit down and watch their favourite show at the time it is airing – we record it or watch it on catch-up at a time that suits us. Used properly, your freezer can do just the same for your food, meaning that you can make your meals ahead of time then pull them out and defrost them later at a time that suits you.
NOTES ON FOOD SAFETY
Your freezer should not be the place where old leftovers go to live until you finally throw them out. You want to make sure than you are using what you freeze and constantly refreshing your freezer with fresh, in-date food.
When you batch cook it’s important to maintain good kitchen hygiene at all times to help reduce the transfer of bacteria. This is simple to do, just make sure that your surfaces are cleaned with antibacterial spray before you start and always be aware of what you are touching, ensuring that you wash your hands thoroughly between touching raw and cooked foods.
Always do a quick clear up of utensils, pots and pans as you finish each recipe, making sure to also spray and wipe clean your surfaces – this is not only important from a hygiene point of view, it will also make the end clean down much quicker!
When working with chicken, do not rinse it first. Washing chicken in your home can easily spread bacteria. Simply use the chicken straight from the packet.
TIPS ON FREEZING
Always leave food to cool to room temperature before packaging to freeze. Wrapping your food in clingfilm and foil, or storing in freezer bags, reduces the chance of freezer burn.
If you are using glass dishes or plastic tubs, try to fill them to the top, leaving a small space for expansion – using a dish that is too big will leave the food exposed to air, causing freezer burn.
When packaging anything for the freezer, it is vital that it is labelled with the recipe name, the date and whether the food is raw or cooked. I also add cooking instructions to my labels so that I can refer to the label after defrosting my food.
It is important to freeze meals fast, as food starts to deteriorate the second it is made. As soon as a meal has cooled, package it up and transfer to the freezer. If you are freezing flat in freezer bags, try not to pile up lots of unfrozen meals on top of each other as this will prevent air from circulating and they will take longer to freeze. You can pile them up once they’re frozen.
If you are scaling a recipe up, freeze the food in multiple batches. This means that you can remove the meals from the freezer a portion at a time. Large batches take much longer to defrost and can result in food wastage.
TIPS ON DEFROSTING
Many meals in this book can be cooked from frozen – just check the bottom of each recipe for instructions, though in general it will take 50 per cent longer than cooking from defrosted.
As a rule, I don’t cook chicken from frozen. From a safety standpoint, raw chicken should not be cooked from frozen at all. Chicken that has been frozen cooked can, in theory, be safely cooked from frozen, but I still prefer to defrost it first and make sure it’s piping hot before serving, and advise you to do the same.
There are three main ways to defrost food:
IN THE FRIDGE
Current guidelines recommend defrosting food in the fridge overnight. It is best to put thawing food in a dish to catch any water run-off. Defrosting in your fridge can take a long time, especially if you have frozen something in a large container. With this in mind, I like to combine this way with the water method, below.
IN COLD WATER
Make sure that the container your frozen food is stored in is watertight, then place it in a basin of cold water (never use hot!) Doing this speeds up the defrosting process. And makes for a very quick defrost if you have frozen meals flat in freezer bags.
IN THE MICROWAVE
Most microwaves have specific defrosting programmes, so just follow the manufacturers’ instructions for your specific brand, remembering to stir your food a few times as it defrosts.
TAKING THINGS OUT OF THE FREEZER
I get so many messages from people asking how I remember to remove meals from the freezer. The secret is to make it a regular part of your daily routine. I set a reminder alarm on my phone that goes off at 6pm (the time that I serve dinner every evening) – I’m in the kitchen anyway, so I simply grab the next night’s meal out of the freezer when the alarm goes off.
STORING MEALS IN THE FRIDGE
Once cooked, most meals will last for 3–4 days in the fridge, so, if batching at the weekend, you can keep the meals for the first half of the week in the fridge, then freeze the remainder.
If you have defrosted a meal you should eat it within 24 hours of it being fully defrosted
SMALL FREEZER STORAGE
You can still batch cook even with a small freezer! If you’re challenged for space, I suggest freezing meals flat in bags, you may have to fold the bag over slightly to get it to fit into the drawer space, but you can store a lot of bags in this way. In a three-drawer freezer, I keep one drawer for frozen veg and herbs (and ice cream!), then the other two drawers are free to fill with batched meals.
USING CUPS
Throughout this book you will see that the measurements for ingredients are listed in cups first. I use cups for one reason only – they make cooking faster! They can also be used for stirring and even serving up a meal. I have also included gram and millimetre measurements in my ingredients lists, but for reference volume equivalents for cups are listed, right:
1 cup/240ml/16 tablespoons
¾ cup/180ml/12 tablespoons
⅔ cup/160ml/11 tablespoons
½ cup/120ml/8 tablespoons
⅓ cup/80ml/5½ tablespoons
¼ cup/60ml/4 tablespoons
PORTIONING MEALS WITH CUPS
Doubling or tripling a recipe is a great way of working when you are batch cooking, and is something I recommend, but, when faced with an enormous vat of food, it can be difficult to gauge how many people it will actually serve.
Using measuring cups to portion out meals can help with this. The general rule is that one level cup of scoopable food (Bolognese/curry/stew etc.) will feed one adult, whereas half a cup should be enough to feed a child under 10 years old.


