Полная версия
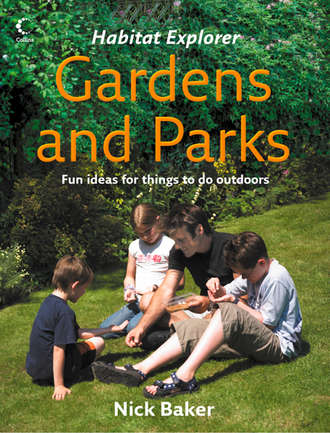
Gardens and Parks
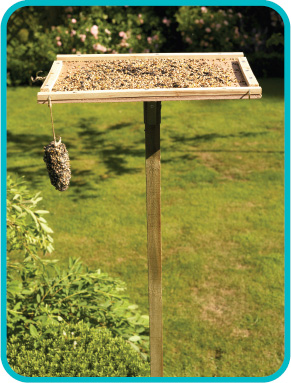
YOU WILL NEED
> 35 x 50cm piece of marine or exterior quality plywood, a minimum of 1cm thick
> 130 x 1 x 1cm batten cut into two 25cm lengths and two 40cm lengths
> 2cm galvanized wood screws
> Phillips screwdriver
> Water-based wood preservative and paintbrush (optional)
> 4 cup hooks
> 1.8m wooden post with a flat top and a sharp end
> 4 angle brackets
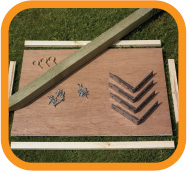
1 The piece of plywood is the feeding platform and to this you need to attach the edging strips, two of which are a little shorter than the shorter sides of the plywood to give you gaps in the corners for making it easier to sweep clean. They also allow rainwater to drain off.
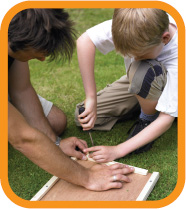
2 Screw the edging strips to the board. Use at least two screws on each short strip and three on the longer edges. At this stage, you can paint and protect the bird table with a water-based preservative, which will stop the wood rotting.
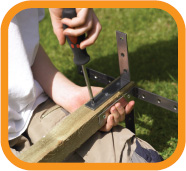
3 Now attach your table to the post using the angle brackets, screwing the brackets to the post first.
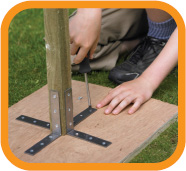
4 Screw the brackets to the bottom of the feeding platform. You could also attach some hooks to the post and to the corners on the underside of the table to hang seed feeders and bird cakes from. Choose the location for your bird table and drive your post into the ground as far as it will go, with a minimum of 40cm under the ground’s surface. You can now coat this with wood preservative too.
Make a deluxe bird bath
It’s good to provide water for your birds near the feeders. Let’s face it, would you want to eat buckets full of cereal or crisps without a drink to wash it all down? Birds will not only want to drink regularly but they also need to wash and keep their feathers clean.
The best way of providing water is an old tray, dish or dustbin lid filled with water. Pop a rock or a branch in it so your visitors have somewhere to perch too. In the winter it is even more vital to provide water, but you must make sure the water doesn’t freeze over. Break up any ice that forms as soon as possible. Alternatively, make this handsome bird bath with just a few ingredients.
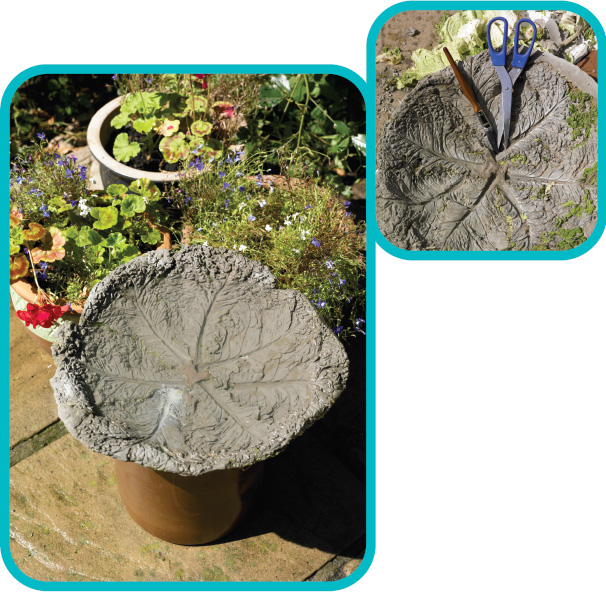
When you first turn over your bird bath there may be bits of cabbage stuck in it. Either cut them out with scissors or let nature take its course and they will soon shrivel up and die.
YOU WILL NEED
> a board
> 5kg bag grit sand
> big cabbage
> 5kg bag ready-mix cement
> water
> an old bucket
> stick
> rubber gloves
> polythene sheet (or plastic bag)
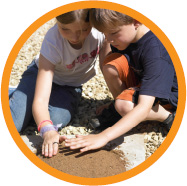
1 First tip out the sand onto the board and make a mound out of it. The mound represents the depth and the size of your bird bath, so use your imagination.
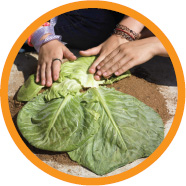
2 Now cut the leaves off your cabbage, keeping them whole. Place them over the sand mound with their stems meeting in the middle.
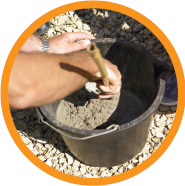
3 Empty the bag of cement into the bucket and add water according to the instructions on the bag. Stir it thoroughly with a strong stick.
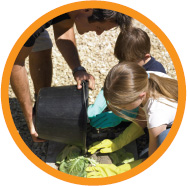
4 Pour the cement mix onto the top of the cabbage leaves and then, wearing the rubber gloves, spread it over the mound to a depth of at least 3cm.
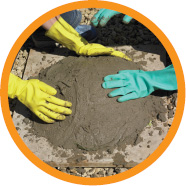
5 Make sure the cabbage leaves, and any sand that is showing through the leaves, are well covered with the cement. Then smooth the top of the cement to a round or flat shape, depending on what you’re going to stand the bird bath on when it’s finished.
Конец ознакомительного фрагмента.
Текст предоставлен ООО «ЛитРес».
Прочитайте эту книгу целиком, купив полную легальную версию на ЛитРес.
Безопасно оплатить книгу можно банковской картой Visa, MasterCard, Maestro, со счета мобильного телефона, с платежного терминала, в салоне МТС или Связной, через PayPal, WebMoney, Яндекс.Деньги, QIWI Кошелек, бонусными картами или другим удобным Вам способом.


