
Полная версия
Marcus Everyday
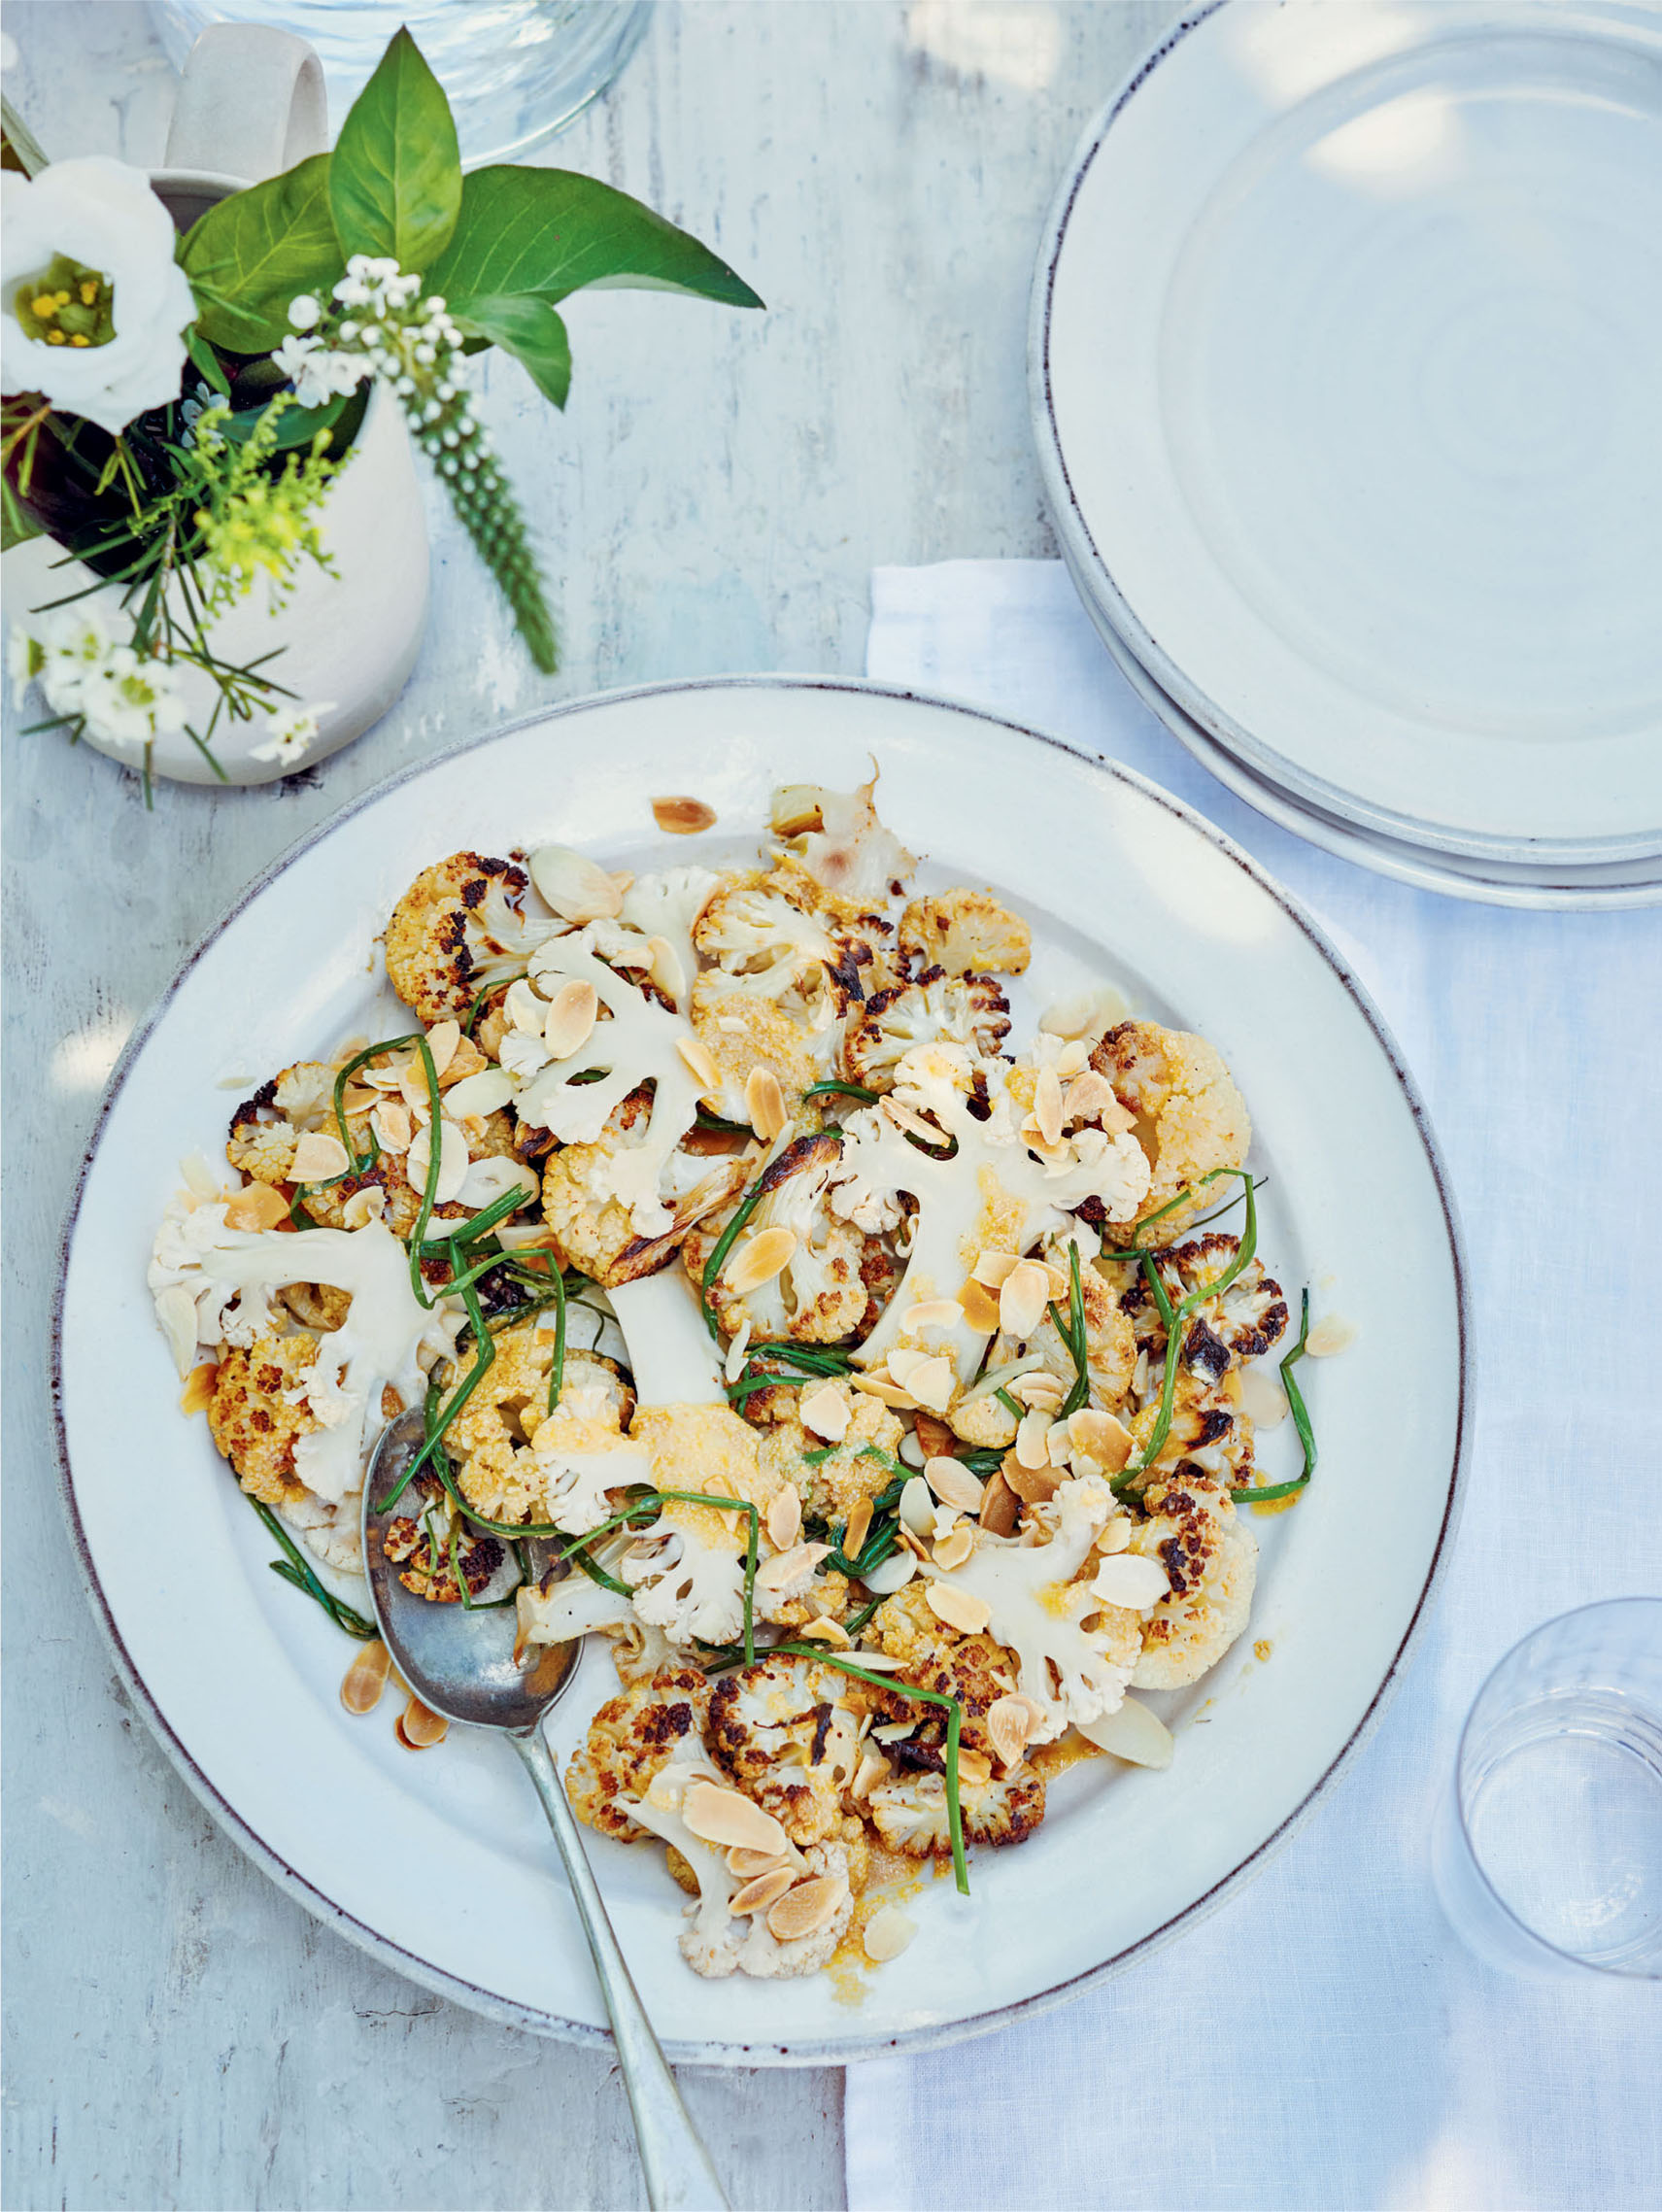
Roasted and Pickled Cauliflower Salad with Almonds and Chives
One of the most versatile vegetables around, the humble cauliflower is also a hardy plant (as well as being very attractive to caterpillars, we’ve found). I like the combination of the nutty, roasted cauliflower in this dish with the sour zing of the pickled cauliflower, which you can prepare up to 12 hours ahead. The toasted almonds also add a richness to the dish and the chives bring a refreshing oniony hit.
SERVES: 4 | PREP TIME: 20 MINUTES | COOKING TIME: 30 MINUTES
2 heads of cauliflower, leaves removed
60g butter, cubed
½ bunch of chives, cut in half
sea salt and freshly ground black pepper
FOR THE PICKLING LIQUOR
2 tbsp demerara sugar
125ml white wine vinegar
2 cloves
FOR THE ALMOND BUTTER
120g flaked almonds
3–5 tbsp olive oil
1 Cut each cauliflower head in half, top to bottom and through the core. Cut 12 thin slices from both the halved (flat) edges, about 3mm in thickness. Cutting through the stem, cut the rest of the cauliflower into florets. Place the thin slices in a large, shallow heatproof dish.
2 To make the pickled cauliflower, put the sugar, vinegar and cloves in a small saucepan, bring to the boil and boil for 2 minutes. Remove from the heat and pour the pickling liquor over the thin cauliflower slices. Cover with clingfilm and set aside while you roast the remaining cauliflower and make the almond butter.
3 Preheat the oven to 220°C/200°C fan/gas 7.
4 Place the cauliflower florets in a large roasting tray and scatter the cubed butter on top. Season generously with salt and pepper and cover the entire tray with foil. Bake in the oven for 12 minutes, remove the foil and continue to bake for a further 20 minutes, basting the cauliflower with the butter twice during the cooking time, until the cauliflower florets are golden and tender.
5 To make the almond butter, put the flaked almonds in a roasting tray and bake in the oven for 7–8 minutes, until dark golden, shaking the tray halfway through. Remove from the oven, set 20g of the roasted, flaked almonds aside, then put the remaining 100g in a blender with the olive oil and blitz until they reach the consistency of loose nut butter. Season well.
6 When the cauliflower florets are cooked, place them on a large serving platter. Add the chives to the roasting tray and place back in the oven for 1 minute, to gently wilt them, then spoon them over the cauliflower. Drizzle the almond butter over the top and top with the pickled cauliflower slices and reserved toasted almonds.
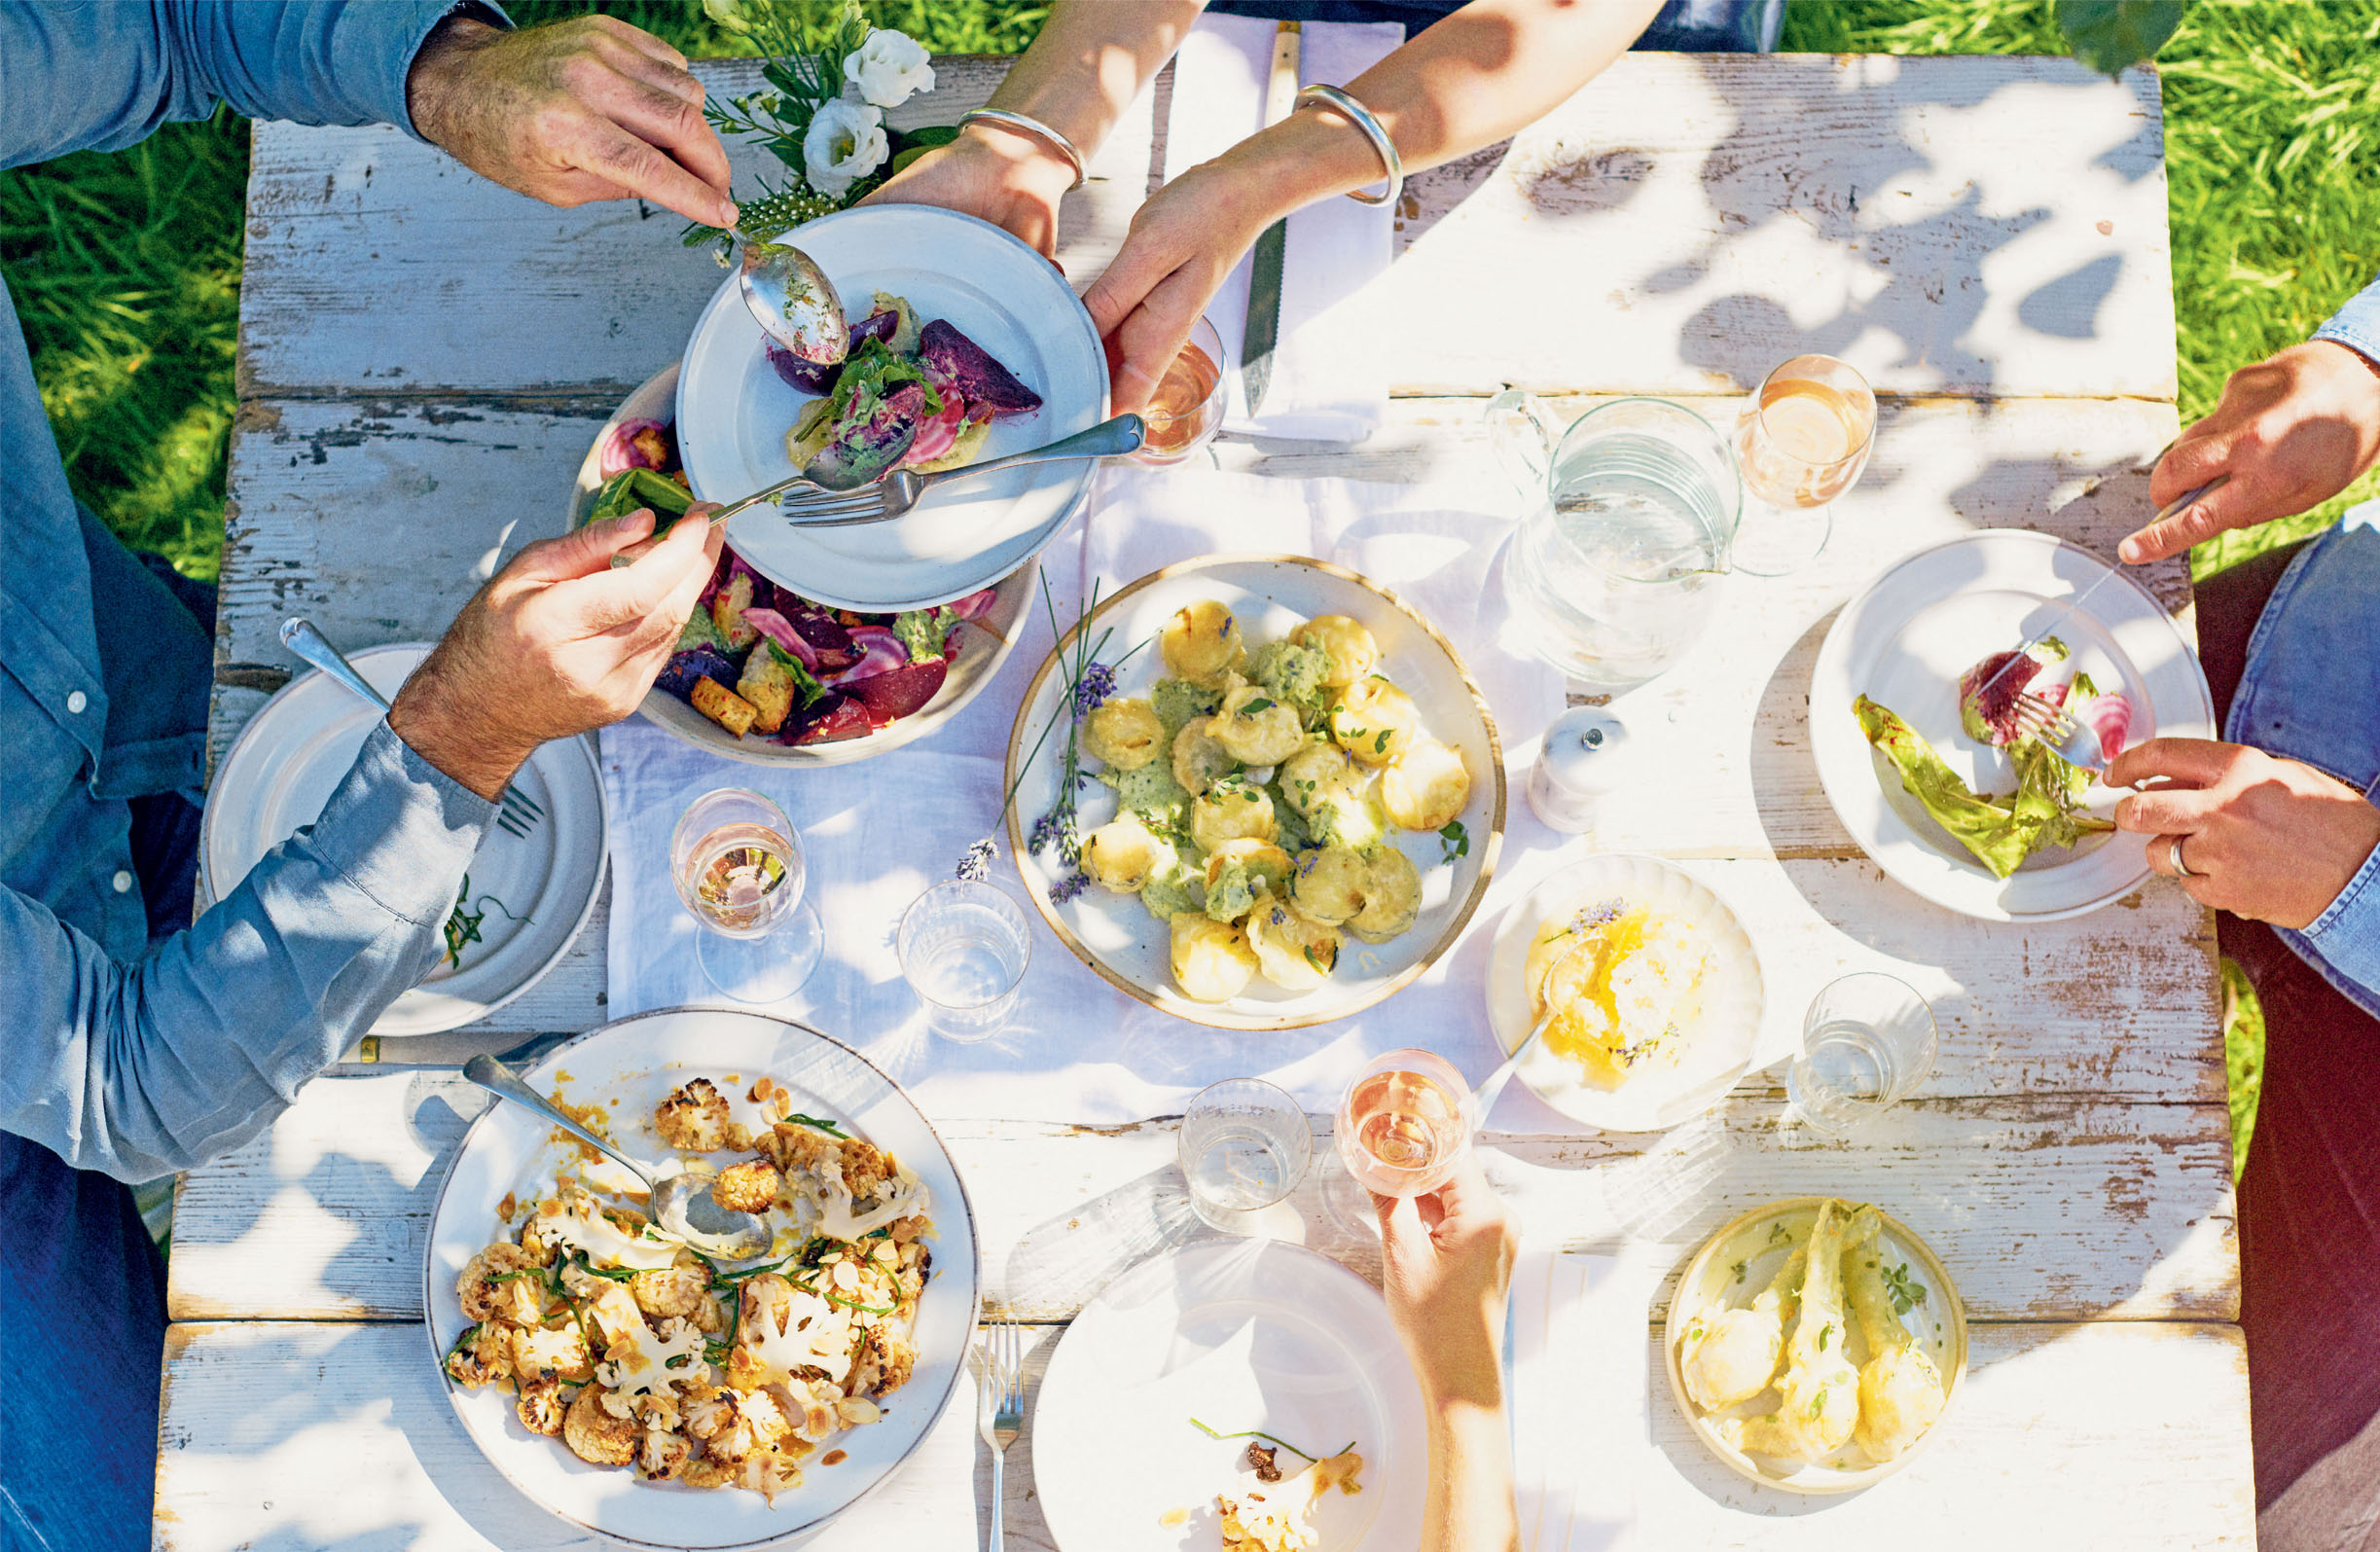
Crispy Courgettes with Goats’ Cheese and Lavender Honey
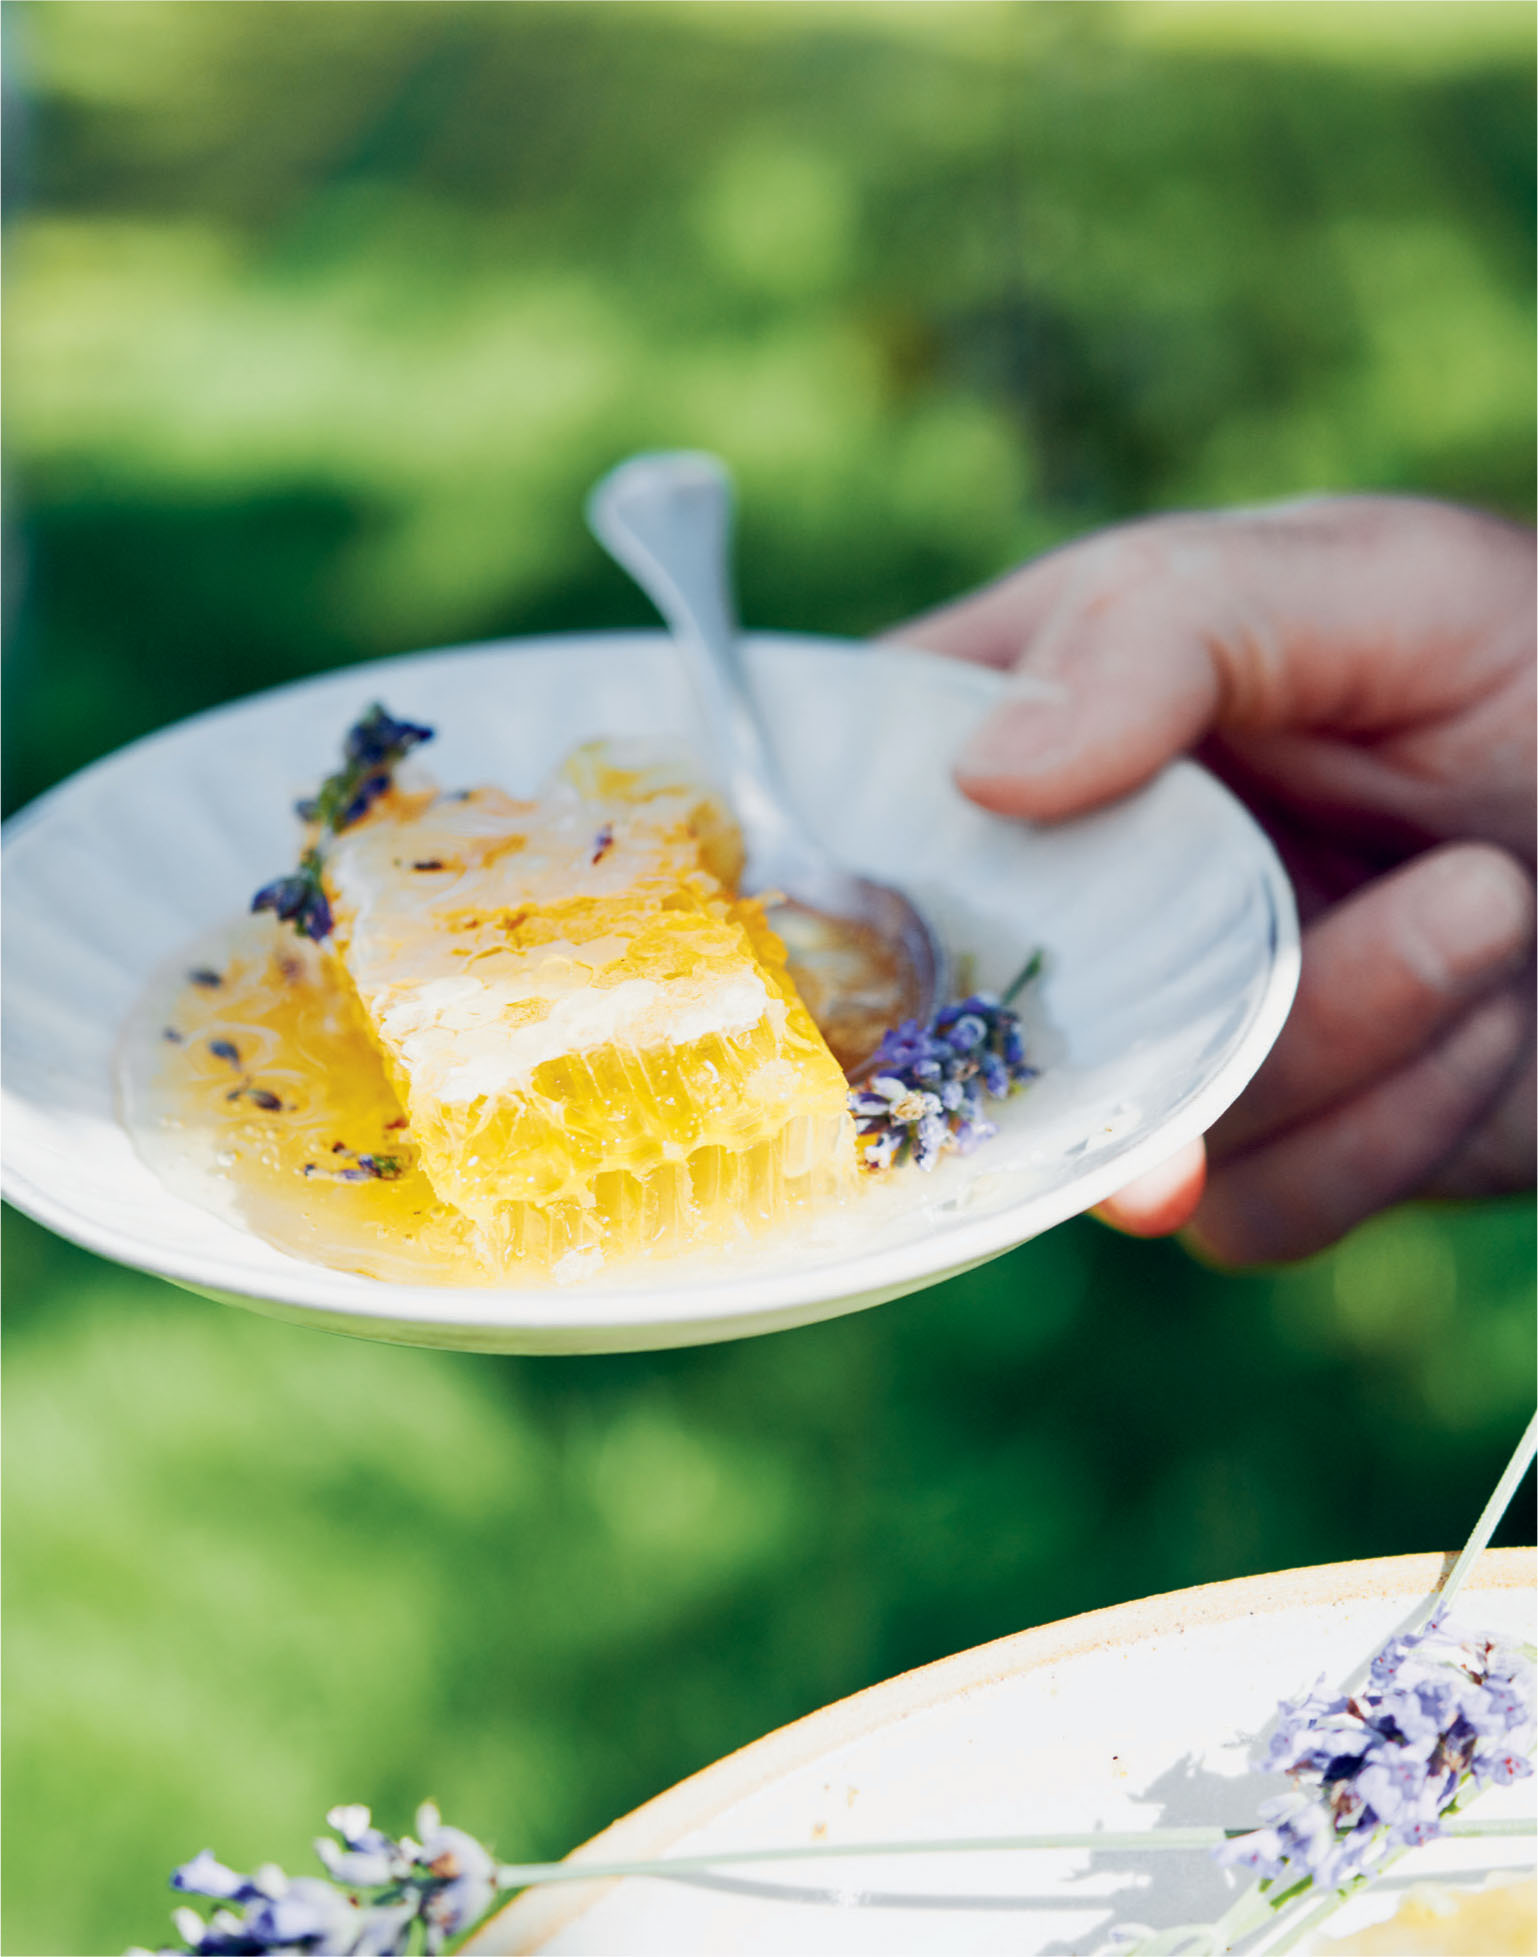
Courgettes seem to grow in abundance in my garden, especially in prolonged heat, like we had in summer 2018, when I ended up with quite a few marrows as I didn’t pick them soon enough. I enjoy using the plants’ flowers too, which I stuff with this goats’ cheese mix, coat in batter and fry.
SERVES: 4 AS A STARTER OR SNACK | PREP TIME: 20 MINUTES, PLUS OVERNIGHT INFUSING | COOKING TIME: 25 MINUTES
200g soft goats’ cheese
1 tbsp finely chopped marjoram or oregano
grated zest of ½ lemon
4 courgettes, cut into 5mm-thick rounds
vegetable oil, for deep-frying
sea salt and freshly ground black pepper
FOR THE LAVENDER HONEY
6 tbsp runny honey
2 heads of lavender flowers
FOR THE TEMPURA BATTER
100g cornflour
100g plain flour, plus extra for dusting
generous pinch of salt
130–140ml soda water
1 The day before you want to make and serve the dish, place the honey in a small clean jar. Break up the lavender flowers and add them to the honey. Cover and leave in a warm place to infuse.
2 Put the goats’ cheese, marjoram or oregano, lemon zest and a pinch each of salt and pepper in a small food processor and blitz (or put them in a bowl and use a stick blender) until semi smooth.
3 To make the tempura batter, mix the cornflour and flour together in a bowl with the salt. Gradually whisk in enough of the soda water to make a thick batter.
4 Pour enough vegetable oil into a deep saucepan or deep-fat fryer to come up to about 5cm and place over medium heat. If using a deep-fat fryer or if you have a thermometer, heat the oil to 170°C. If not, to check the oil is at the right temperature, drop a 2–3cm cube of bread into the hot oil – it should turn golden and crisp in 1 minute.
5 Season the courgette slices with salt then dust them with flour. One by one, dip them in the tempura batter and, straight away, carefully place them in the hot oil. Fry in batches for 3–4 minutes until golden and crisp. Remove with a slotted spoon, shake off any excess oil and transfer to kitchen paper. Season again with salt while they are hot.
6 Place the fried courgettes on a large serving plate and dollop the goats’ cheese on top, then drizzle with the lavender honey. Serve immediately, while they are hot and crispy!
MARCUS’ TIP:
If goats’ cheese is not to your liking, soft cream cheese works well, or mild Cheddar grated and mixed with a little mascarpone.
Tomato, Wild Garlic and Burrata Salad
Wild garlic grows like a weed in the right environment – it likes a little dampness – and the smell of it always signifies that spring is on the way. It does have a relatively short season, however, and once it’s gone, it’s gone. When it isn’t available, use chives instead. They are a great substitute. Any leftover dressing will keep well in the fridge for up to 2 days.
SERVES: 4 AS A SUMMER LUNCH OR STARTER | PREP TIME: 15 MINUTES
8–12 tomatoes
4 × 100g or 2 × 200g balls of burrata
sea salt and freshly ground black pepper
FOR THE WILD GARLIC DRESSING
2 tbsp pine nuts
16 wild garlic leaves, or 1 bunch of chives
125ml olive oil, plus extra for drizzling
2 tbsp white wine vinegar
1 tsp wholegrain mustard
1 Preheat the oven to 200°C/180°C fan/gas 6.
2 Put the pine nuts on a baking tray and toast them in the oven for 6 minutes, shaking the tray halfway through, then remove from the oven and leave to cool.
3 Put all of the ingredients for the wild garlic dressing in a small blender or food processor and pulse until a chunky dressing is formed. Season to taste with salt and pepper.
4 Cut the tomatoes into slices and wedges, and season well with salt and pepper. Arrange them on serving plates and spoon half of the wild garlic dressing on top.
5 Just before serving, cut the burrata balls in half, if using 100g balls, or into quarters if using 200g balls and place the cut burrata on the plates with the tomatoes. Season the inside of the balls with a little more salt and pepper then spoon over the remaining dressing.
MARCUS’ TIP:
Keep tomatoes out of the fridge, until they are becoming overripe, and never serve a cold tomato, as the flavour is dulled.
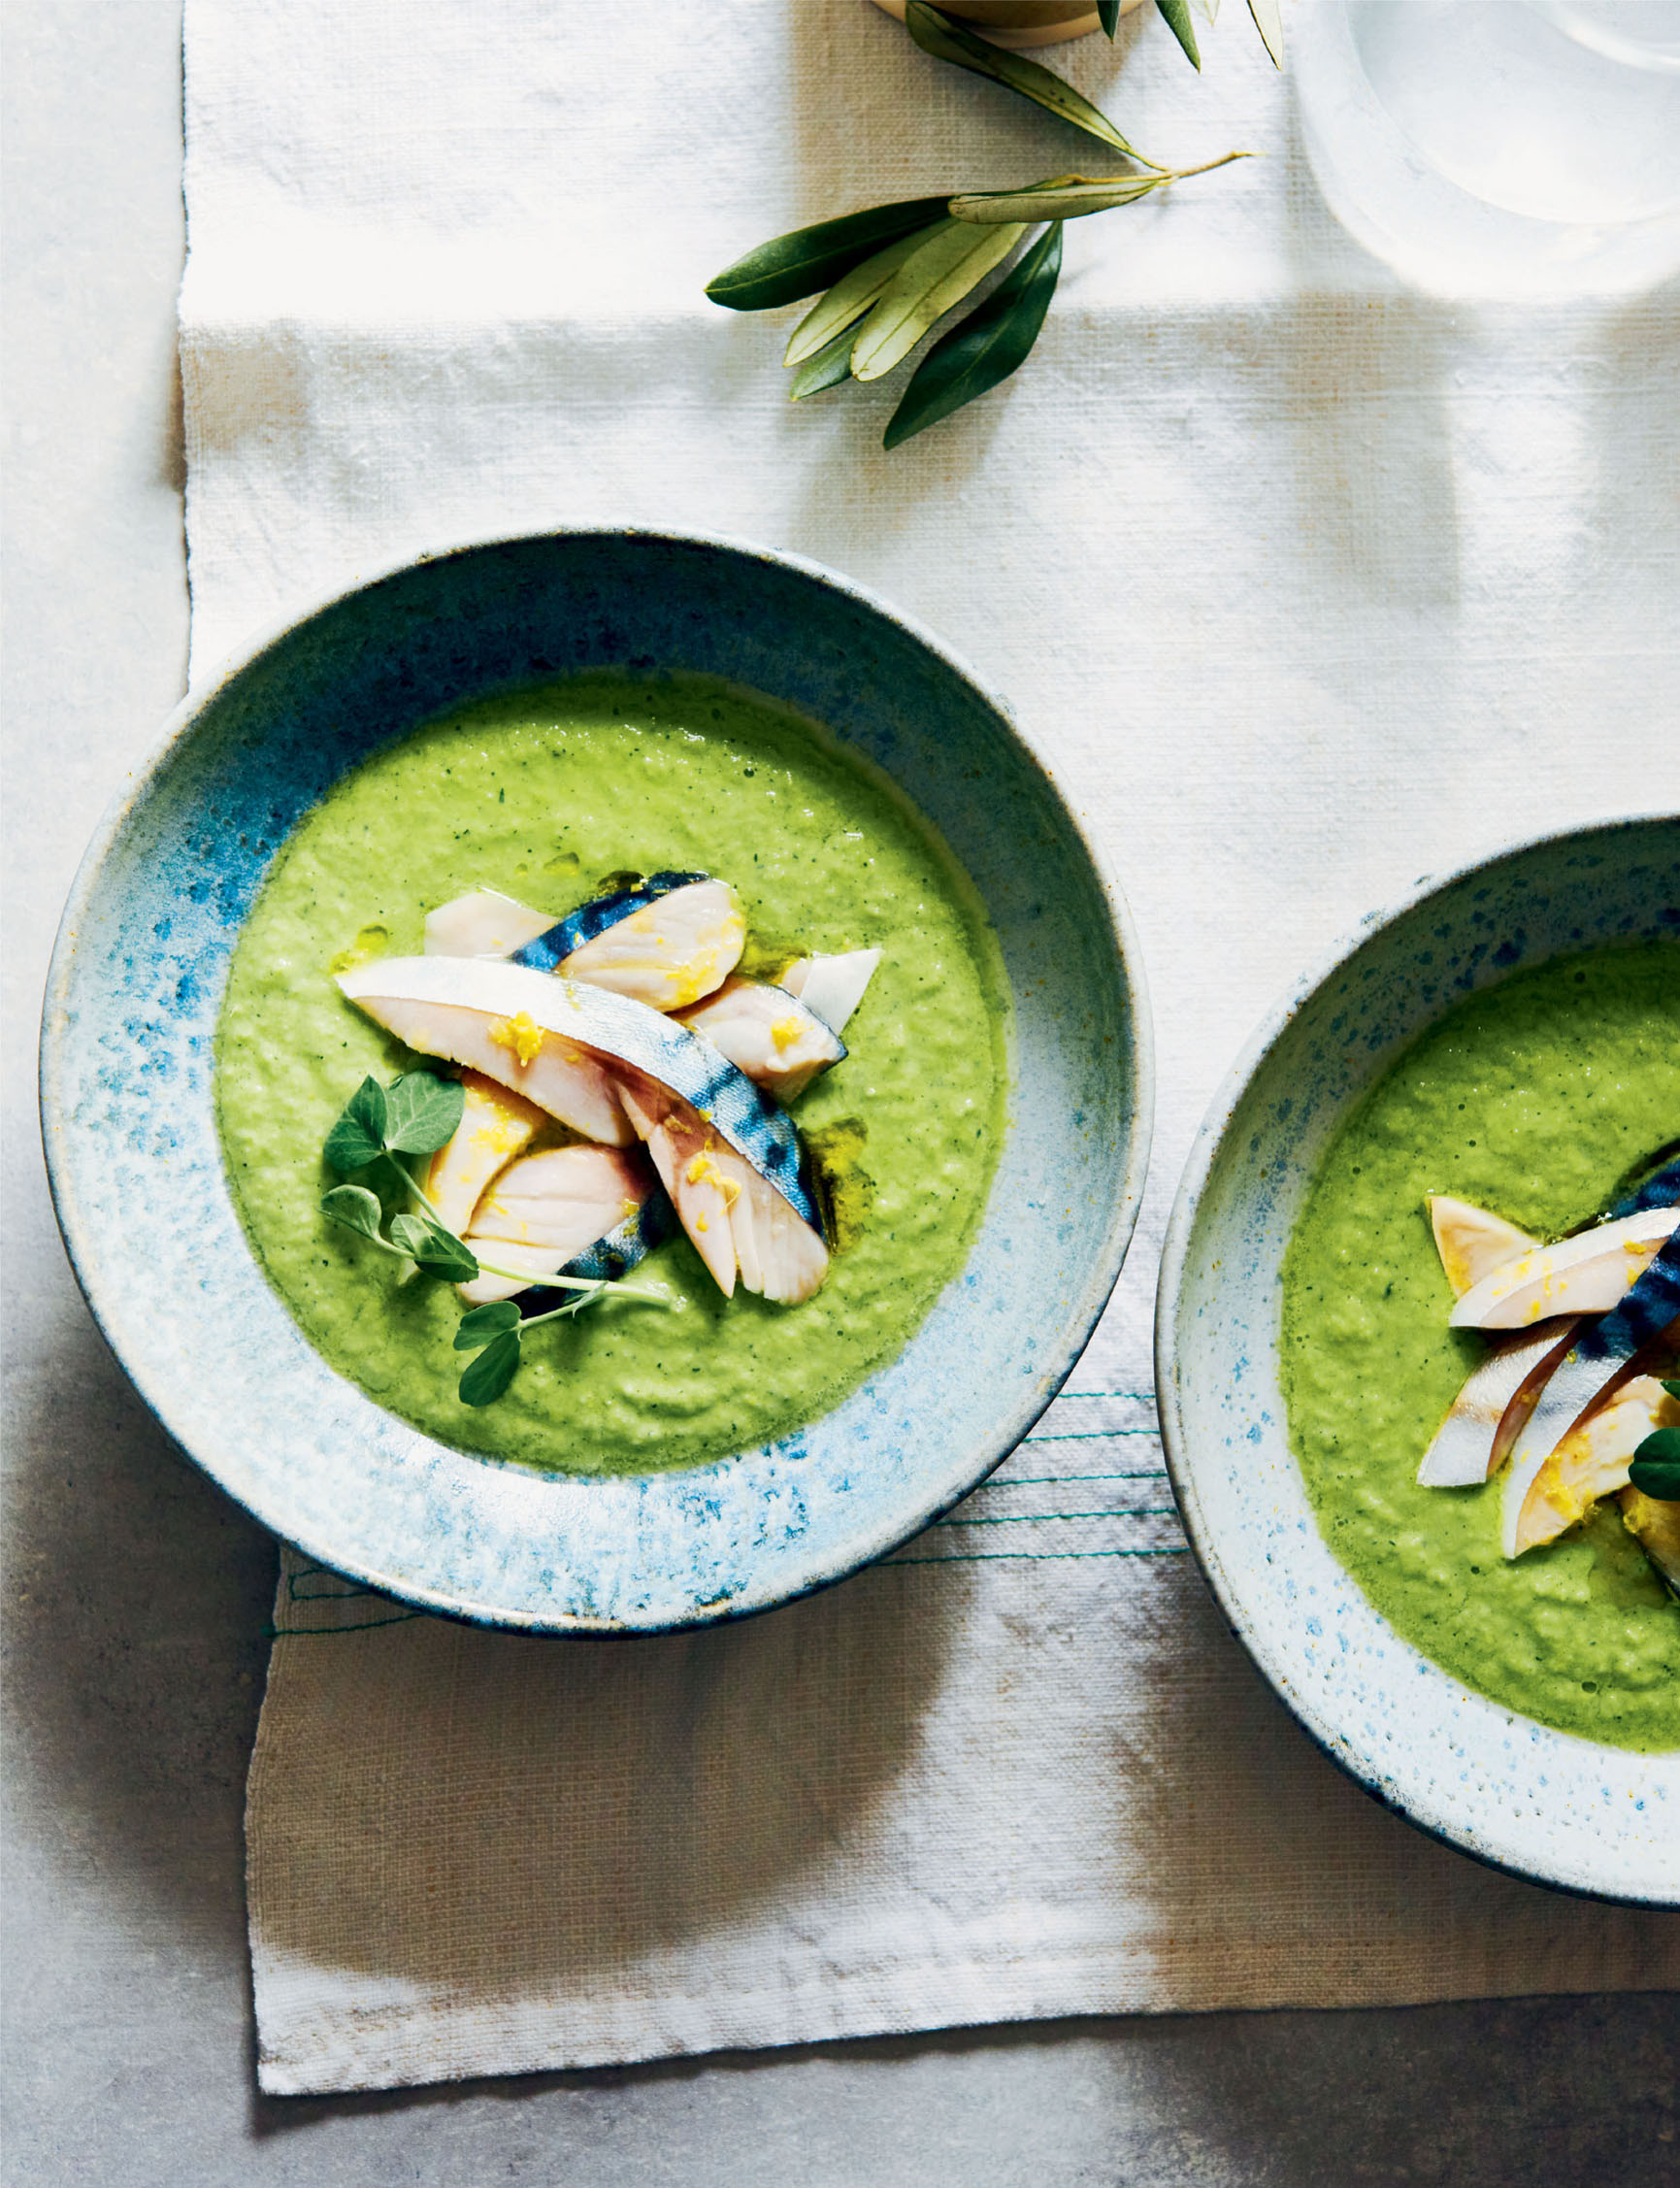
Chilled Summer Garden Soup with Lemon and Mackerel
I created this refreshing soup when I had an abundance of beautiful vegetables in my garden, and the weather was very warm, so turning on the oven was not really on the agenda! This recipe features the vegetables I used, but please regard it just as a guide and feel free to use what you have in abundance, or available in your fridge. I use the whole pea pods in this recipe as they contain lots of juice and flavour. The mackerel – a little bit of luxury on the top – is simply cured, so ensure it is as fresh as possible, or use smoked mackerel instead.
SERVES: 4 | PREP TIME: 40 MINUTES
FOR THE SUMMER GARDEN SOUP
16 tender peas in their pods (tops and strings removed) (about 130g)
1 cucumber, skin on, roughly chopped (about 250g)
2 pickled gherkins (40g)
50ml gherkin pickling liquor
100g day-old sliced bread (preferably sourdough), torn
2 courgettes, grated (about 475g)
½ bunch of chives
½ bunch of dill
1 iceberg lettuce, cored and roughly chopped (about 250g)
100g Greek yoghurt
25ml olive oil
8 ice cubes
sea salt and freshly ground black pepper
FOR THE MACKEREL
grated zest and juice of 2 lemons
50ml gherkin pickling liquor
4 mackerel fillets, pin-boned and skin on, cut into 5mm-thick slices
1 Put the peas (including pods), cucumber, gherkins and gherkin pickle liquor in a blender or food processor and blitz until as smooth as possible. Pass through a fine sieve, retaining the liquid. Add the torn bread and leave for 10 minutes.
2 Place the liquid with the bread in the blender or food processor with the remaining ingredients for the soup and blitz until smooth. Season well.
3 For the mackerel, mix the lemon zest and juice into the pickling liquor. Season the mackerel with salt and place in a shallow dish. Pour over the liquid and leave for 10 minutes, then strain off the liquid.
4 Serve the soup in bowls with the mackerel on top.
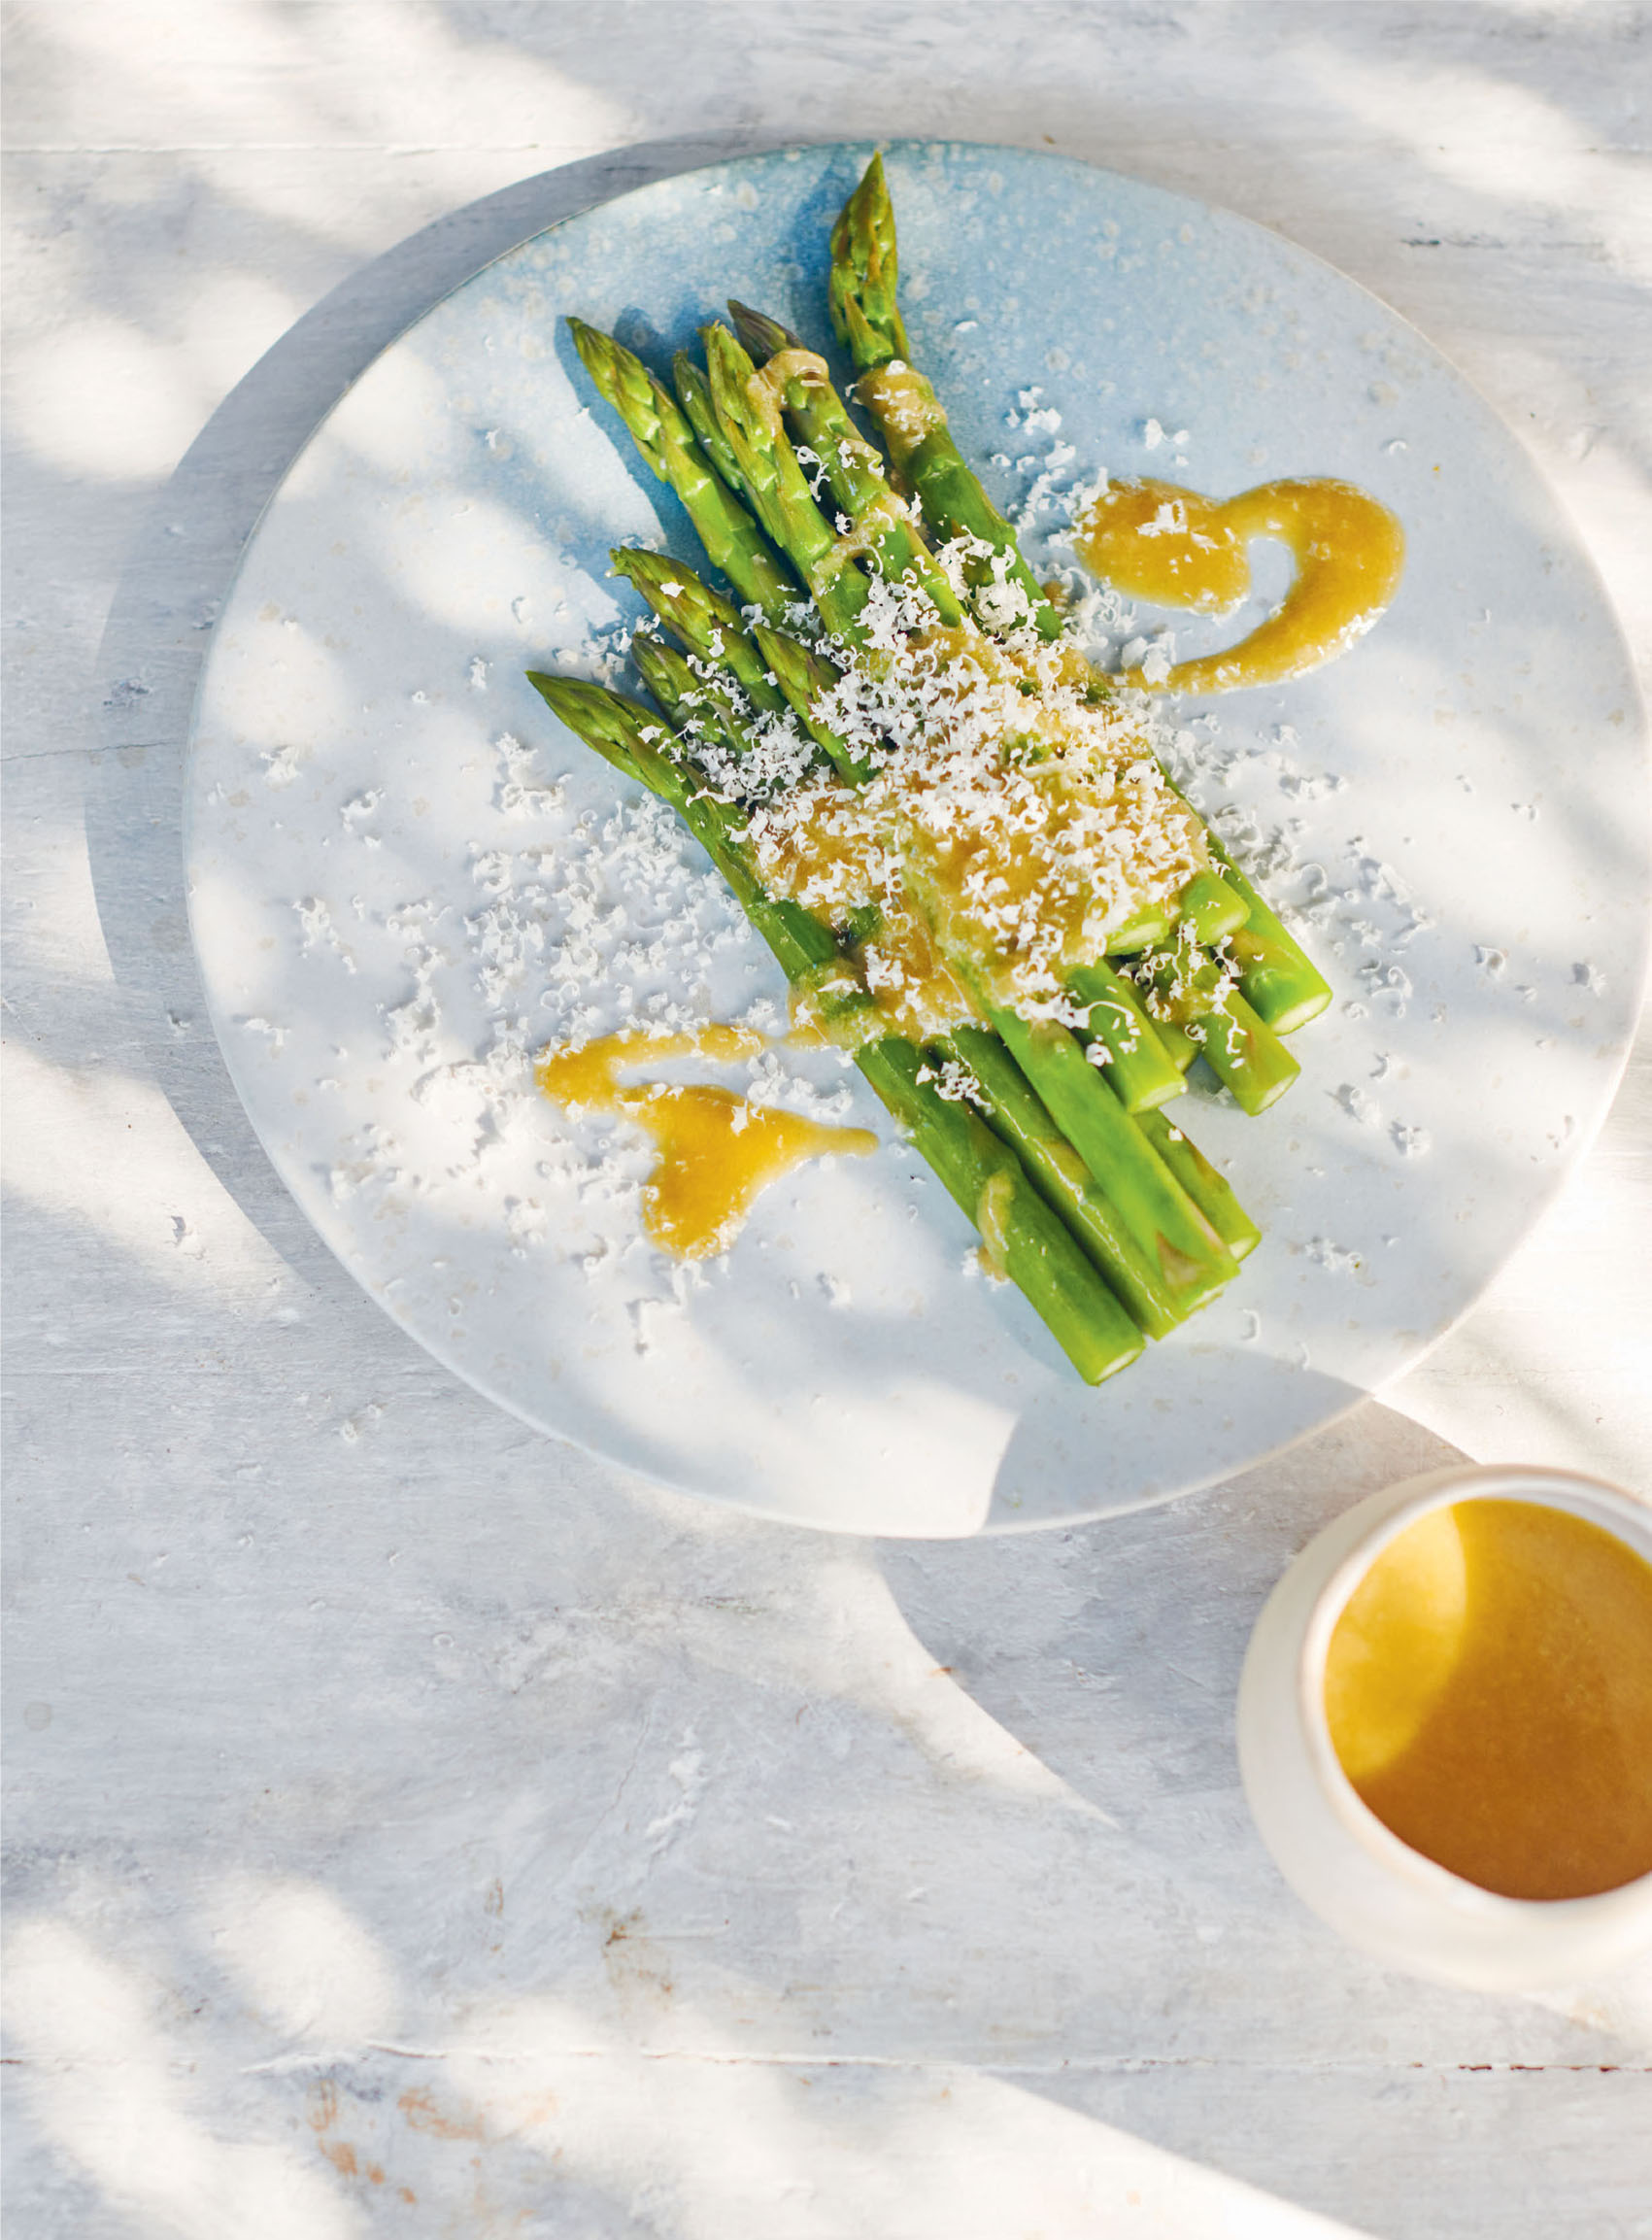
Asparagus with Bagna Cáuda and Parmesan
The arrival of British asparagus is one of the first signs of spring that I most look forward to, and I like to take advantage of its fleeting season as often as possible. Bagna cáuda originates from Piedmont in Italy and is traditionally a pungent sauce made with anchovies, olive oil and garlic. It pairs so well with the delicate flavour and texture of asparagus. Heaped with freshly shaved Parmesan, it is a dish I can eat over and over again.
SERVES: 4–6 AS A STARTER | PREP TIME: 10 MINUTES | COOKING TIME: 1 HOUR
2–3 bunches of asparagus (500–750g), tough ends trimmed
Parmesan, shaved, to serve
FOR THE BAGNA CÁUDA
6 garlic cloves, peeled
2 shallots, peeled and halved
8 good-quality anchovy fillets in oil
150ml olive oil
50g butter
grated zest and juice of 1 lemon
½ tsp Dijon mustard
1 To make the bagna cáuda, place all ingredients in a small saucepan. Place over low heat, bring to a very low simmer and cook uncovered for 1 hour, until the garlic is soft. Remove from the heat and blend until smooth with a stick blender.
2 Remove the woody ends from the asparagus and blanch in a pan of salted water for 3 minutes, then drain.
3 Place the asparagus in a large serving dish, drizzle liberally with the bagna cáuda and top with Parmesan shavings. Serve immediately.
MARCUS’ TIP:
If you are not a fan of anchovies, replace them with 8 large pitted Gordal olives, finely chopped.
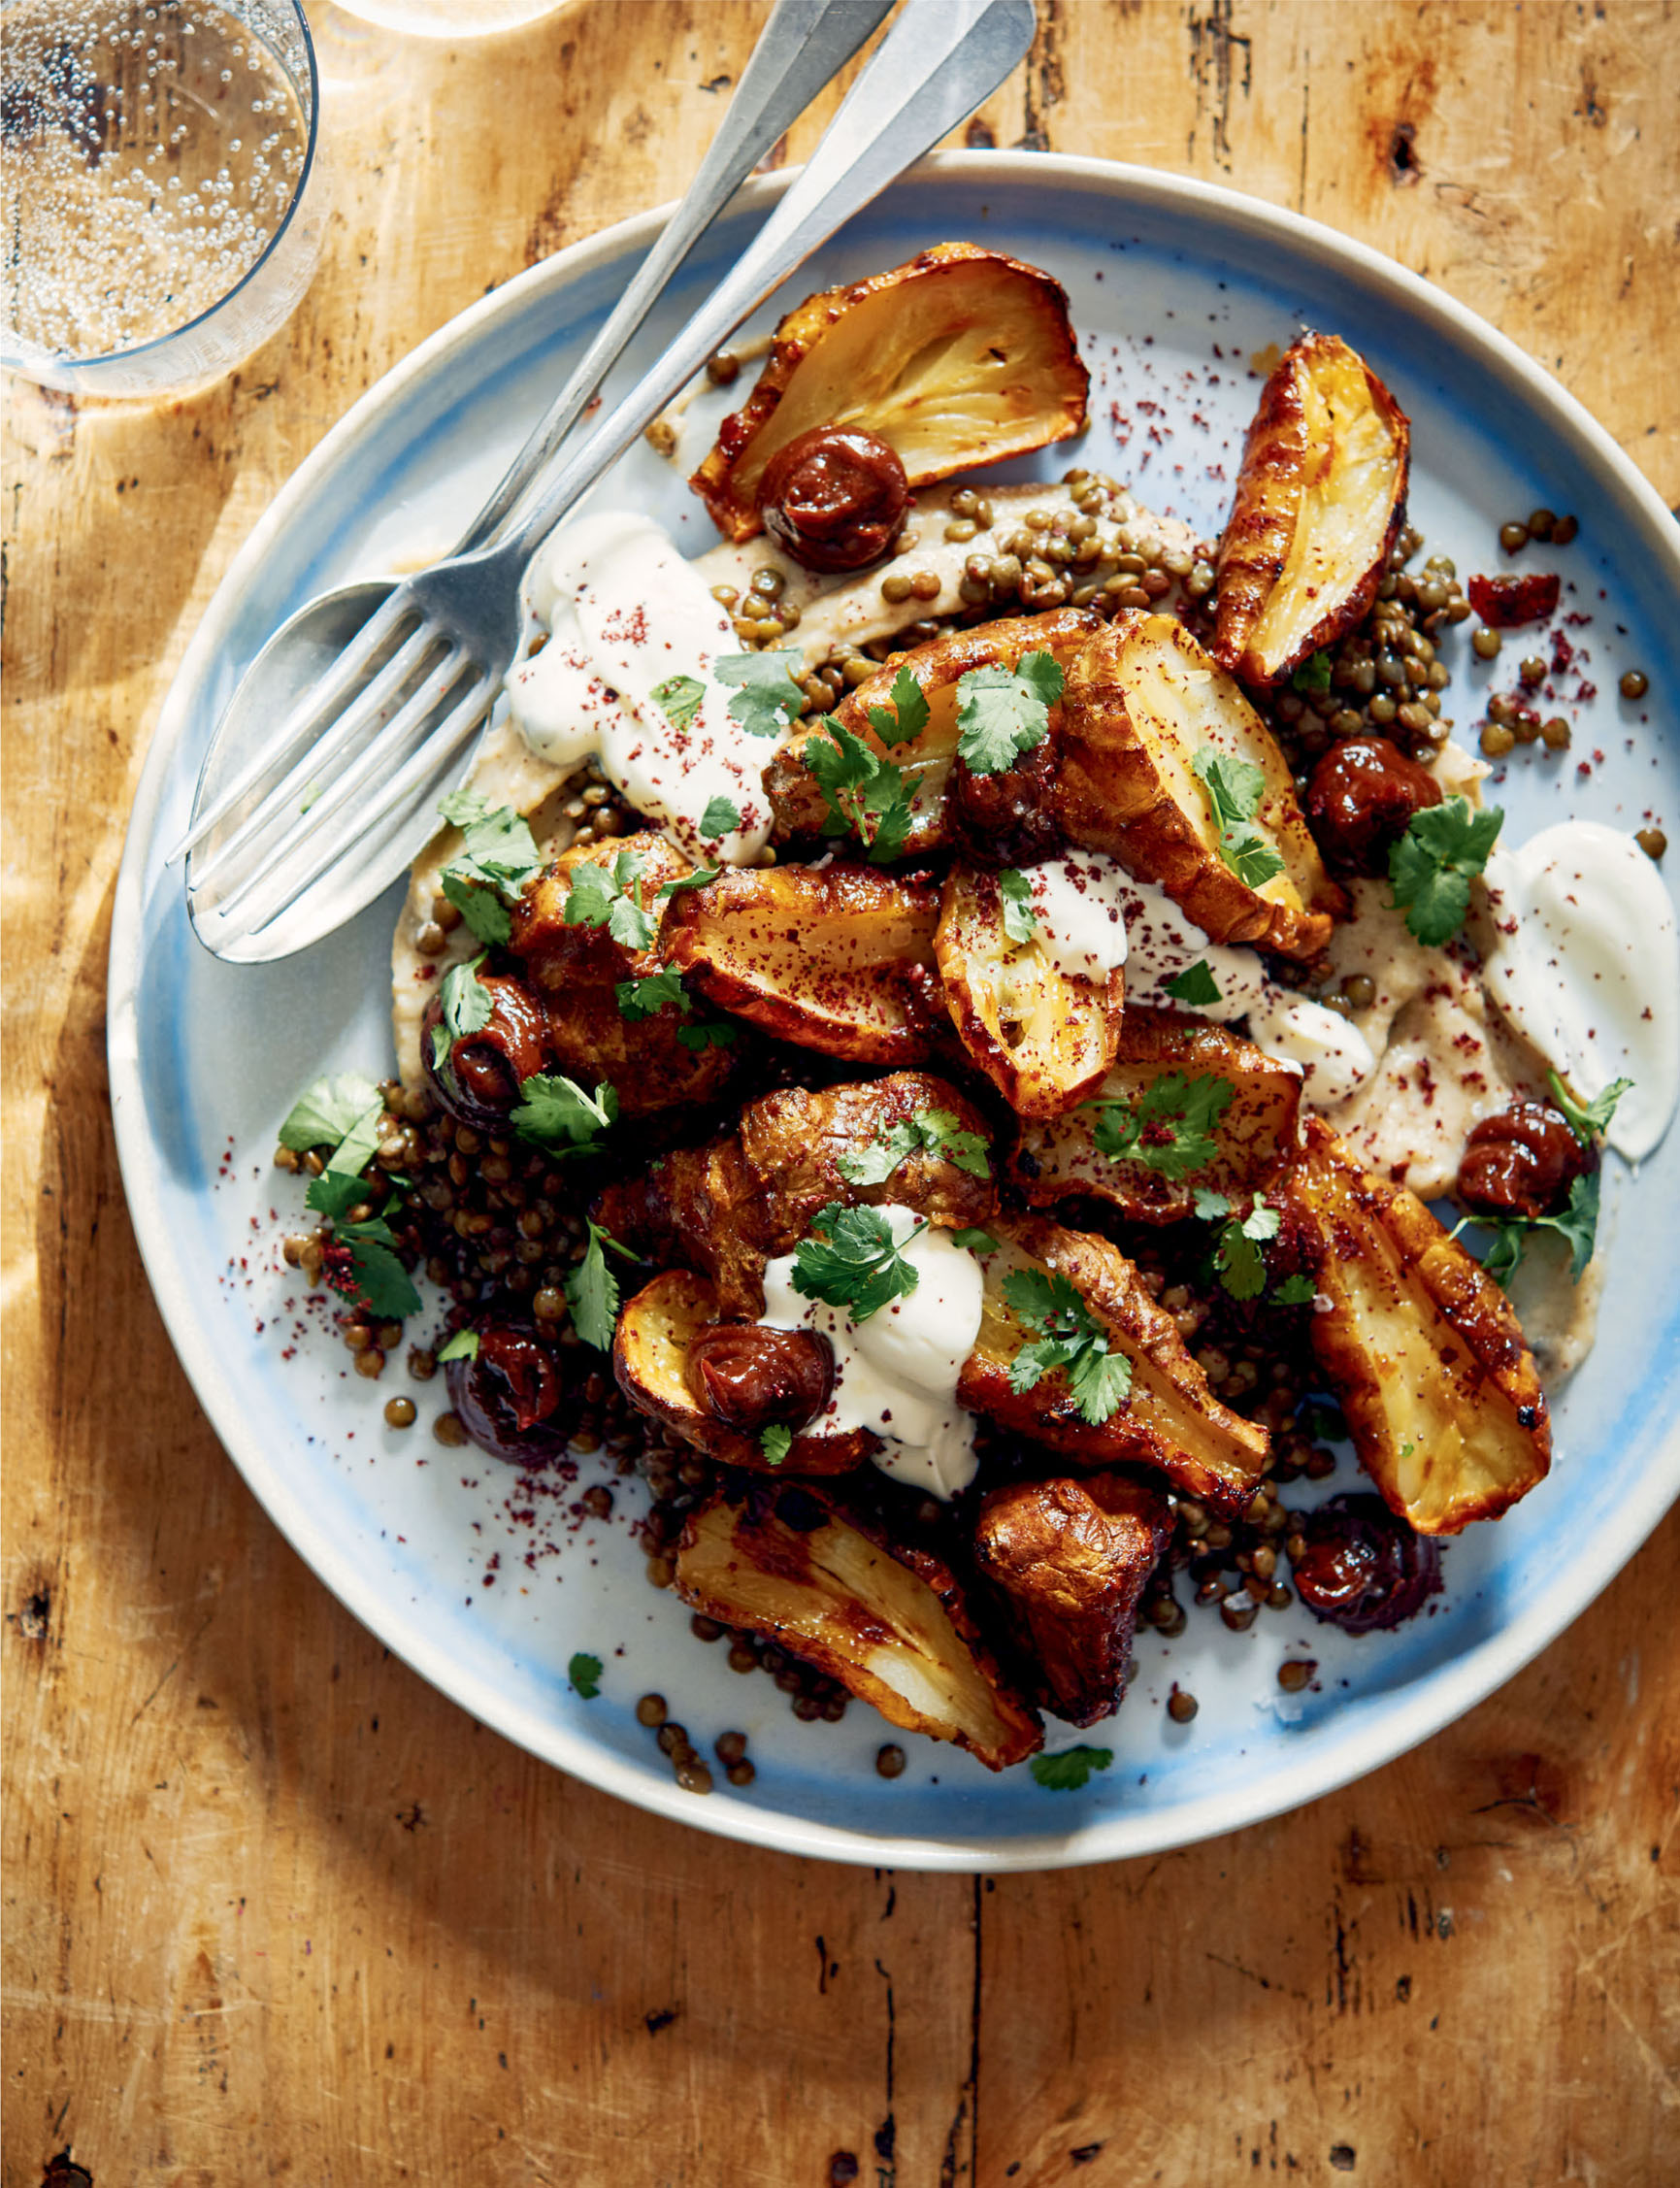
Roasted Jerusalem Artichokes with Prunes, Lentils and Sour Cream
Jerusalem artichokes are one of the vegetables that people seem most averse to cooking with at home. This recipe should turn you into an instant fan of this root vegetable – when roasted until dark and crispy, it has a wonderful sweet nuttiness that is rather addictive. We grow them on the farm and I didn’t know what they looked like in the ground – they’re massive! The prunes add sweetness, the lentils add earthiness and the sour cream brings welcome acidity to this rich dish.
SERVES: 4–6 | PREP TIME: 30 MINUTES | COOKING TIME: ABOUT 1 HOUR
150g puy or green lentils, rinsed
2.5kg Jerusalem artichokes, well scrubbed
4 tbsp vegetable oil
100g pitted prunes
½ tsp ground cinnamon
200ml milk
150g sour cream
½ bunch of coriander leaves, chopped
½ tsp sumac
sea salt and freshly ground black pepper
1 Preheat the oven to 220°C/200°C fan/gas 7 and cook the lentils according to the packet instructions.
2 Place the scrubbed artichokes and vegetable oil in a large roasting tray, toss to coat the artichokes in the oil, and season with salt and pepper. Roast in the oven for 40–50 minutes, depending on the size of the artichokes, stirring them every 10 minutes, until they are dark golden and crispy on the outside and the centres are soft. Remove from the oven and allow to cool slightly, then cut the artichokes in half and place them back in the roasting tray to keep warm, adding a little more salt and pepper.
3 While the artichokes are roasting, put the prunes and cinnamon in a small saucepan. Cover with enough water to just submerge the prunes, add a little salt, bring to a simmer and cook for 10–15 minutes until the prunes have absorbed the water. Transfer the contents of the pan to a blender or food processor and blitz until smooth. Set aside.
4 Take a quarter of the roasted artichokes and place them in a large saucepan with the milk. Bring to a simmer over medium-high heat and cook for 10 minutes until the artichokes have absorbed the milk. Transfer to a blender or food processor and blitz until smooth, adding a little more salt if needed.
5 To serve, spoon the warm artichoke purée onto a large serving plate. Top with the warm lentils (reheated if necessary), then the remaining roasted artichokes. Dot the prune purée around and spoon over the sour cream. Finish with the chopped coriander, sprinkle over the sumac and serve immediately.
Carrots with Pine Nuts and Tarragon
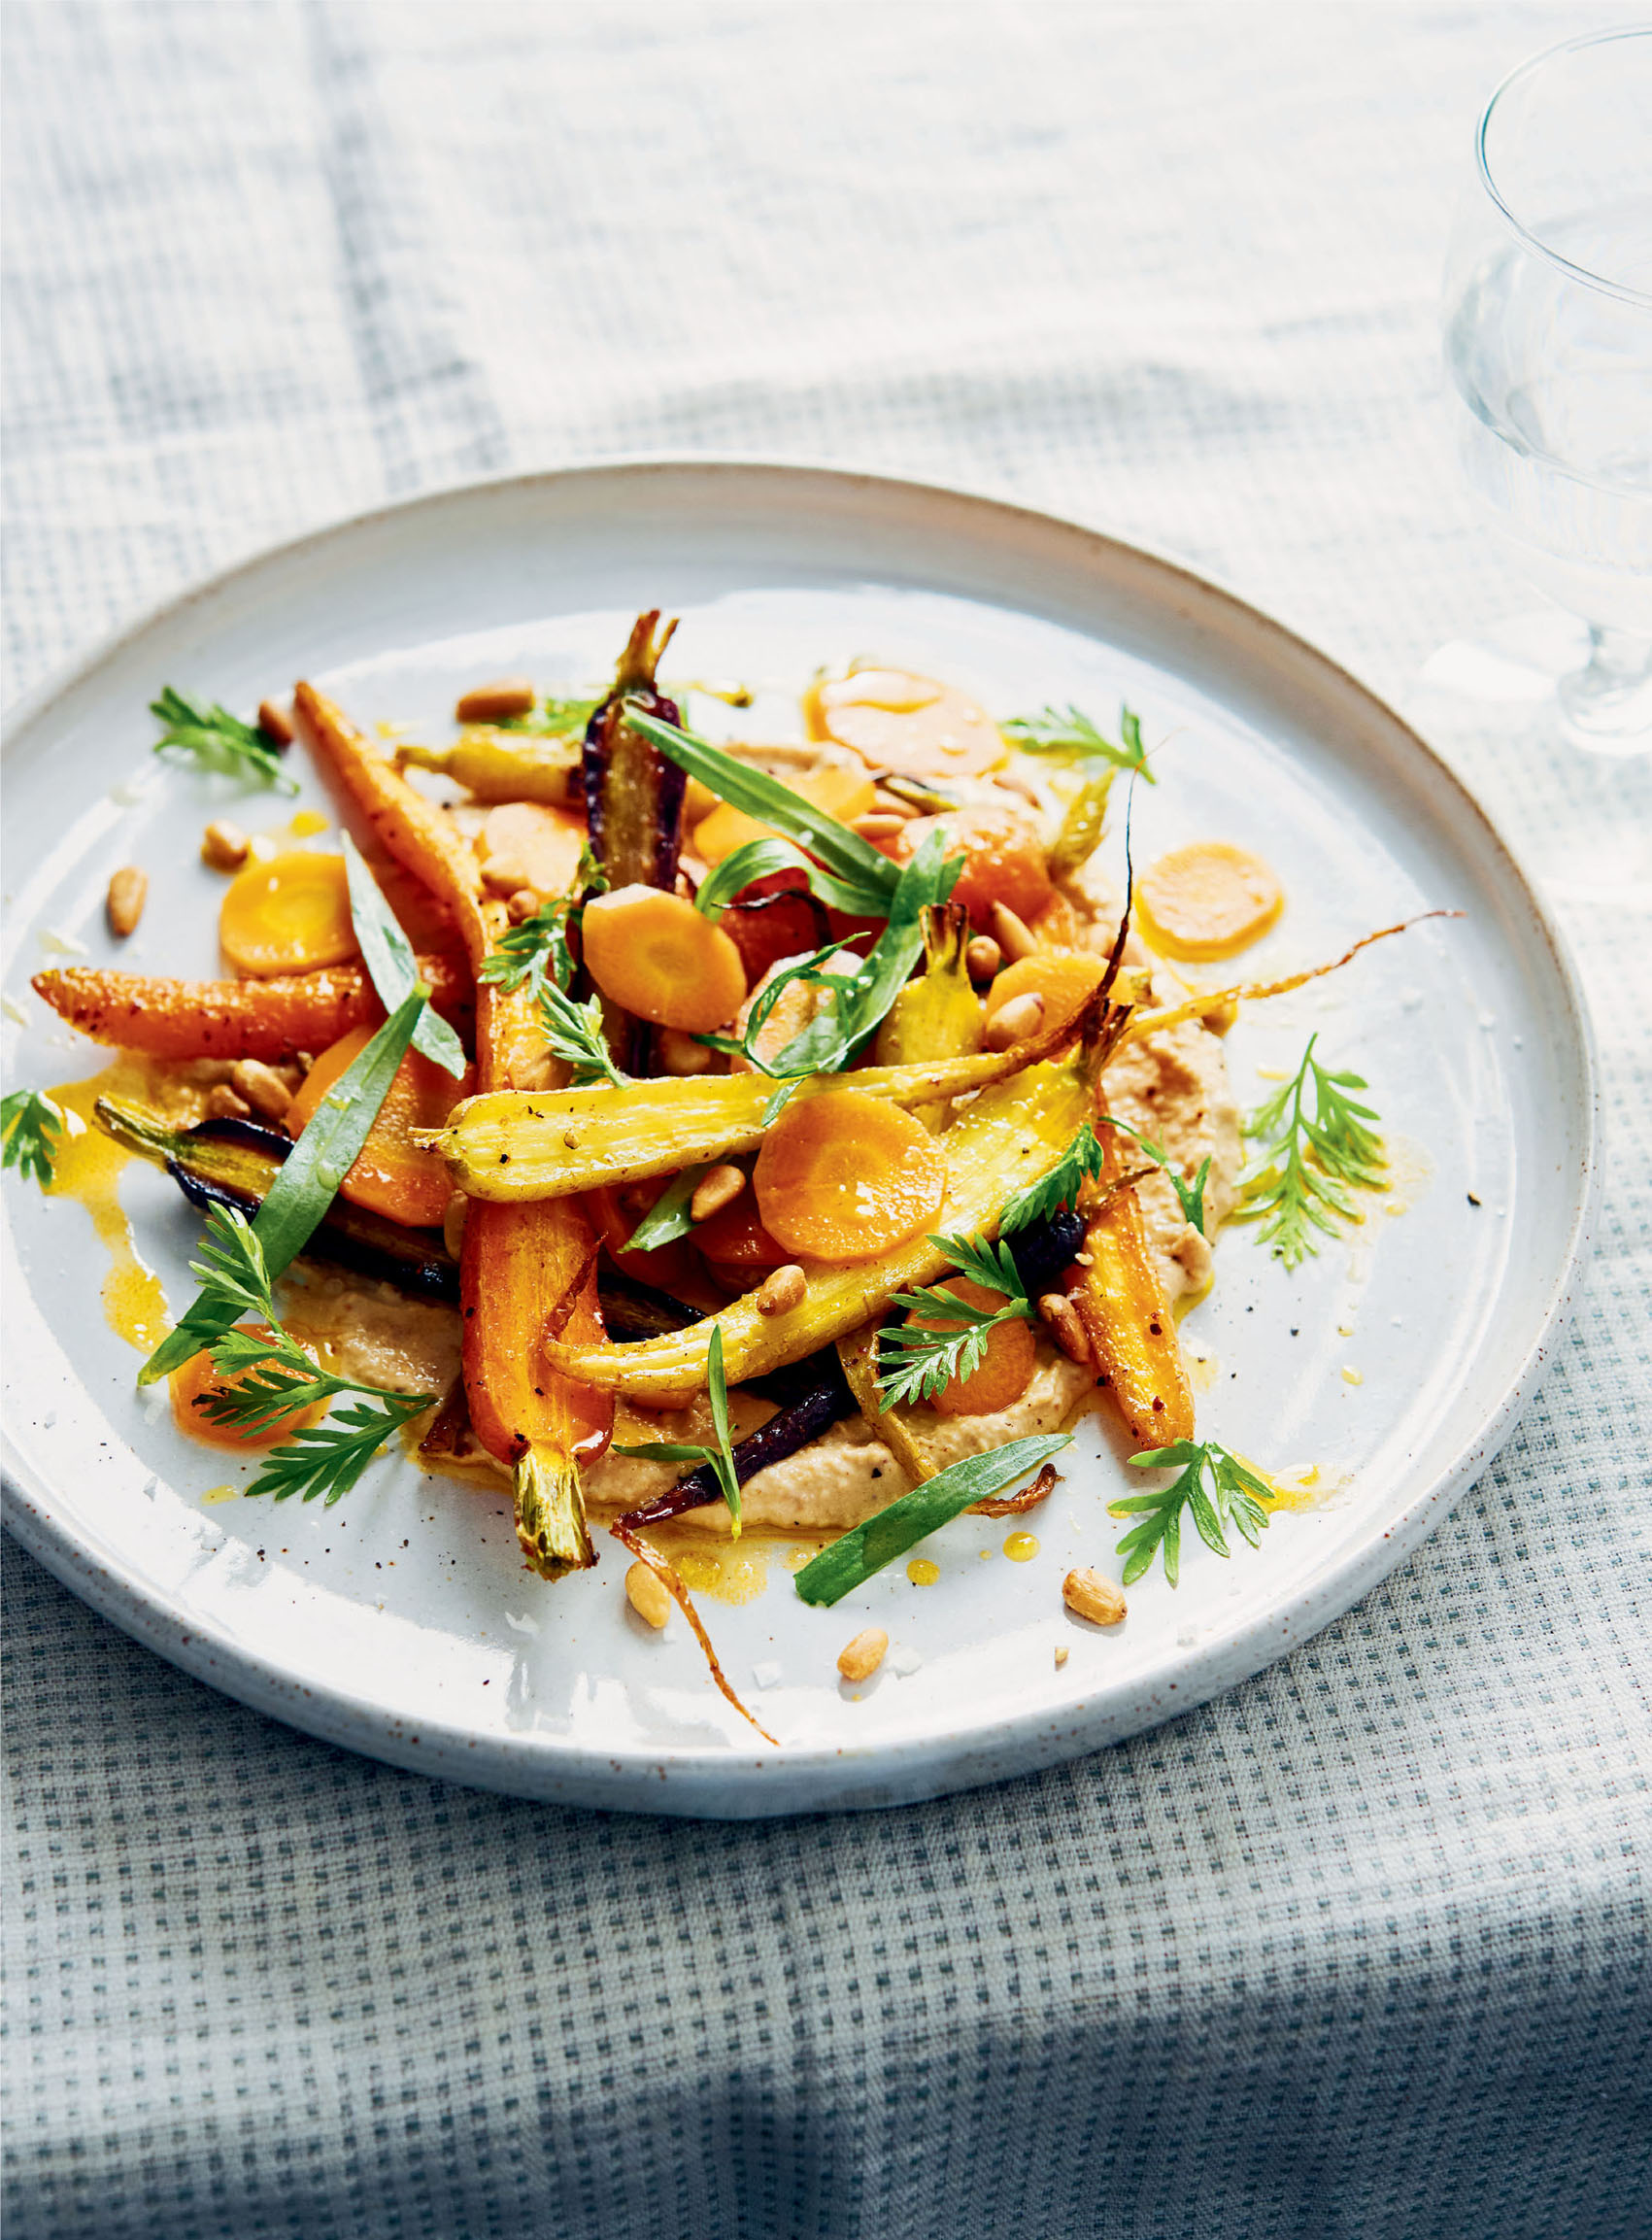
Carrots are a vegetable we sometimes take for granted, but they are so full of flavour, colour and texture. Forming the base of any good classic gravy, they add a sweetness unlike most other vegetables. To show them off at their best here, I serve them three ways: roasted, pickled and just lightly seasoned, and make a vinaigrette from the carrot juice. It all adds up to create a very delicious dish. The flavour combination with the tarragon is a simple marriage made in heaven.
SERVES: 4 | PREP TIME: 20 MINUTES | COOKING TIME: 25 MINUTES
12 large or 16 medium bunched carrots, washed, tops removed (a few tops reserved)
2 tbsp vegetable oil
1 star anise
120g pine nuts
2 tbsp picked tarragon leaves
sea salt and freshly ground black pepper
FOR THE PICKLING LIQUOR
100ml white wine vinegar
2 tbsp honey
FOR THE VINAIGRETTE
100ml carrot juice (fresh or shop-bought)
3 coriander seeds
1 tbsp rice wine vinegar
50ml olive oil
1 Preheat the oven to 210°C/190°C fan/gas 7.
2 Cut half of the carrots in half, lengthways. Thinly slice the remaining carrots and put half aside to pickle.
3 To make the pickling liquor, place the vinegar and honey in a small saucepan and bring to a simmer. Put half the sliced carrots in a heatproof bowl, pour the hot pickling liquor over the carrots and set aside.
4 Coat the halved carrots with the vegetable oil and season well with salt, pepper and half of the star anise, grated over the carrots using a Microplane or other fine grater. Place in a roasting tray and roast in the oven for 20–25 minutes until golden, tossing them once halfway through the cooking time.
5 Place the pine nuts on a baking tray and toast in the oven for 8–10 minutes until a deep golden colour, shaking them halfway through. Remove from the oven and set aside 20g for sprinkling over the finished dish and place the rest in a small blender. Season with salt, add 2–4 tablespoons of water and blitz to form a purée – it should have a slightly looser texture than peanut butter. Set aside.
6 To make the vinaigrette, put the carrot juice in a medium saucepan with the coriander seeds and remaining half of the star anise and bring to the boil. Simmer rapidly for a few minutes, until the liquid has reduced to around 25ml, then remove from the heat and strain into a small bowl. Mix in the rice wine vinegar and olive oil, and season with salt.
7 To assemble the dish, place the remaining sliced carrots in a bowl and dress them with the carrot vinaigrette. Spoon the pine nut purée onto 4 plates. Top with the warm roasted carrots, pickled carrots and dressed carrots. Finish with the remaining toasted pine nuts, some reserved carrot tops and the tarragon leaves.
Parsnip, Rosemary and Horseradish Gratin
This can be a side or a main dish. Gratins are one of the best comfort foods around, and a handy thing to cook given all the preparation can be done in advance of when you need to serve it. You can even bake it a couple of days ahead, then reheat to serve. I like to serve this with roast chicken or braised meat on a cold winter’s night.
SERVES: 4 | PREP TIME: 15 MINUTES | COOKING TIME: 1¼ HOURS, PLUS 30 MINUTES INFUSING
225ml single cream
525ml milk
½ onion, thinly sliced
½ nutmeg, finely grated
2 bay leaves
½ bunch of rosemary, leaves stripped
1 tsp table salt
4 tbsp fresh grated horseradish or 4 tbsp horseradish sauce
6 large parsnips, peeled and cut into 5mm-thick slices
1 Put the cream, milk, onion, nutmeg, bay leaves, rosemary leaves and salt in a medium saucepan. Bring to a simmer and cook gently for 15 minutes then remove from the heat and blend using a stick blender until the herbs have broken down. Cover the surface of the mixture with clingfilm and leave to infuse for 30 minutes, then pass it through a fine sieve and retain the liquid. Stir through the grated horseradish or horseradish sauce.
2 Preheat the oven to 200°C/180°C fan/gas 6.
3 Place a layer of parsnip slices on the bottom of a 20 × 20cm baking dish, then cover with a little of the milk mixture. Repeat, ensuring the parsnips are fully submerged in the liquid. Cover the entire dish with foil and bake for 25 minutes. Remove the foil and bake for a further 20–25 minutes until a knife inserted into the gratin meets no resistance.
4 Remove from the oven and serve.
MARCUS’ TIP:
I prefer a roast dinner with one side done really well, rather than three or four different vegetables on the plate – one great dish like this one that has a bit more effort put into it makes it much more interesting. Nothing wrong with that.
Celeriac, Ham Hock and Barley Hot Pot
As far as winter warmers go, this one ticks all the boxes. Celeriac is such a versatile ingredient, to serve both raw and cooked. It is a winter staple for me and it pairs well with the salty, rich ham hock in this recipe. Just add some fresh bread and you have a great winter’s lunch or supper. Always remember to bring ham hocks to the boil in a pan of water then drain them before cooking, otherwise they will be too salty.
SERVES: 4–6 | PREP TIME: 10 MINUTES | COOKING TIME: ABOUT 3¾ HOURS
1 smoked ham hock (about 1kg)
½ bunch of thyme, tied with string
200g pearl barley, rinsed
100g yellow split peas, rinsed
1 celeriac, peeled and roughly chopped
4 onions, roughly chopped
4 carrots, peeled and roughly chopped
1 leek, rinsed and roughly chopped
½ bunch of flat-leaf parsley, leaves roughly chopped
freshly ground black pepper
1 Place the ham hock in a large saucepan and cover with cold water. Bring to the boil, then drain and rinse the ham under cold running water. Place the ham back in the pan, cover with fresh cold water and add the thyme and a generous grind of black pepper. Place over medium heat, bring to a simmer and cook, uncovered, for 2½ hours, topping up the water to ensure the ham is always submerged.
2 Add the pearl barley and split peas and cook for a further 30 minutes.
3 Check to see if the hock is cooked by putting the handle of a spoon into the flesh: if the handle meets no resistance, the meat is cooked. If the meat doesn’t yet yield to the spoon handle, continue to cook it, checking every 15 minutes. Remove the hock, add the remaining ingredients, apart from the parsley, and simmer for a further 30 minutes.
4 Using two forks, remove the skin from the hock, discard it and shred the meat. Return the meat to the pot and simmer gently for 5 minutes. Check the seasoning and adjust if necessary. Remove the bunch of thyme.
5 Finish with the parsley and serve.
Poached Rhubarb and Rhubarb Jelly with Bay Leaf Cream and Shortbread
Rhubarb, jelly and cream. So simple, yet so delicious. The bay leaf infusion in the cream adds a savoury element to the dish which balances the sweetness of the rhubarb and shortbread. During rhubarb season I generally always have some poached in the fridge – it is great to have with cereal for breakfast, to use in baking and also as a simple pudding. Who doesn’t like rhubarb and jelly?
SERVES: 6 | PREP TIME: 25 MINUTES, PLUS SETTING AND INFUSING | COOKING TIME: ABOUT 15 MINUTES
200g caster sugar
2 tbsp grenadine
400g rhubarb stalks, trimmed and cut into 4cm lengths
3 gelatine leaves
FOR THE BAY LEAF CREAM
100ml milk
2 bay leaves
300ml double cream
FOR THE SHORTBREAD
70g plain flour
50g cornflour
40g icing sugar, sifted
pinch of sea salt
90g cold diced butter
1 To cook the rhubarb, put the caster sugar and grenadine in a large saucepan. Top up with 500ml water and bring to a simmer over medium heat, stirring to dissolve the sugar. Place the rhubarb pieces in the hot liquid and simmer for 5 minutes, then remove the pan from the heat and allow the rhubarb to continue to cook in the liquid for 10 minutes, as it cools down. Carefully transfer the rhubarb from the liquid into a bowl using a slotted spoon and place in the fridge to cool. Measure out 400ml of the cooking liquor, place it in a medium saucepan and set aside.


