
Полная версия
Home Cooking Made Easy
I like to make a big jar of these spiced nuts and pop them on the shelf to grab on the go when I fancy a naughty tasty snack.
Makes about 600g
300g granulated sugar
450g mixed nuts, like cashews, pecans, hazelnuts, almonds, walnuts
1 tbsp sea salt
1 tsp paprika, plus extra to taste if necessary
1 tsp ground cinnamon, plus extra to taste if necessary
1 tsp ground cumin, plus extra to taste if necessary
300ml water
Preheat the oven to 180°C (350°F), Gas Mark 4 and line a large baking tray with parchment paper or use a non-stick baking sheet.
Put the sugar, nuts, salt and spices in a medium pan with the water and bring slowly to the boil, stirring until the sugar dissolves. Reduce the heat a little and simmer the mixture rapidly for about 15–20 minutes until the bubbles become thick and syrupy.
Strain the mixture through a colander set over a bowl (use oven gloves when handling the pan, as hot sugar can spit and splutter and burn you), then tip the nuts onto the prepared baking tray and spread them out in a single layer. Bake the nuts in the oven for 20 minutes, or until toasted.
Remove from the oven, leave to cool and harden before breaking the nuts into small pieces. Sprinkle with more spices if required. Store in an airtight container for a few days if not eaten straightaway.
Any leftover syrup is delicious drizzled over ice cream or on a poached pear.
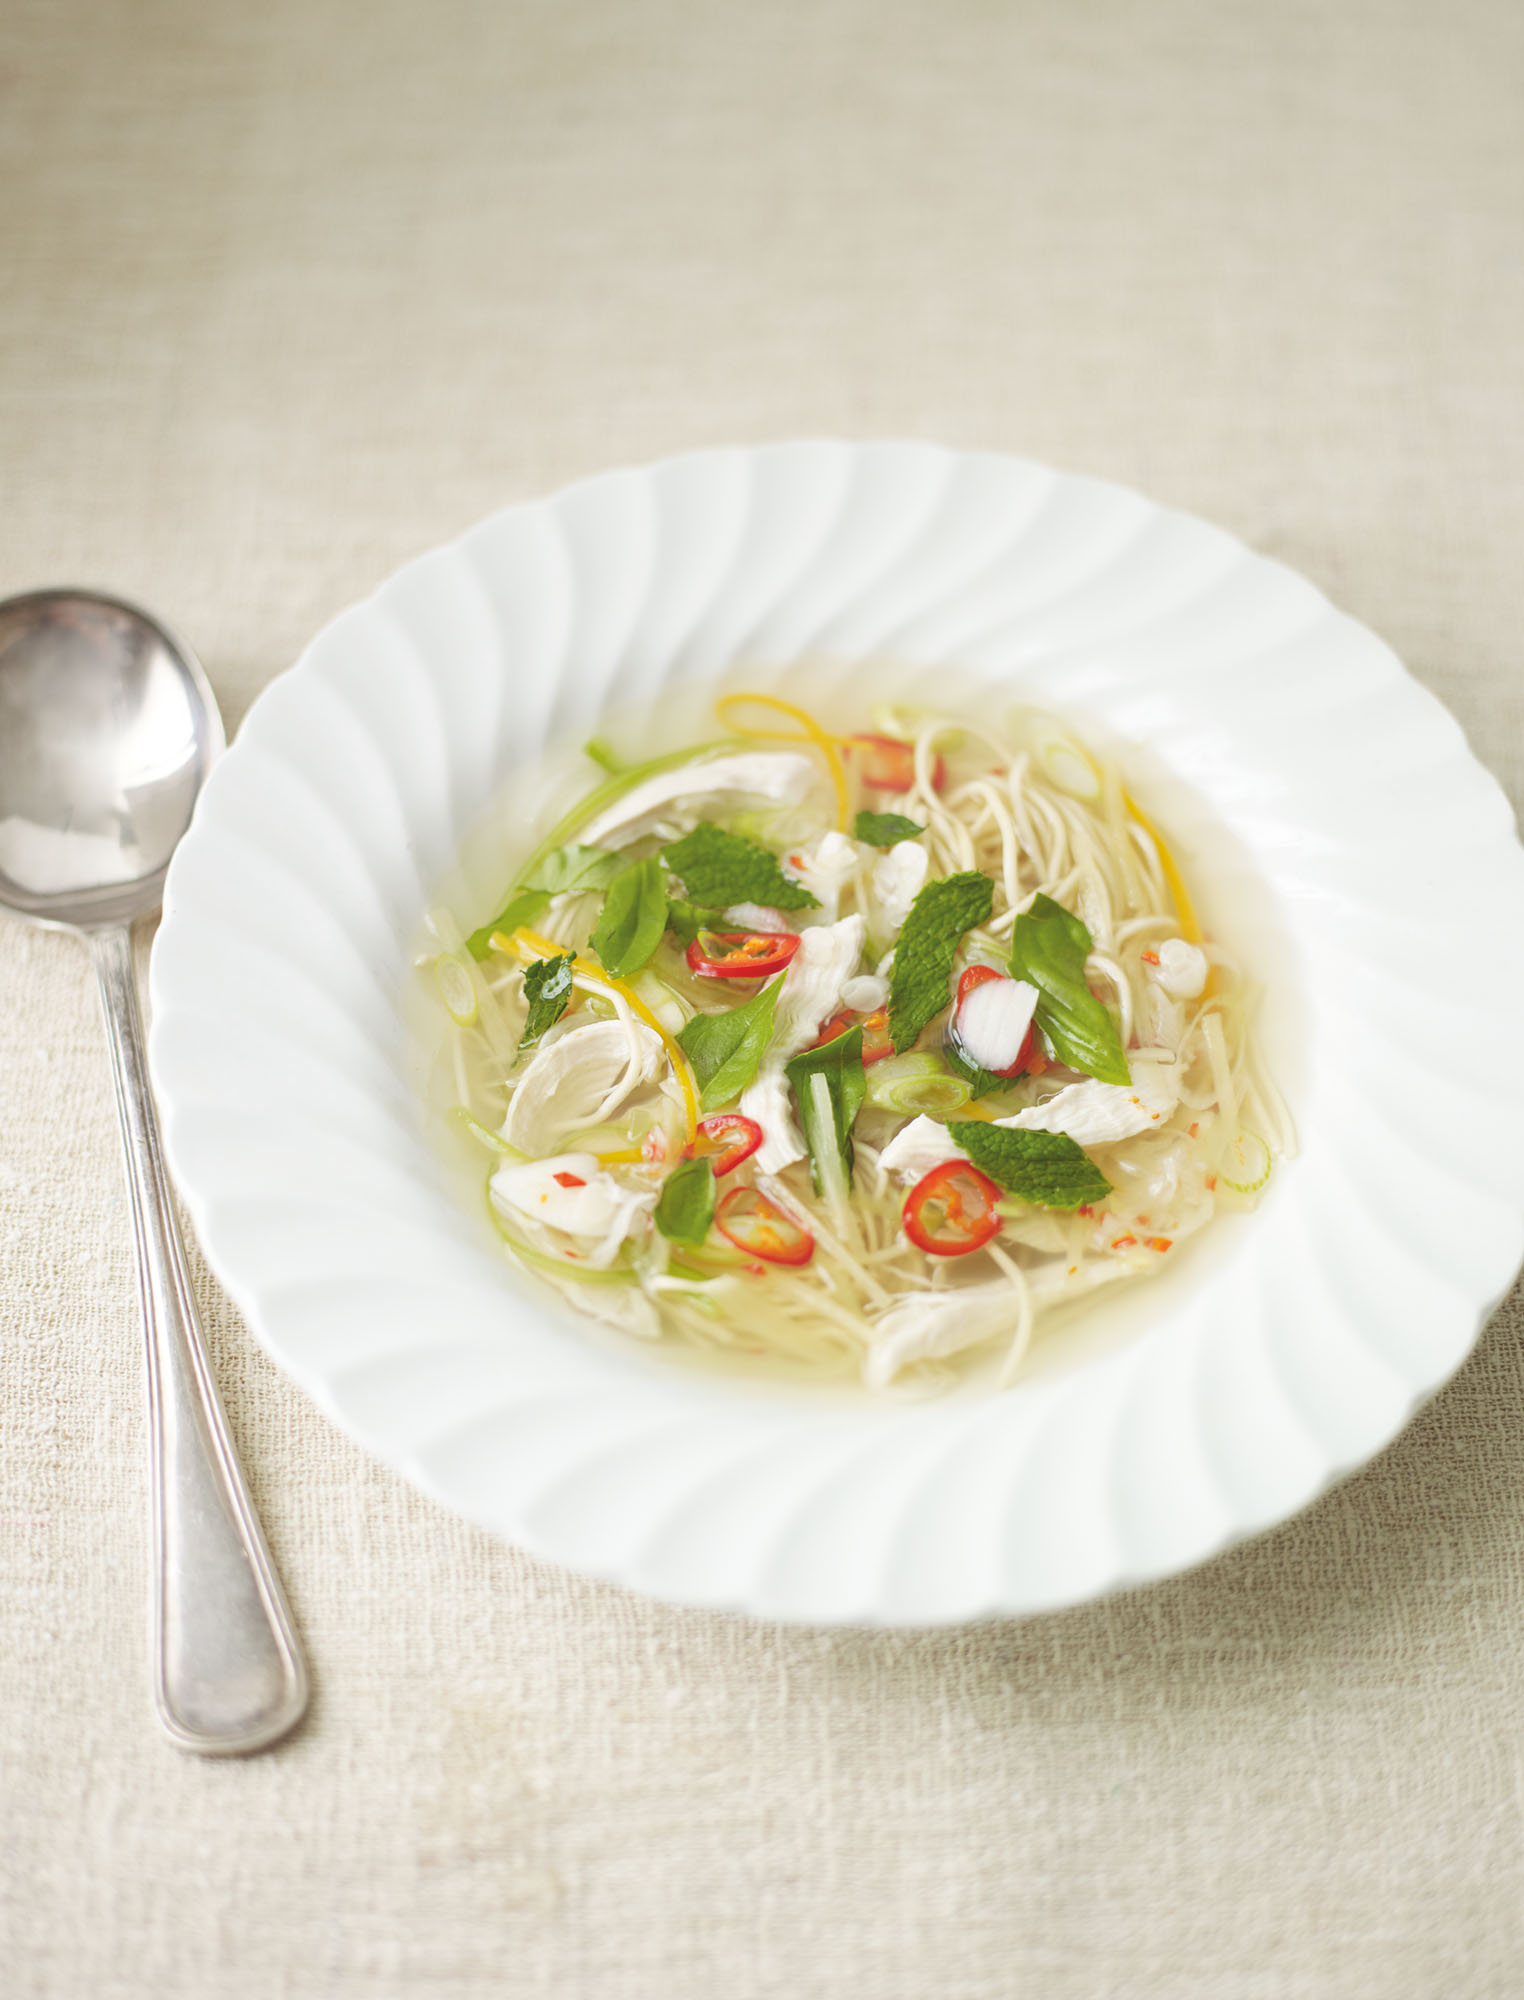
Duvet day chicken noodle soup
Supreme comfort eating and good for the soul, too! The essence of a very good soup is a really good stock, jam-packed full of flavour. Homemade is best, but a decent liquid chicken stock bought from the shop works well too.
Serves 4–6
1.5 litres good-quality chicken stock
1 bunch of spring onions, trimmed, sliced and separated into white bits and green bits
3 cloves of garlic, peeled and thinly sliced
1 red chilli, deseeded and finely chopped
1 x 2cm piece of fresh ginger, peeled and sliced into matchsticks
1 cinnamon stick
2 star anise
6 black peppercorns
Sea salt flakes
3 skinless, boneless chicken breasts
1 stick of celery, trimmed and sliced into thin matchsticks
1 carrot, peeled and sliced into matchsticks
150g quick-cook thin noodles
Small bunch of fresh basil leaves
Small bunch of fresh mint leaves
1 lime, cut in half
Put the chicken stock into a large pan with the spring onion whites, garlic, chilli, ginger, cinnamon, star anise, peppercorns and a good amount of salt. Bring to a simmer, then carefully slide the chicken breasts in and cover with a lid. Cook for 12 minutes, then throw in the celery and carrot and cook for a further 5 minutes. Taste the soup and season as necessary.
Remove the chicken, cinnamon stick and star anise from the soup with a slotted spoon and at the same time put the noodles into the broth and cook, uncovered, for as long as needed.
While the noodles are cooking, flake the chicken into bite-sized pieces with two forks. Just before the noodles are ready, put the chicken back into the broth to heat through and taste the soup again to check if you need any more seasoning.
Rip up half of the basil and mint leaves, stir through the soup with the spring onion greens and then divide the soup among 4–6 bowls. Scatter the remaining herbs over the top and squeeze a little lime juice over each one to finish.
Pea soup with minted mascarpone
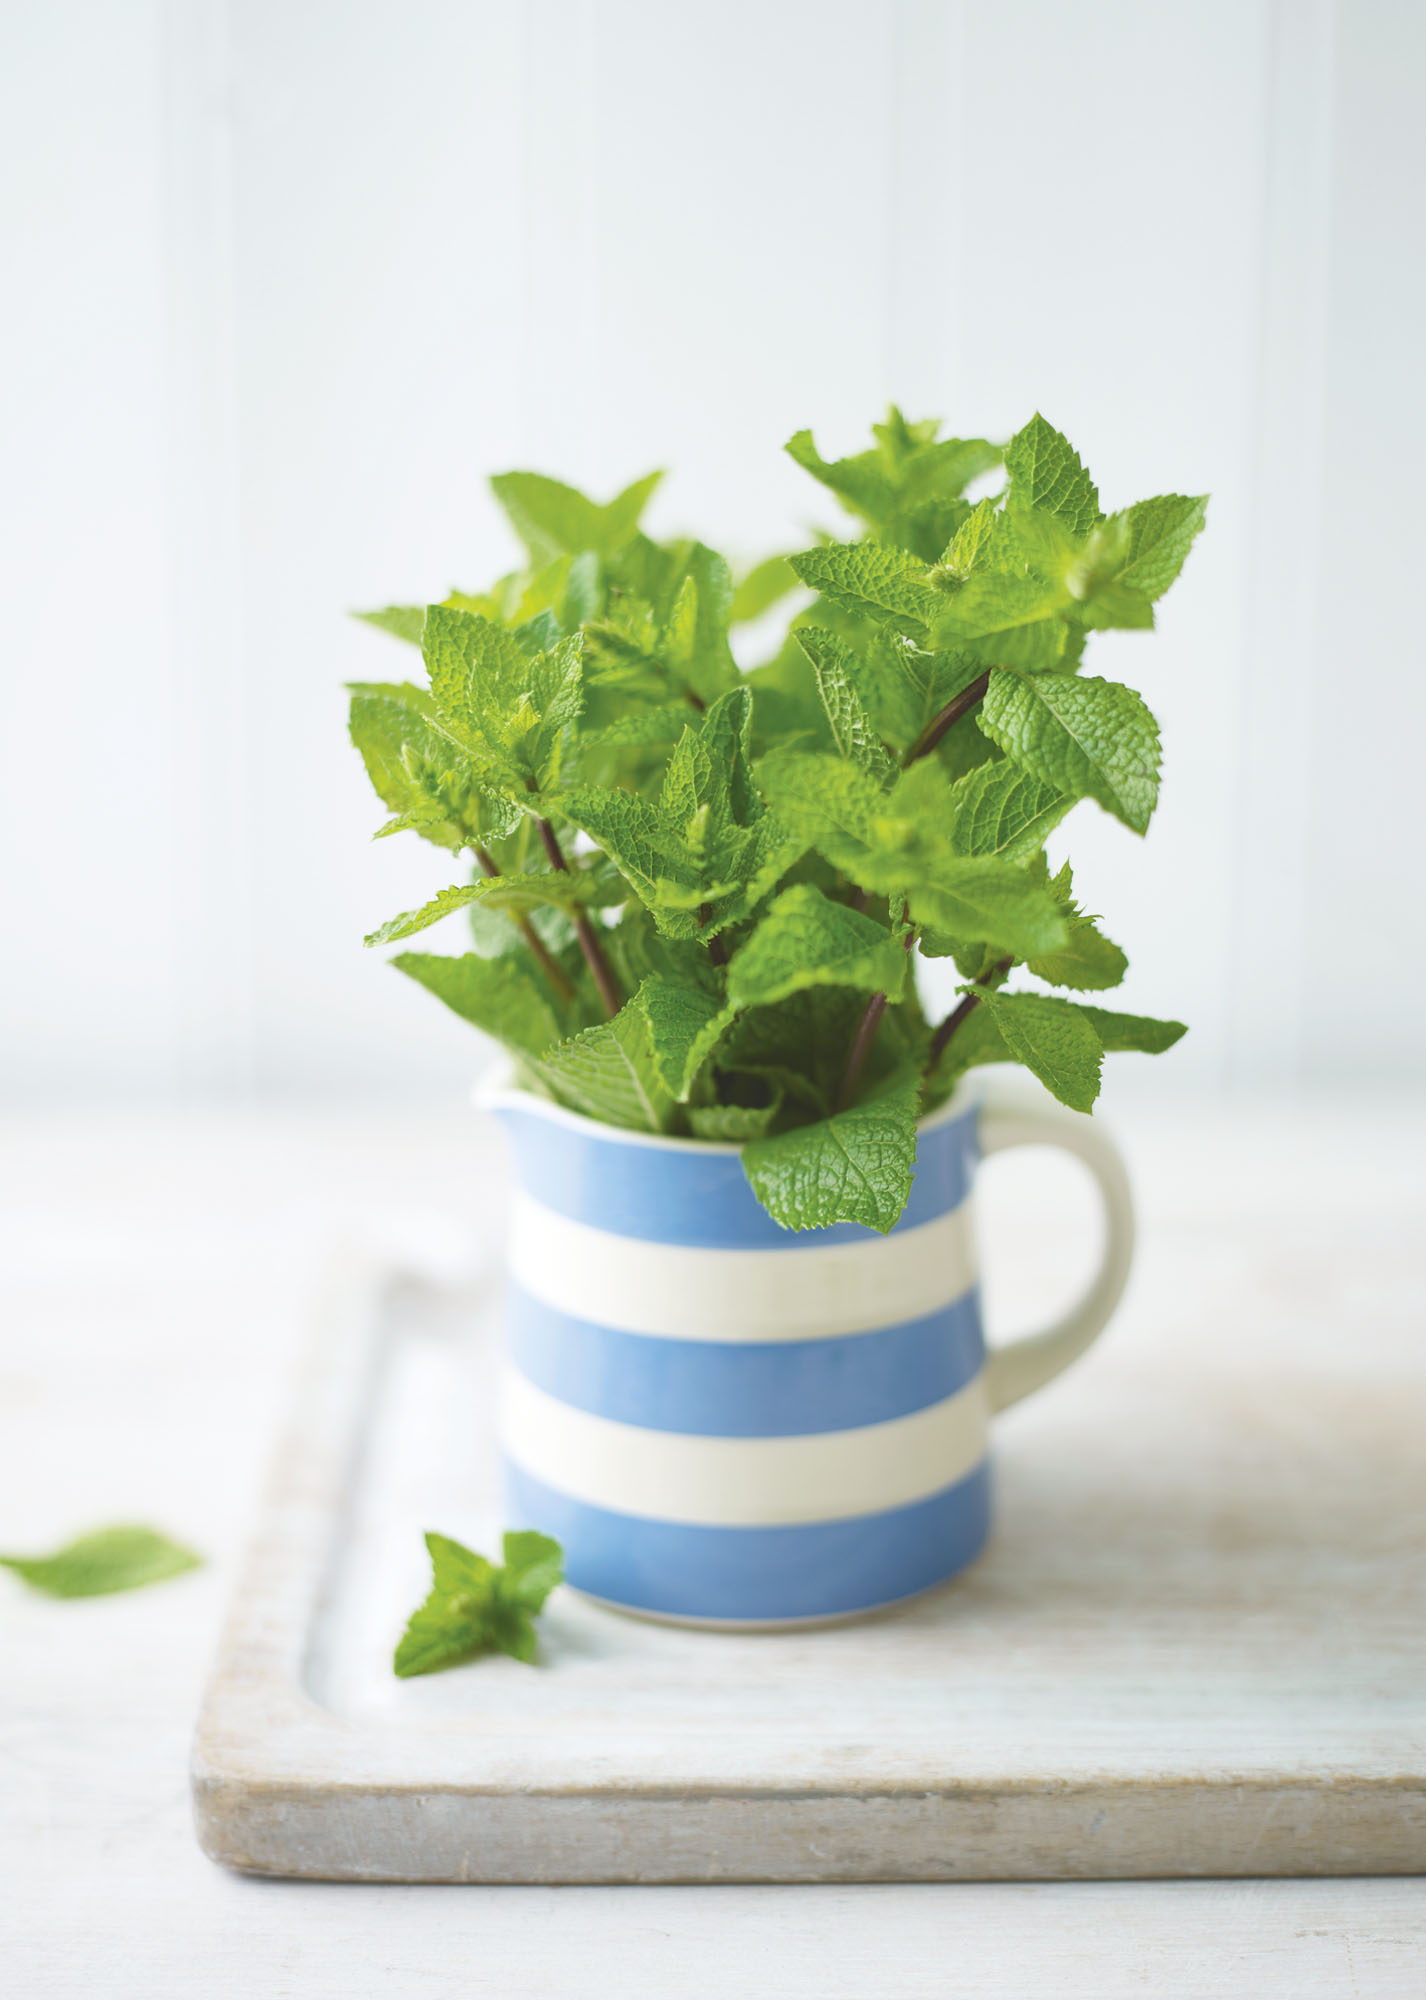
There is always a bag of peas or petit pois in my freezer. Peas are my vegetable of choice and I serve them most days of the week. The other thing I always have in abundance is mint. If you have ever tried to grow it, you will know the ease with which it slowly takes over the garden, winding its way through and over everything else in its path. The supply manages to keep up with demand; we are a mint-loving family and use mint in salads, teas, the odd alcoholic beverage and, of course, in soups. Serve this soup hot with a big chunk of fresh bread slathered with butter.
Makes 1.5 litres, serves 6
800ml chicken or vegetable stock
1kg frozen petit pois
Sea salt and freshly ground black pepper
A small handful of fresh mint leaves, finely chopped
4 dollops of mascarpone (about 150g)
Bring the stock to the boil in a large pan and add the peas. Cover with a lid and allow it to return to the boil. I always put a lid on while waiting for it to boil, as it speeds up the process quite considerably. Reduce the heat and simmer for 3 minutes, or until the peas are tender, then remove the pan from the heat.
Working in batches, blitz the peas and stock in a blender until smooth. Pour each batch into a clean pan as you go. Taste the soup and season with salt and pepper, then reheat it gently over a low heat.
Meanwhile, stir the mint through the mascarpone until well blended.
Once the soup has been heated through, divide it among serving bowls, put a dollop of the minted mascarpone on each one and serve piping hot.
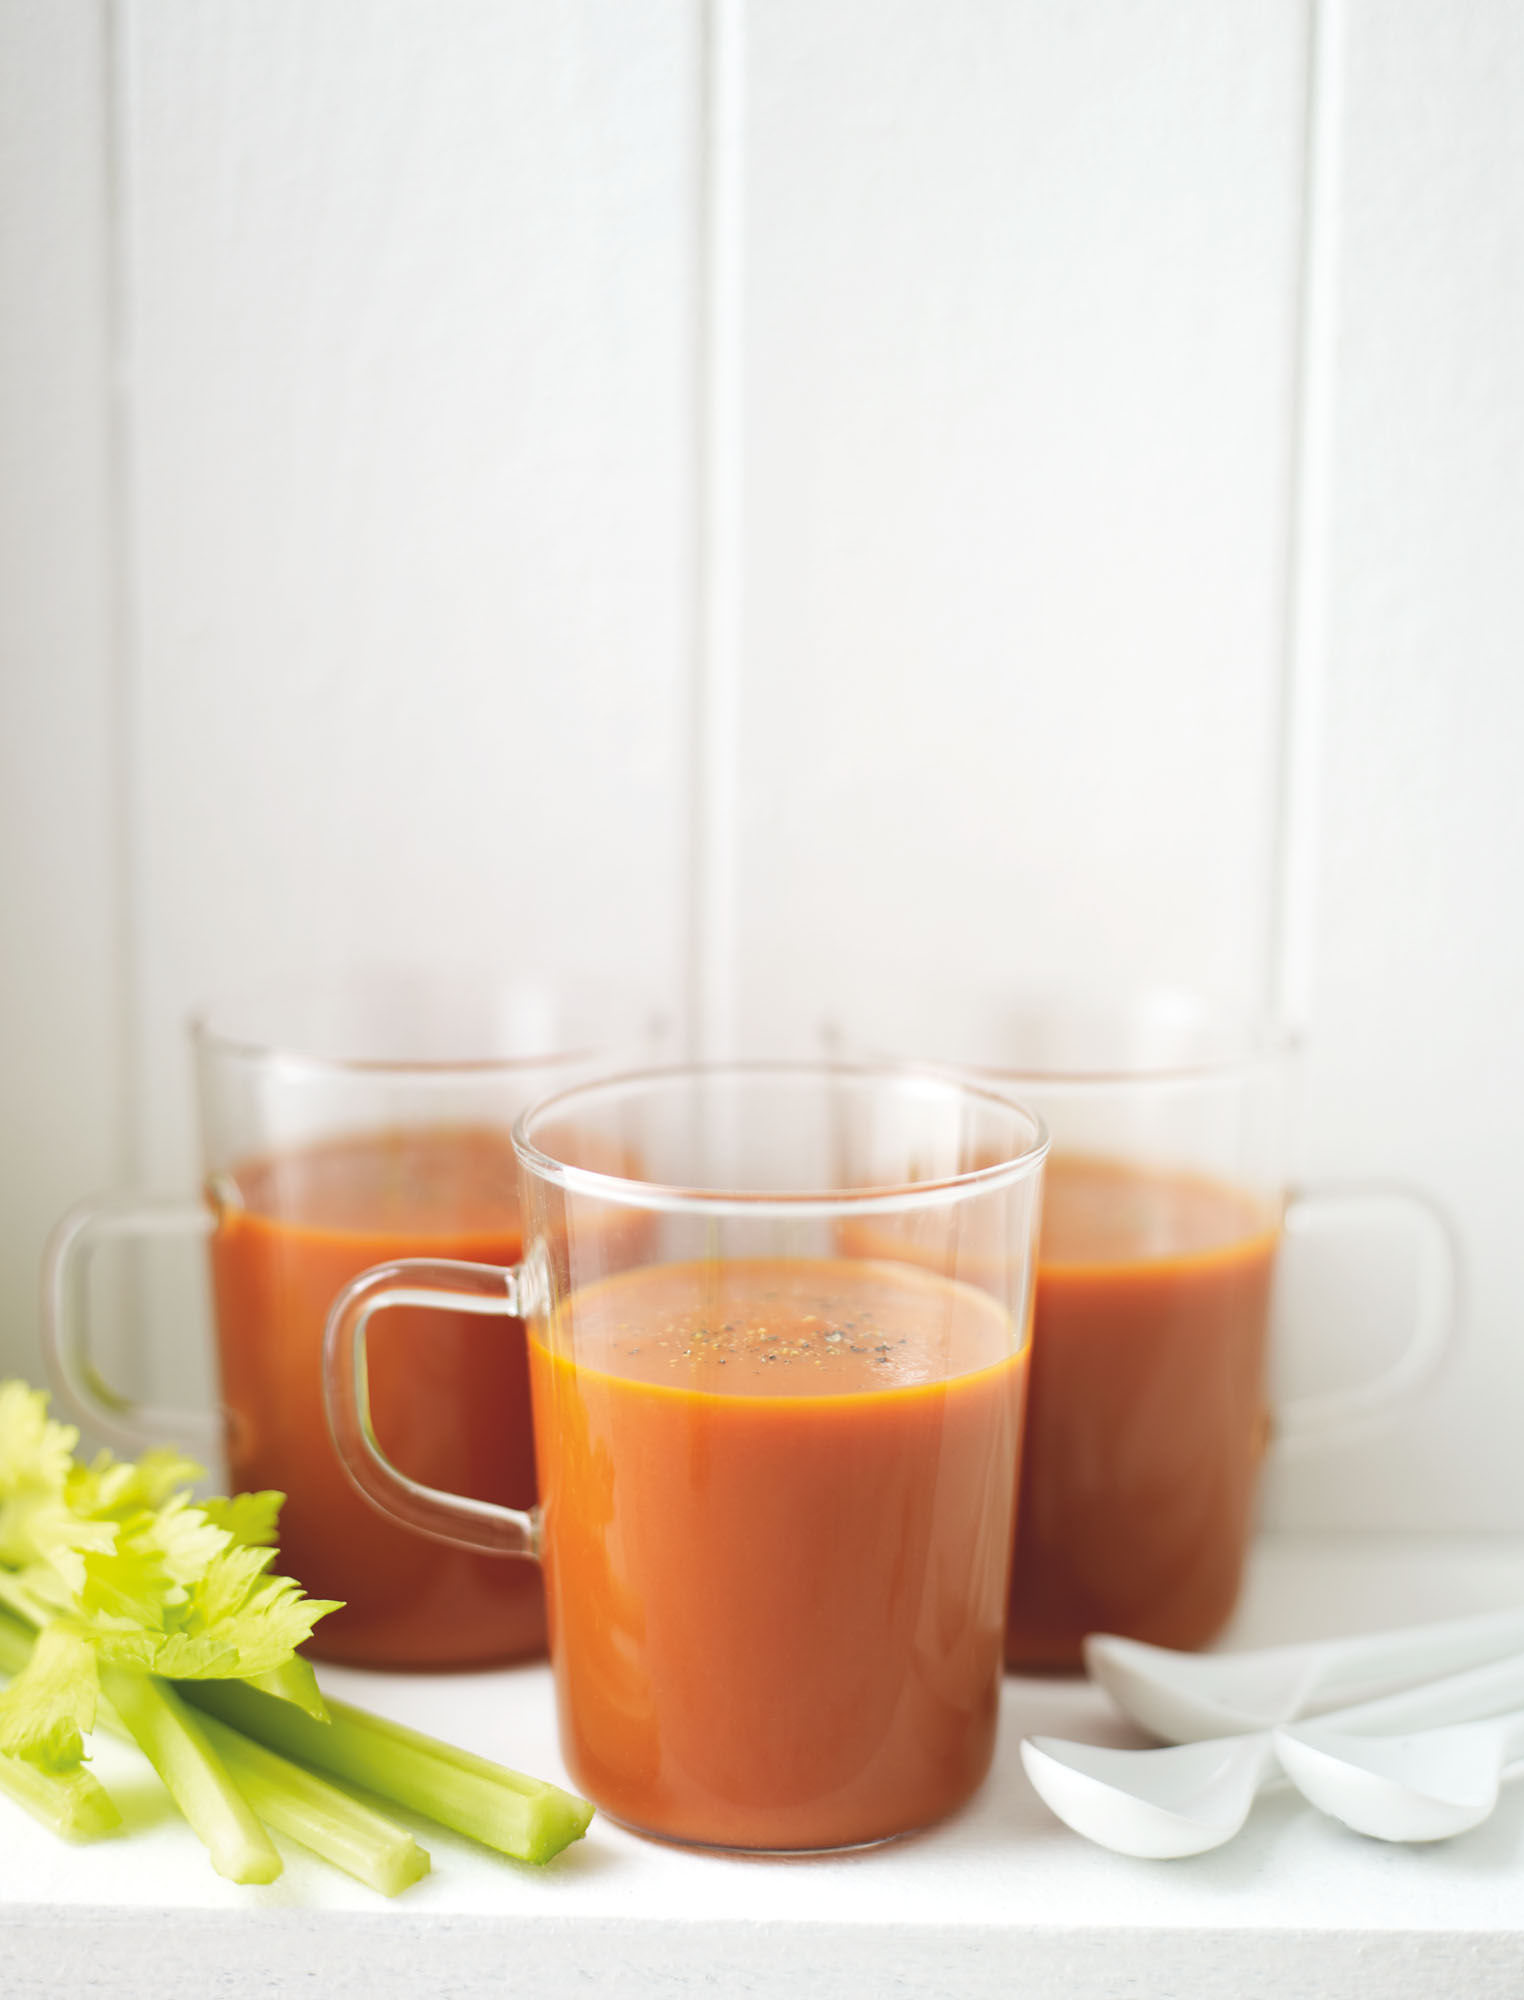
Hot & spicy Bloody Mary soup
The morning after the night before in a steaming hot bowl of soup. Of course, the Vodka at the end is entirely optional but it does add a nice alcoholic kick, should the mood take you! I am not normally a fan of tomato soup, but this one is really full of flavour and will be one to remember.
Makes about 1.2 litres, serves 4–6
1 tbsp olive oil
1 large red onion, peeled and sliced
500g ripe tomatoes (about 5 vine or plum tomatoes), roughly chopped
1 litre tomato juice
3 squirts of tomato purée
1 bay leaf
2 tbsp soft light brown sugar
50ml Worcestershire sauce
½–1 tsp cayenne pepper (depending how spicy you like it!)
Sea salt and freshly ground black pepper
Several shakes of Tabasco sauce (optional)
Vodka, to taste (optional)
1 stick of celery, trimmed and cut into batons
Heat the oil in a large pan, add the onion and cook over a low heat for about 15 minutes until soft but not coloured. Add the tomatoes, tomato juice and purée, bay leaf, sugar, Worcestershire sauce and finally the cayenne and salt and pepper to taste. Bring to the boil, then reduce the heat a little to let it bubble away for a good 30 minutes to really get the flavours going.
Taste the soup and add more seasoning if needed, so it is just as you like it. Remove the bay leaf and discard. Then, working in two or three batches, ladle the soup into a blender and blitz until it is quite smooth but still has a little texture. Pour the blended soup into a large bowl or jug as you go. Once done, return it all to the pan and heat through gently. Add the Tabasco and Vodka, if using, and taste again, adjusting the seasoning if necessary.
Ladle the soup into warmed mugs or serving bowls and serve with the celery batons.
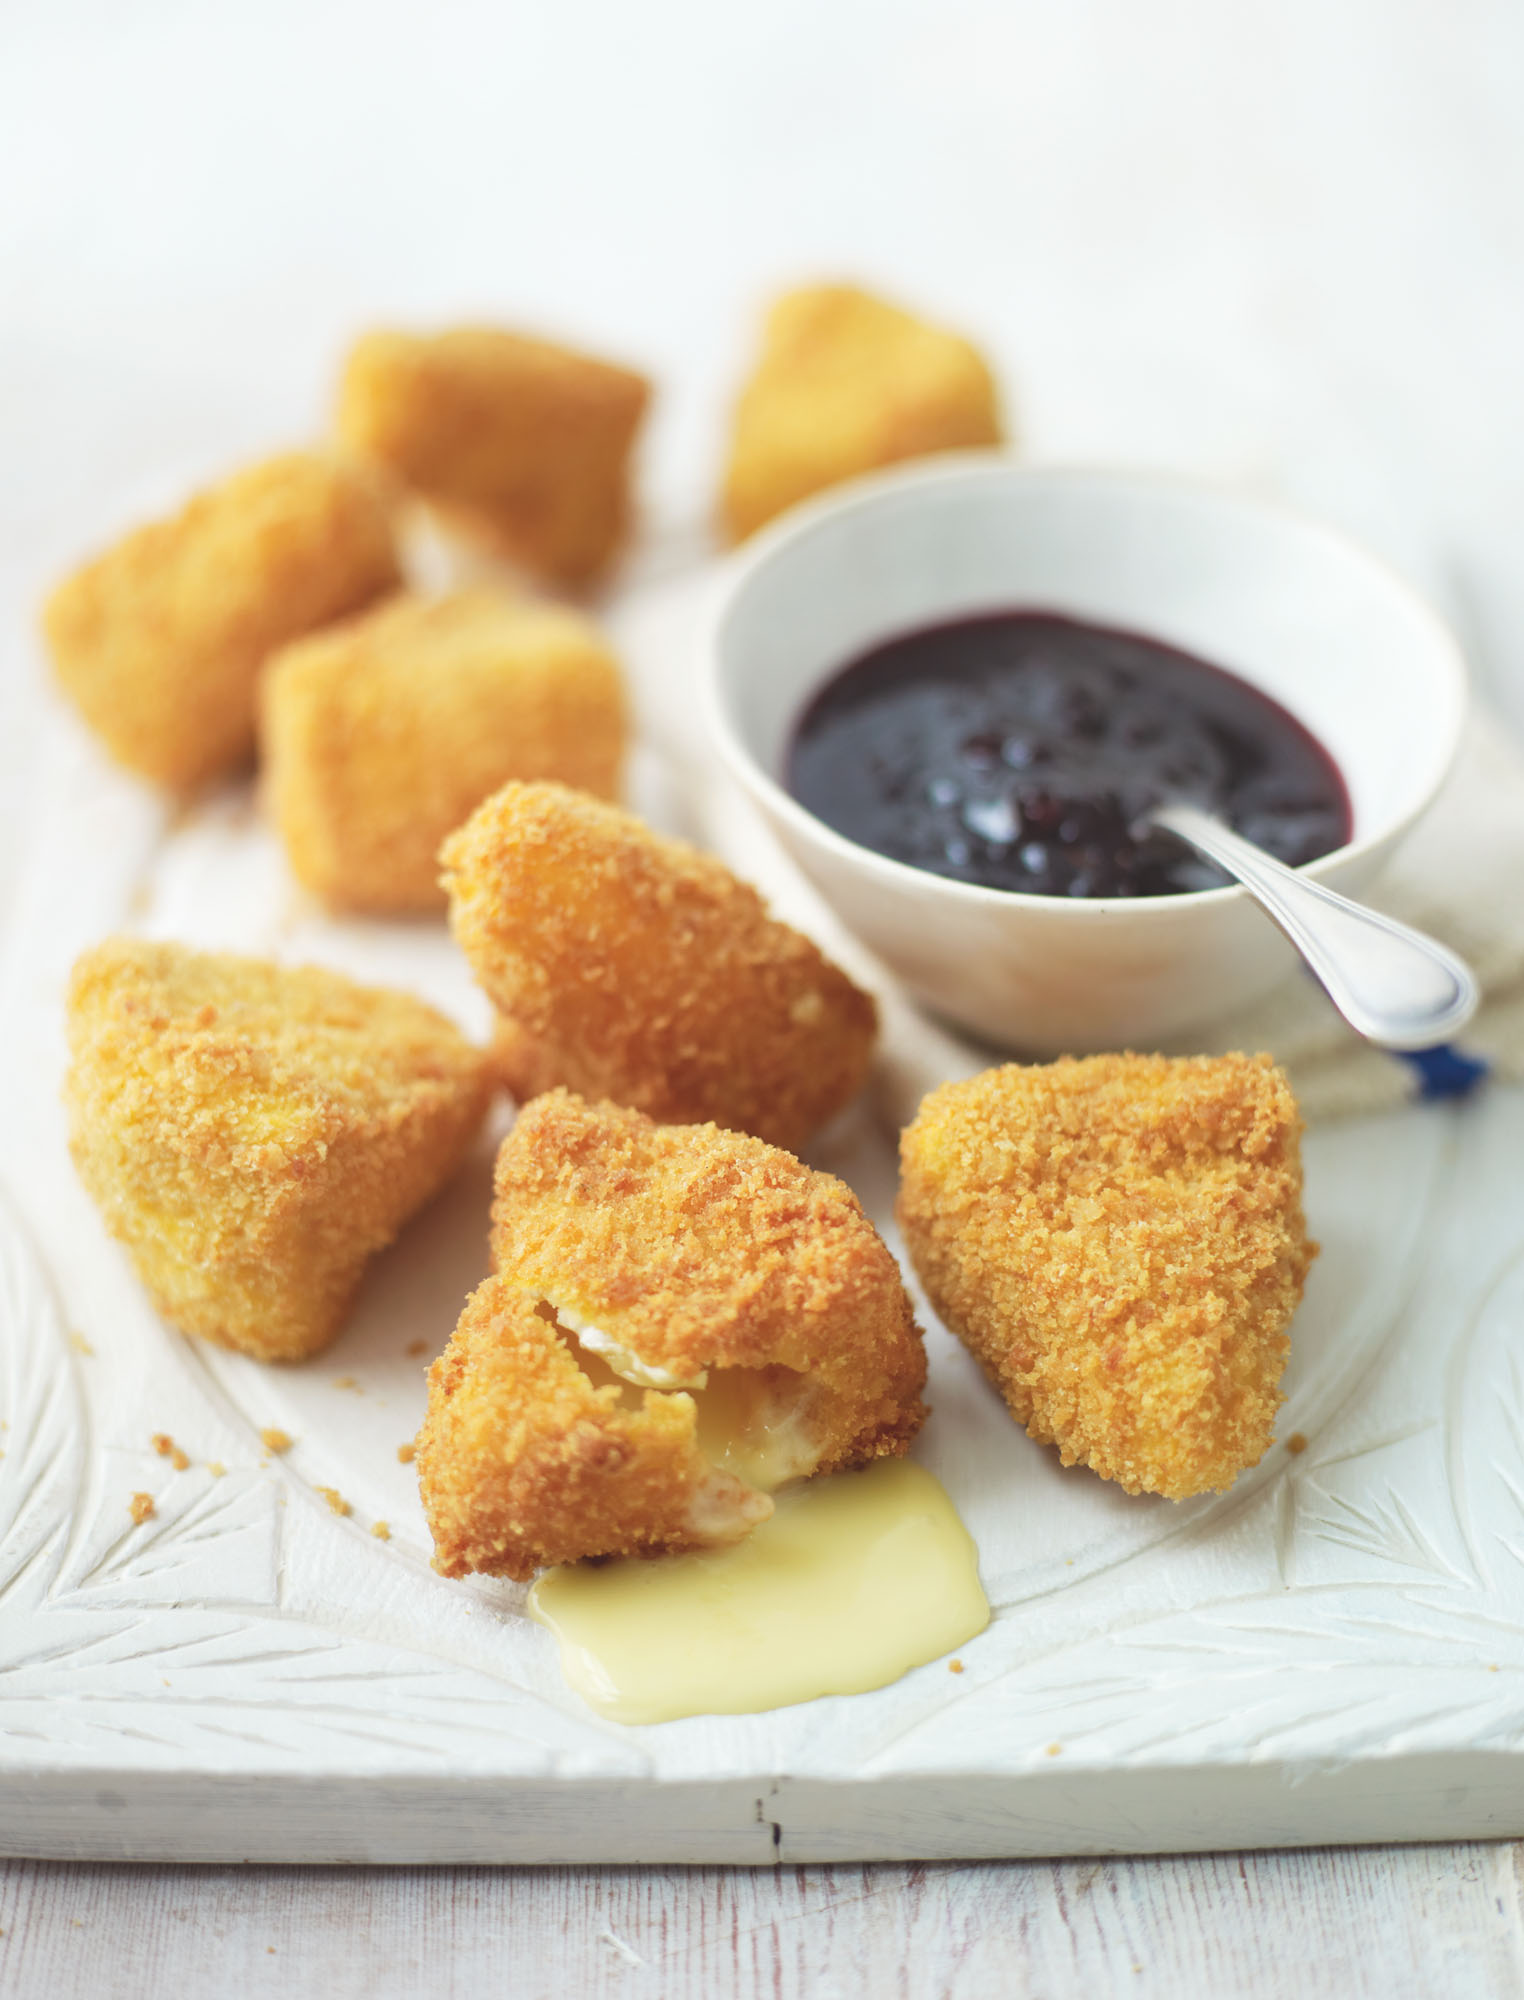
Deep-fried Camembert with a cranberry, Burgundy & thyme sauce
This dish is so naughty – in every way. It comes in the canapé chapter, but it is mightily fine as a meal in itself, to be perfectly honest. For me, life is too short to make cranberry sauce from scratch every time (except at Christmas!), so I like to buy a jar of ready-made and give it a little help from some herby friends.
Serves 4
4 tbsp red wine, preferably Burgundy
Pinch of fresh thyme leaves
150g cranberry sauce
1 egg, lightly beaten
80g natural or golden breadcrumbs
Salt and freshly ground black pepper
1 x 250g whole Camembert, unwrapped
Vegetable oil, for deep-frying
Put the red wine in a small pan and boil it until it is reduced by half, this usually happens quite quickly. Add the thyme leaves and cranberry sauce, bring it to just below the boil, then take the pan off the heat and set aside.
Put the egg in one bowl and the breadcrumbs in another, then season the breadcrumbs with salt and pepper. Cut the Camembert into four pieces, then dip into the egg and then into the breadcrumbs. Dip once again into the egg and then into the breadcrumbs. Have a slotted spoon and tongs at the ready along with a wire rack with some kitchen paper underneath it.
Fill a medium, deep pan with oil to the depth of 6cm and heat over a medium heat until a small piece of bread carefully placed in the oil browns in 60 seconds.
Carefully place the breaded cheese into the hot oil, one by one, using a slotted spoon. Put them into the pan from a low height so that the hot fat does not splash, then deep-fry until they are a lovely golden brown colour. Remove the cheese with a slotted spoon or tongs – whichever is easier for you – and place them on the wire rack. Putting them on the rack rather than straight onto kitchen paper means that they will not be sitting in their own fat and will stay nice and crispy.
Once you have cooked all of the cheese wedges, place them on serving plates with the cranberry sauce and serve straightaway with a green salad.
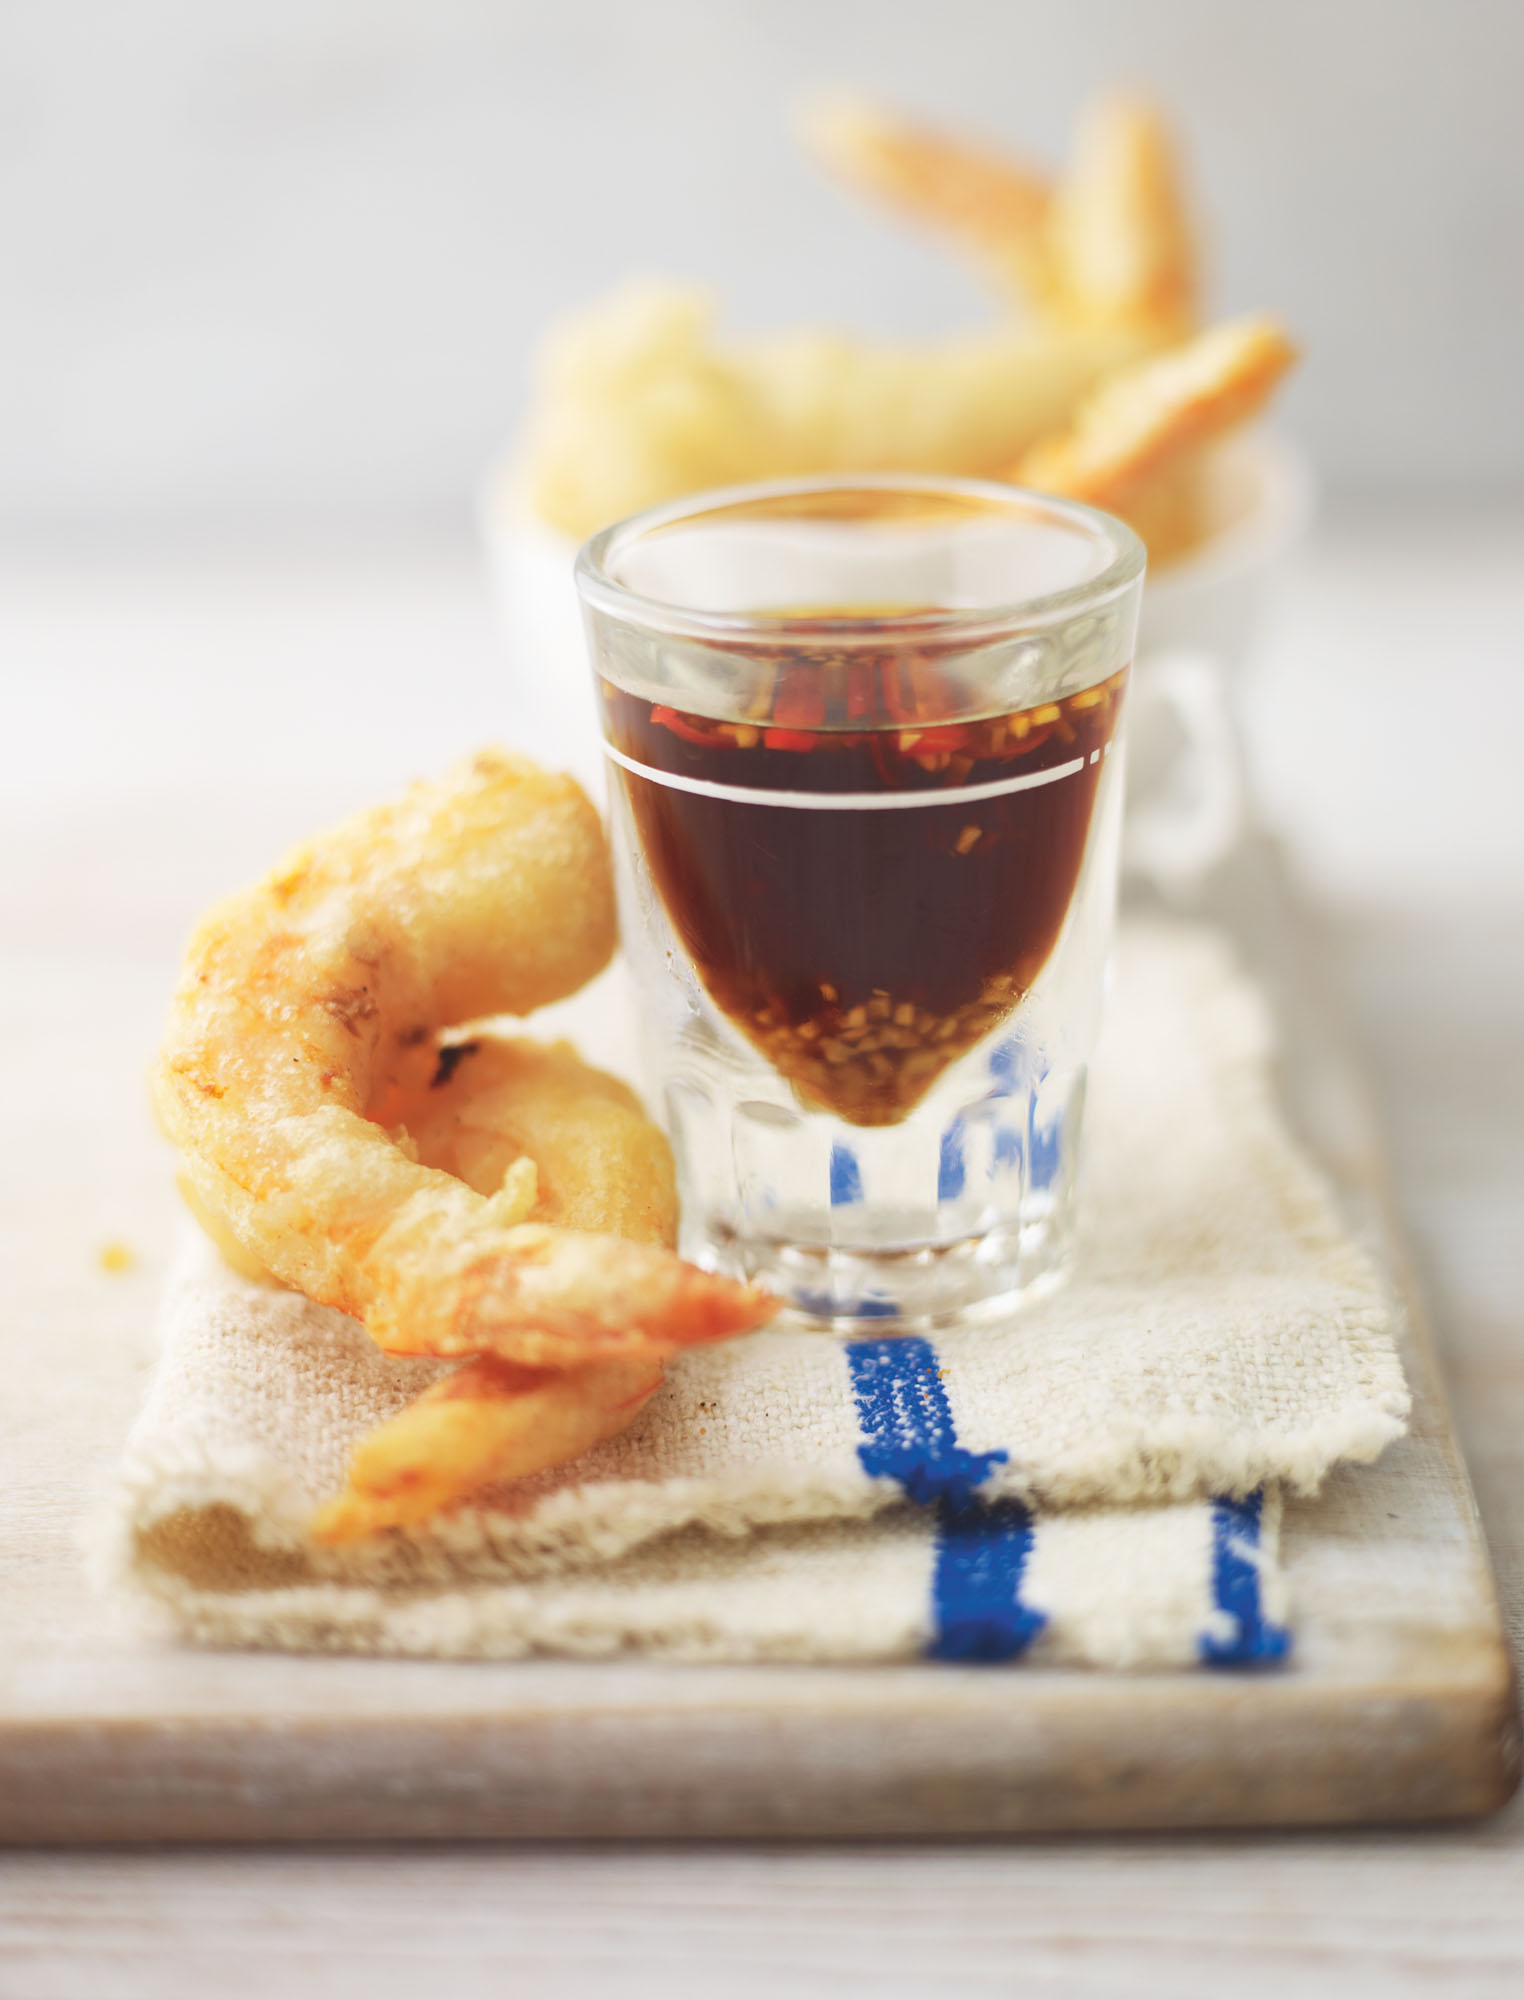
Light & crispy tempura prawns & soy chilli dipping sauce
This is a great dish to impress friends. Prawns are perfect, but you could also use courgettes, aubergines, peppers and all sorts of vegetables as well if you like. I have made my own dipping sauce to serve with the tempura, but it is also delicious served with some ready-made chilli sauce.
Serves 3–4
500ml vegetable oil, for deep-frying
100g plain flour
100g cornflour
Pinch of salt
2 tbsp baking powder
180–200ml very cold sparkling water
Few ice cubes (not essential but it helps)
10 large raw prawns, peeled with tails still intact
Dipping sauce
20ml soy sauce
20ml mirin
½ chilli, deseeded and finely diced
½ clove of garlic, peeled and finely diced
1 x 5mm piece of fresh ginger, peeled and finely diced (or to taste)
Lay some kitchen paper on the work surface and place a wire rack over it. I put deep-fried food on this as soon as it is cooked because the fat can drip down onto the kitchen paper through the rack; this is better than letting the food sit in its own oil if put directly on kitchen paper. Have a slotted spoon or tongs at the ready, whichever is easiest for you to use.
Fill a medium, deep pan with enough oil to reach 5cm depth (I used about 500ml) and heat over a medium heat until a small piece of bread carefully placed in the oil browns in 50–60 seconds.
Just as the oil is almost at the right temperature, put the flour, cornflour, salt and baking powder in a bowl. Make a well in the centre and add the water. Mix everything together very quickly until just combined. The batter should be quite thick and it does not matter if there are still lumps. Add 2 or 3 ice cubes, then dip one of the prawns in the batter and let the excess drip off until you can still see a bit of prawn through the batter. Carefully add the prawns to the hot oil from a low height so the fat does not splatter. Do not overcrowd the pan, as this lowers the temperature of the oil and makes the prawns boil rather than fry, so add them in small batches and deep-fry for 2 minutes. The prawns will cook in 2–4 minutes (although this depends on how big the prawns are). Tempura batter is very pale, unlike fish and chip batter, so when it starts going from white to pale golden, the prawns should be ready. Check one by cutting it open to see if it is cooked. It should be white and not too glassy looking, and you will now know how long to cook the other prawns.
Remove the prawn with a slotted spoon or tongs and place it on the wire rack to drain, then repeat with the others. There will be enough batter here for some vegetables too, which are delicious.
Combine the sauce ingredients in a bowl and serve with the hot prawns.
Prosciutto & Brie toastie
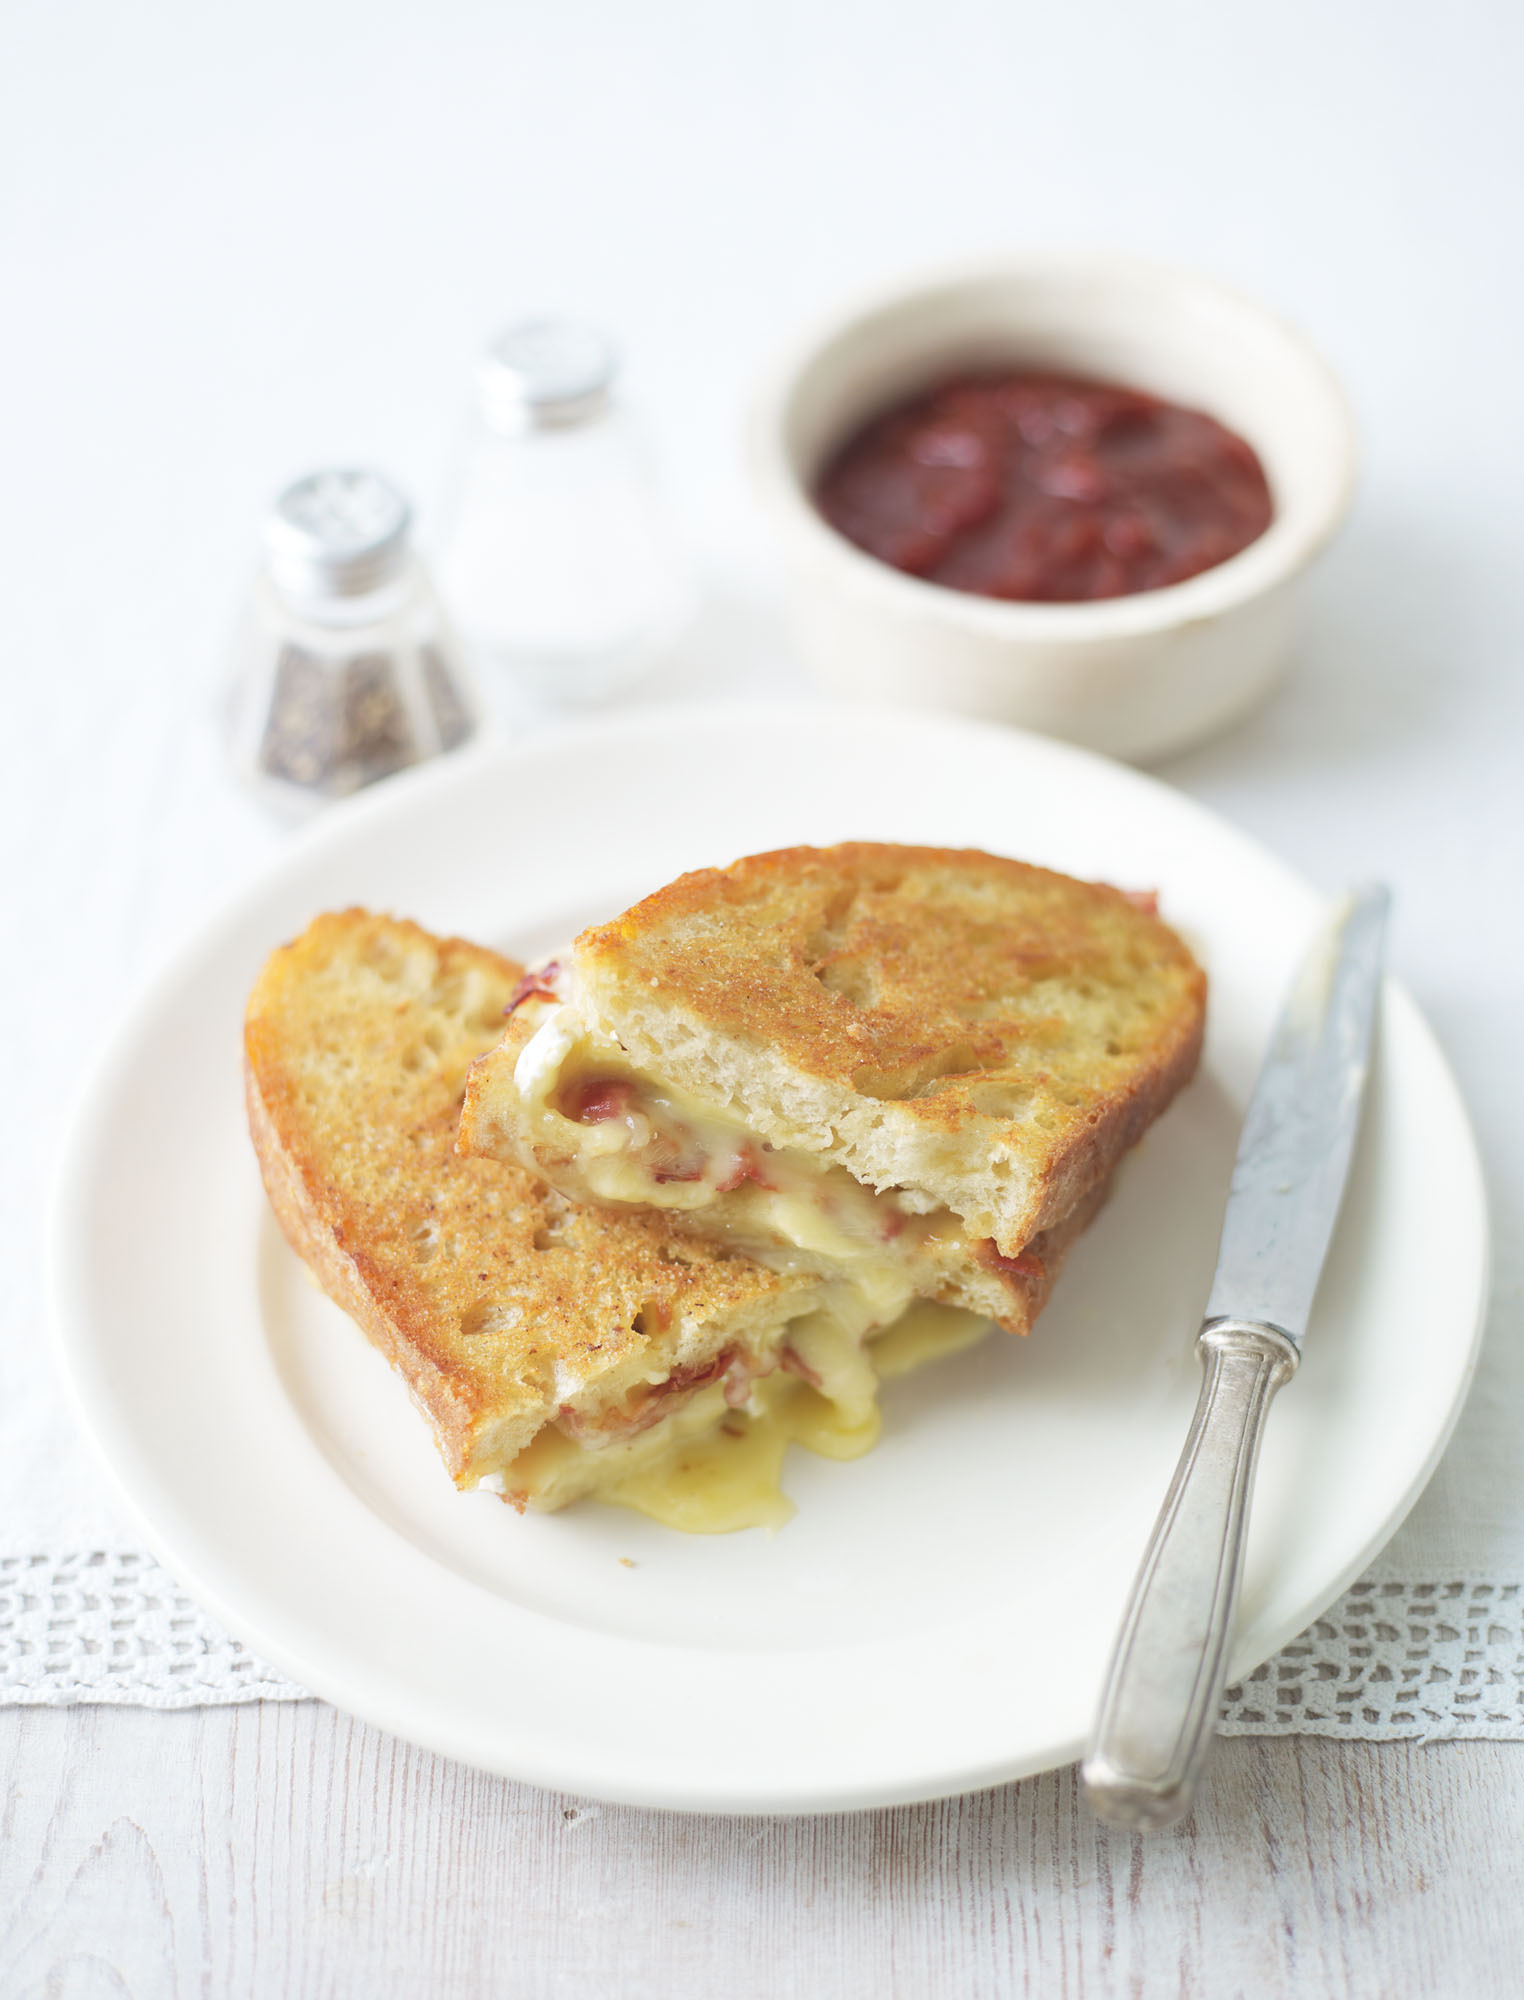
I used to go round to my friend’s house in Witney for tea. Every so often, when cheese triangle sandwiches on white bread were not on the menu, her mum would fire up a machine that made the most perfect toasted cheese and ham sandwiches. I can never beat the perfection of those little triangle sandwiches, but this comes oh so close!
Serves 2
6 slices of prosciutto (streaky bacon will work well too)
Large knob of butter
4 slices of good thick crusty bread
Oil, for frying
100–150g Brie, ripped up into chunks
Preheat the oven to 200°C (400°F), Gas Mark 6. Fry the prosciutto or bacon to just the way you like it, then set aside. Tip off any excess fat from the pan. Butter each slice of bread.
Heat some oil in a pan. Once the oil is hot, add two slices of bread, buttered side down, and divide the Brie and prosciutto or bacon between the bread. Put the other slices of bread on top, buttered side up, and using a fish slice, squish it down in the pan so it cooks more quickly. As soon as the bottom is toasty and golden brown, turn it over and cook the other side, squishing with the fish slice. I usually cook mine for about 2 minutes on each side. Once the toasties are cooked, remove them from the pan.
The chilli jam goes well with this, but a big blob of brown sauce is also a match made in heaven!
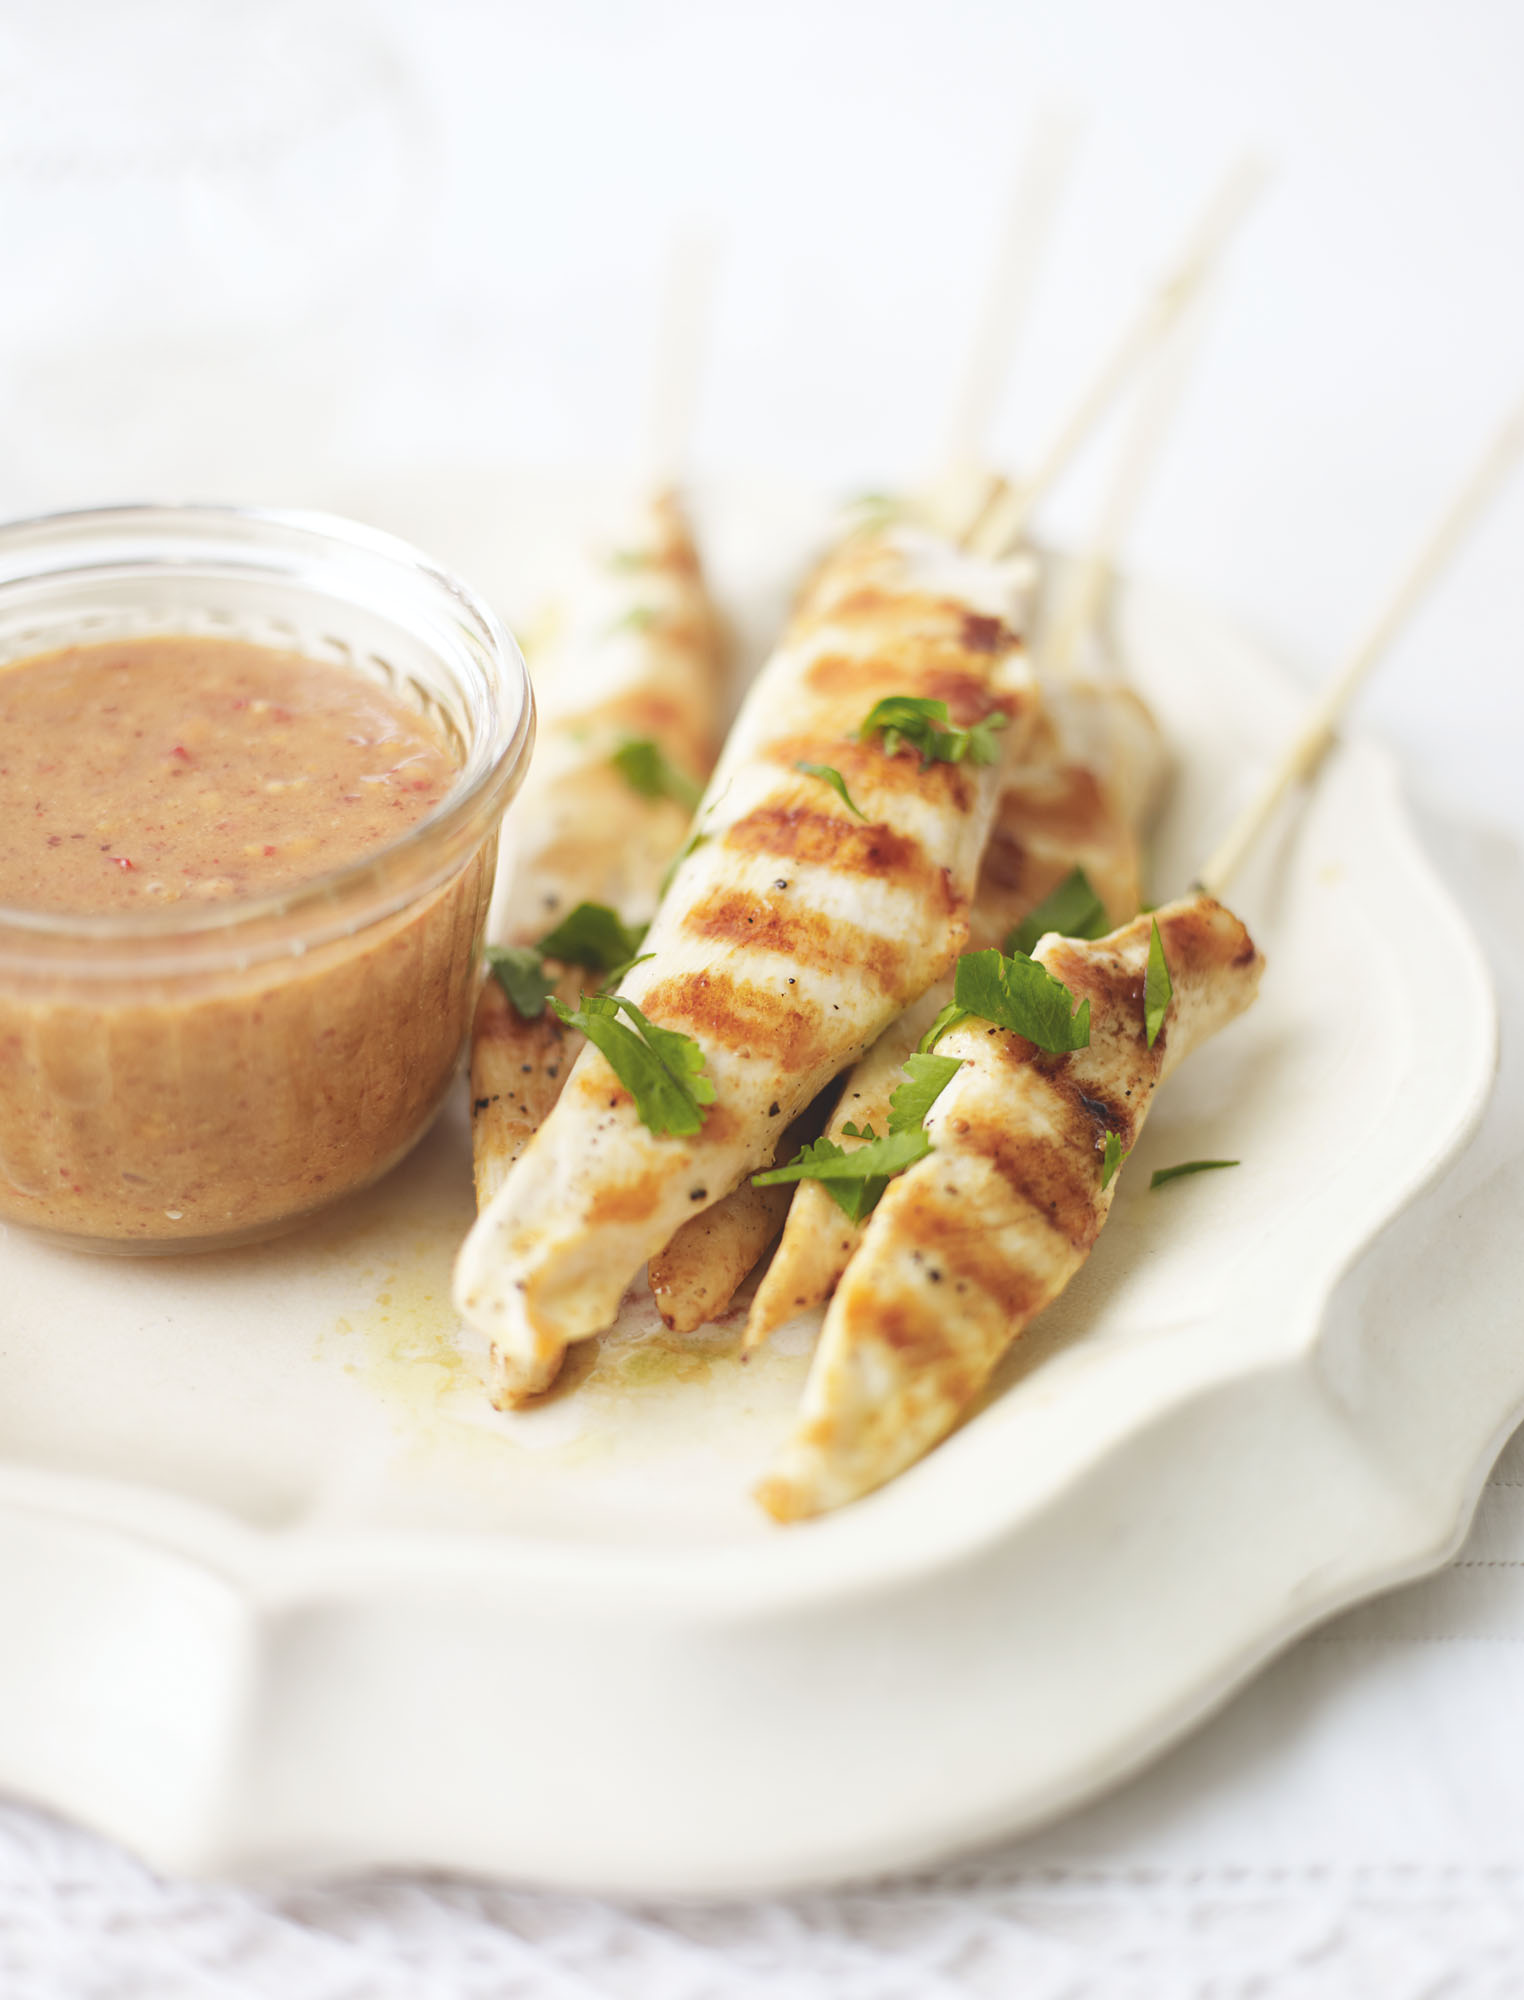
Satay chilli chicken
A quick easy canapé or starter, or just a tasty snack.
Serves 4
4 chicken breasts
Oil, for cooking
1 squidge of runny honey
1 small bunch of coriander leaves
Peanut sauce
100g crunchy peanut butter
1 clove of garlic, peeled and finely chopped
1 tbsp sesame oil
1–2 red chillies, finely chopped (depending on how hot you want it)
Pinch of soft light brown sugar
1 tbsp soy sauce
Juice of ½ lime
3–4 tbsp rice wine vinegar or mirin
1–2 tbsp water
Equipment
12 wooden kebab sticks cut so they can fit inside your biggest frying pan. Soak them in cold water for 30 minutes before using to prevent burning
Take a chicken breast and, using a pair of scissors and with the pointy end furthest away from you, cut the breasts into about three long thin strips, then set aside and continue with the other three chicken breasts.
Push a kebab stick along the length of a chicken piece, stopping just before the stick comes out the other end. Repeat with the rest of the chicken. Of course, if you don’t feel like threading pieces of chicken on sticks, you can just skip this step and serve them as strips instead.
Heat some oil in a large sauté pan or frying pan, add the chicken and cook well on each side until the chicken is completely cooked. Depending on the thickness of the breast pieces, this will take about 8 minutes. My pan is not big enough to do all the chicken in one go, so I usually put about 1½ breasts’ worth in at a time, then set them aside to cook the rest.
While the chicken is cooking, put all of the sauce ingredients into a blender and blitz to a rough consistency. Taste the sauce to see if you need to add any seasoning or perhaps a squeeze more lime juice, then set aside.
Once the chicken is almost cooked through, add a little honey to the pan and mix the chicken around in it until coated, then remove from the pan. If cooking the chicken in batches, leave the pan to cool a little, then wipe or rinse out the honey before adding the next batch, as it will burn if left in the pan. Add a little more oil and repeat with each batch.
Serve three satay sticks per person sprinkled with some coriander leaves and accompanied by the peanut sauce.

Breads
I have tried to make it my goal these days to bake a fresh hand-made loaf at least once a week. It is hard to beat the smell that meanders around the house as bread bakes in the oven. The first bread I ever made was at secondary school during my much loved Home Economics classes. They were little white bread rolls shaped into small bundles of deliciousness. Since then I have experimented with many different breads, some of which can be found in this chapter – such as old-fashioned English muffins, best served hot with loads of butter, the stunning pain d'epi, which often gets oooos and ahhs when brought to the table, and the divine ham, cheese and chive bread, which is ready from start to finish in under an hour.
‘Enthusiasm is the yeast that raises the dough.’
Paul J. Meyer
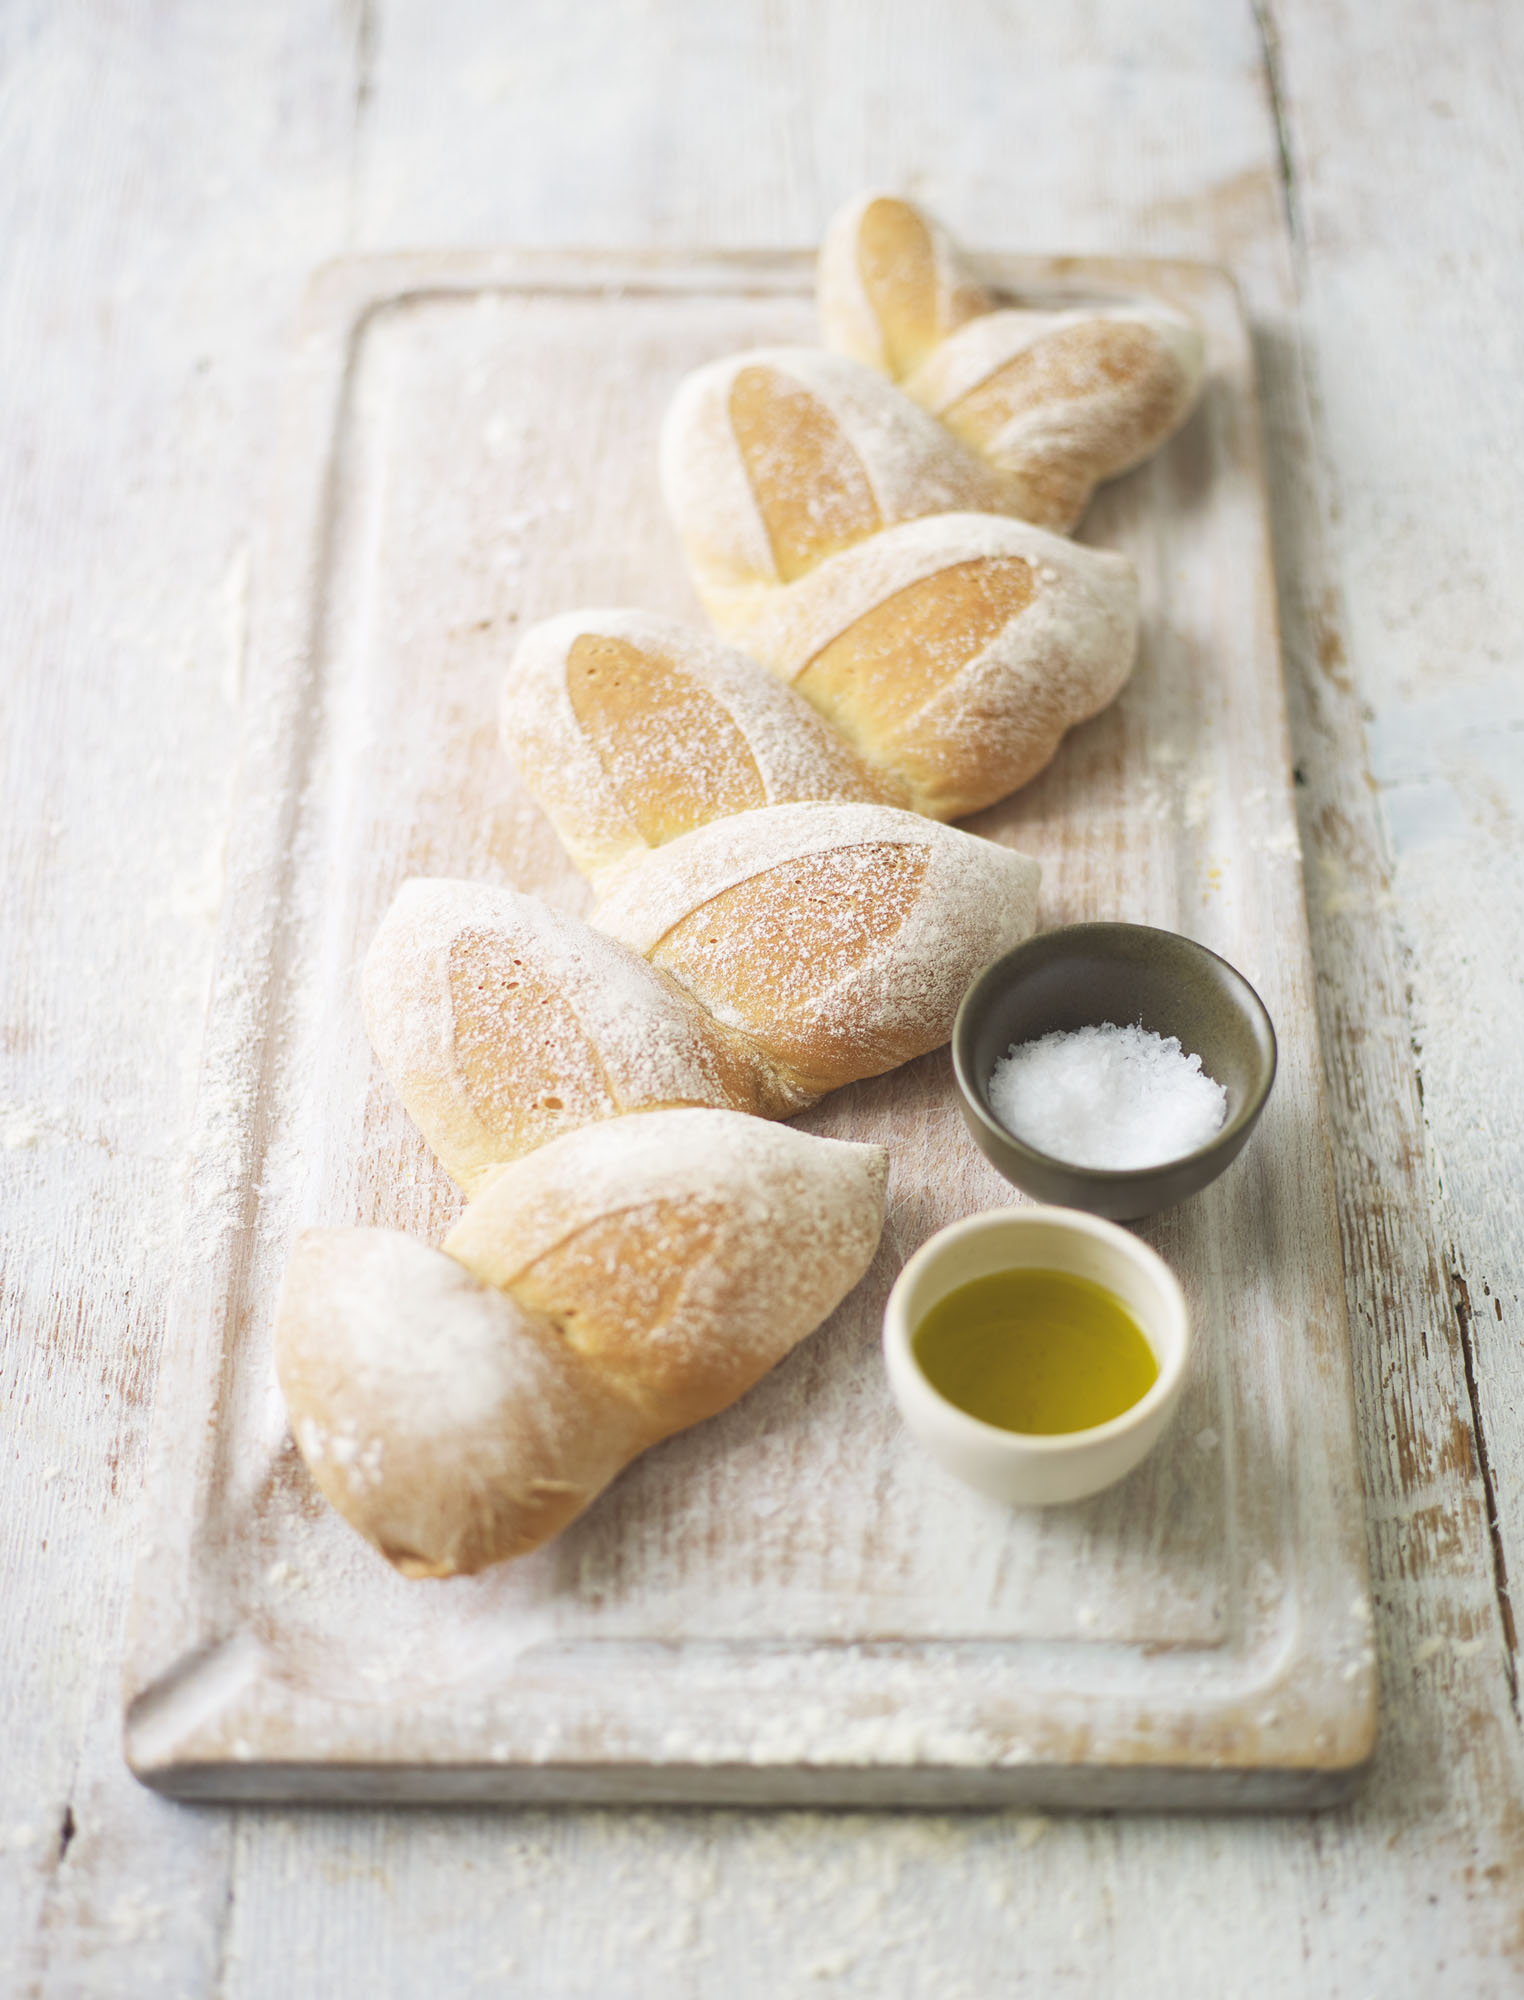
Sea salt & olive oil pain d’epi
The way of shaping this loaf transforms an ordinary baguette into quite a stunner. Place the loaf at the centre of the table so everyone can break off a big hunk. Although there is olive oil in the recipe, I like to serve a little extra oil with a drizzle of balsamic, but it goes really well with butter too. As with most bread, this is best served warm.
Makes 1 loaf (V)
275g strong white flour, plus extra for dusting and sprinkling
1 scant tsp sea salt, plus extra for the top
2 tsp fast-action dried yeast
150–185ml warm water
1 tbsp extra-virgin olive oil
Put the flour, 1 teaspoon of salt and the yeast in a large bowl. Add enough of the water to make a lovely soft dough and then the olive oil and mix with a wooden spoon until the mixture begins to come together a little. Put the spoon down and get your hands in, and squidge it together to form a ball. Knead the dough for 10 minutes if doing by hand, or for 5 minutes if using a machine.
Dust a large baking tray with flour, form the dough into a tight ball so that the top is really nice and taut, then roll it into a long and thin baguette shape (thinner than usual, as it will expand while it rises). Cover the tray with oiled clingfilm so it is airtight but not too taut, giving the dough room to expand. Leave it in a warm place for about 1 hour, or until doubled in size. I usually leave mine on a chair near the oven.
Preheat the oven to 200°C (400°F), Gas Mark 6. Once the bread has almost doubled in size, remove the clingfilm and sprinkle over some flour. Put the bread with the shortest edge facing you (or lengthways) and, starting at the end furthest away from you, hold a pair of scissors so they are parallel to the bread, then tilt them so they are at a 45-degree angle. Make a large cut 10cm away from the top of the dough, almost as if you were going to snip that bit off (but it will be attached still), then take that piece and move it to the left. Make another snip about 10cm down from the bottom of the last one and move that piece to the right. Keep on doing this until you reach the end of the bread.
Sprinkle the top with flour and sea salt. Spray some water into the oven to create a steamy atmosphere. I usually spray 8–10 squirts with a spray gun, then place the dough in the oven. Bake for about 25 minutes, or until the bread is cooked. It should smell cooked, be golden brown and sound hollow when you tap it on the bottom.
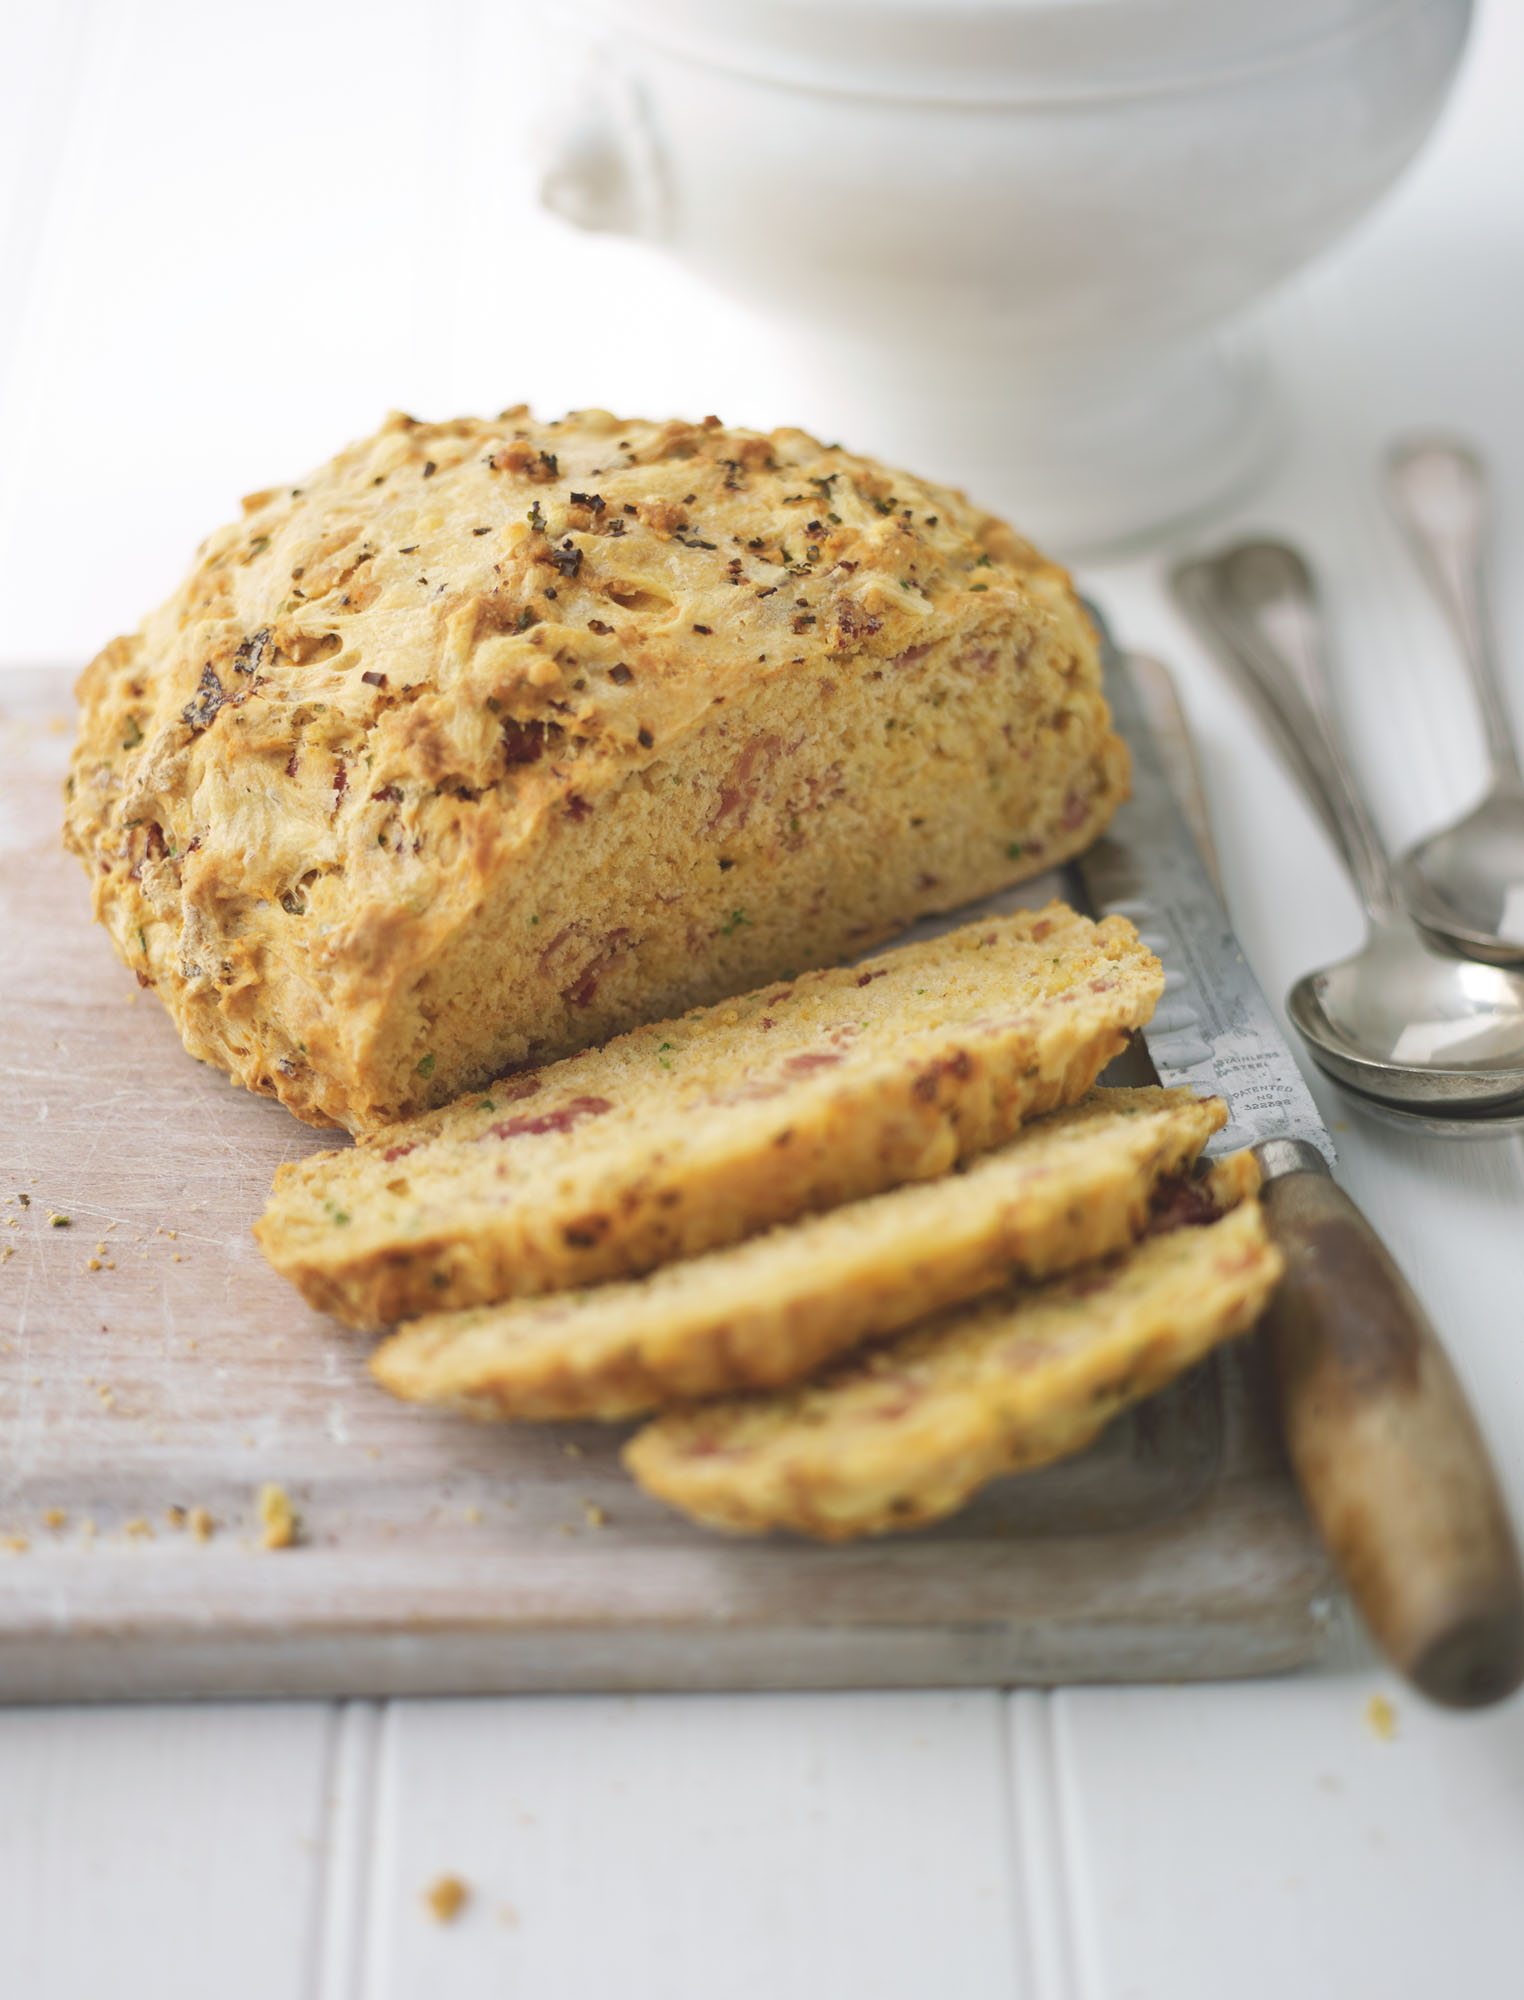
Twenty-first century ham, cheese & chive bread
On weekends I love to spend hours in the kitchen preparing fresh breads, hearty meat dishes and lots of puddings. I especially love the taste of freshly baked bread! I find that during the week, however, sometimes there just aren’t enough hours in the day for baking, so I dreamed up this very tasty little number, which is made from start to finish in under an hour – the perfect 21st-century bread.
Makes 1 loaf
425g self-raising flour
1 tsp baking powder
½ tsp salt
150g mature Cheddar cheese, grated, plus an extra 10g grated cheese, for sprinkling
½ bunch of fresh chives, finely chopped
Few twists of black pepper
1 tsp paprika (optional)
1 tsp mustard powder (optional)
6 slices of honey roast ham, ripped up into little bits
200–225ml water
Preheat the oven to 200°C (400°F), Gas Mark 6. Put all of the ingredients in a bowl except the water and the 10g of grated cheese and mix together well. Add enough water to make a soft but not sticky dough. I usually add 200ml, stir it briefly and then get my hands in and squidge it together, adding more water if necessary. Remove the dough from the bowl and shape it into a ball, flatten the ball slightly, so it cooks more quickly, then slash the loaf three times vertically with a sharp knife. Sprinkle over the remaining grated cheese.
Spray some water into the oven to create a steamy atmosphere. I usually spray 8–10 squirts with a spray gun, then place the dough on a baking tray and bake for 35–45 minutes, or until the bread is golden brown and smells cooked.
Once cooked, remove from the oven and leave to cool a little bit (although I find this quite hard to do!). I love this bread served with lots of butter and a steaming hot bowl of soup.
Old-fashioned English muffins
These beautiful little specimens are truly hard to beat when it comes to the ultimate comfort food.
Makes 8–10 muffins (V)
575g strong white bread flour
1 tsp salt
1 x 7g sachet of fast-action dried yeast
2 tbsp soft light brown sugar
150ml warm water
175–225ml milk, at room temperature
Oil, for oiling
Equipment
Round pastry cutter; my cutter measured 8.5cm
Put the flour, salt, yeast and sugar in a bowl, then make a well in the centre and pour in the water and milk. Use a wooden spoon to stir it all together, then put the spoon down and use your hands to bring the mixture together into a ball. Knead for 10 minutes by hand or for 5 minutes if using a food processor fitted with a dough hook.
Once it has been kneaded, place the dough in a bowl, cover with oiled clingfilm and leave in a warm place for 1 hour, or until doubled in size.
Preheat the oven to 200°C (400°F), Gas Mark 6. Once the dough is ready, remove it from the bowl and roll it out into a rough circle, about 1.5–2cm thick. Cut out 8–10 circles with the round pastry cutter. Usually when I do these I have to scrunch the dough up and re-roll it so I get the right amount of circles.
Put a flat baking tray or very large frying pan over a low heat. Once the tray or pan is hot, place a few of the circles on the tray or pan and cook slowly for about 4 minutes on each side. It is possible to cook the muffins completely on the hob, but if they have begun to go too dark and are still looking a bit doughy on the sides they can be finished off in the oven for about 5–8 minutes.
Once they are cooked, remove them from the oven/hob and slice in half. I do like to pop these in the toaster or back on the baking tray, cut side down, to crisp up the inside. Then they can be slathered with hot butter and raspberry jam. Totally delicious!


