Полная версия
The Joyful Home Cook
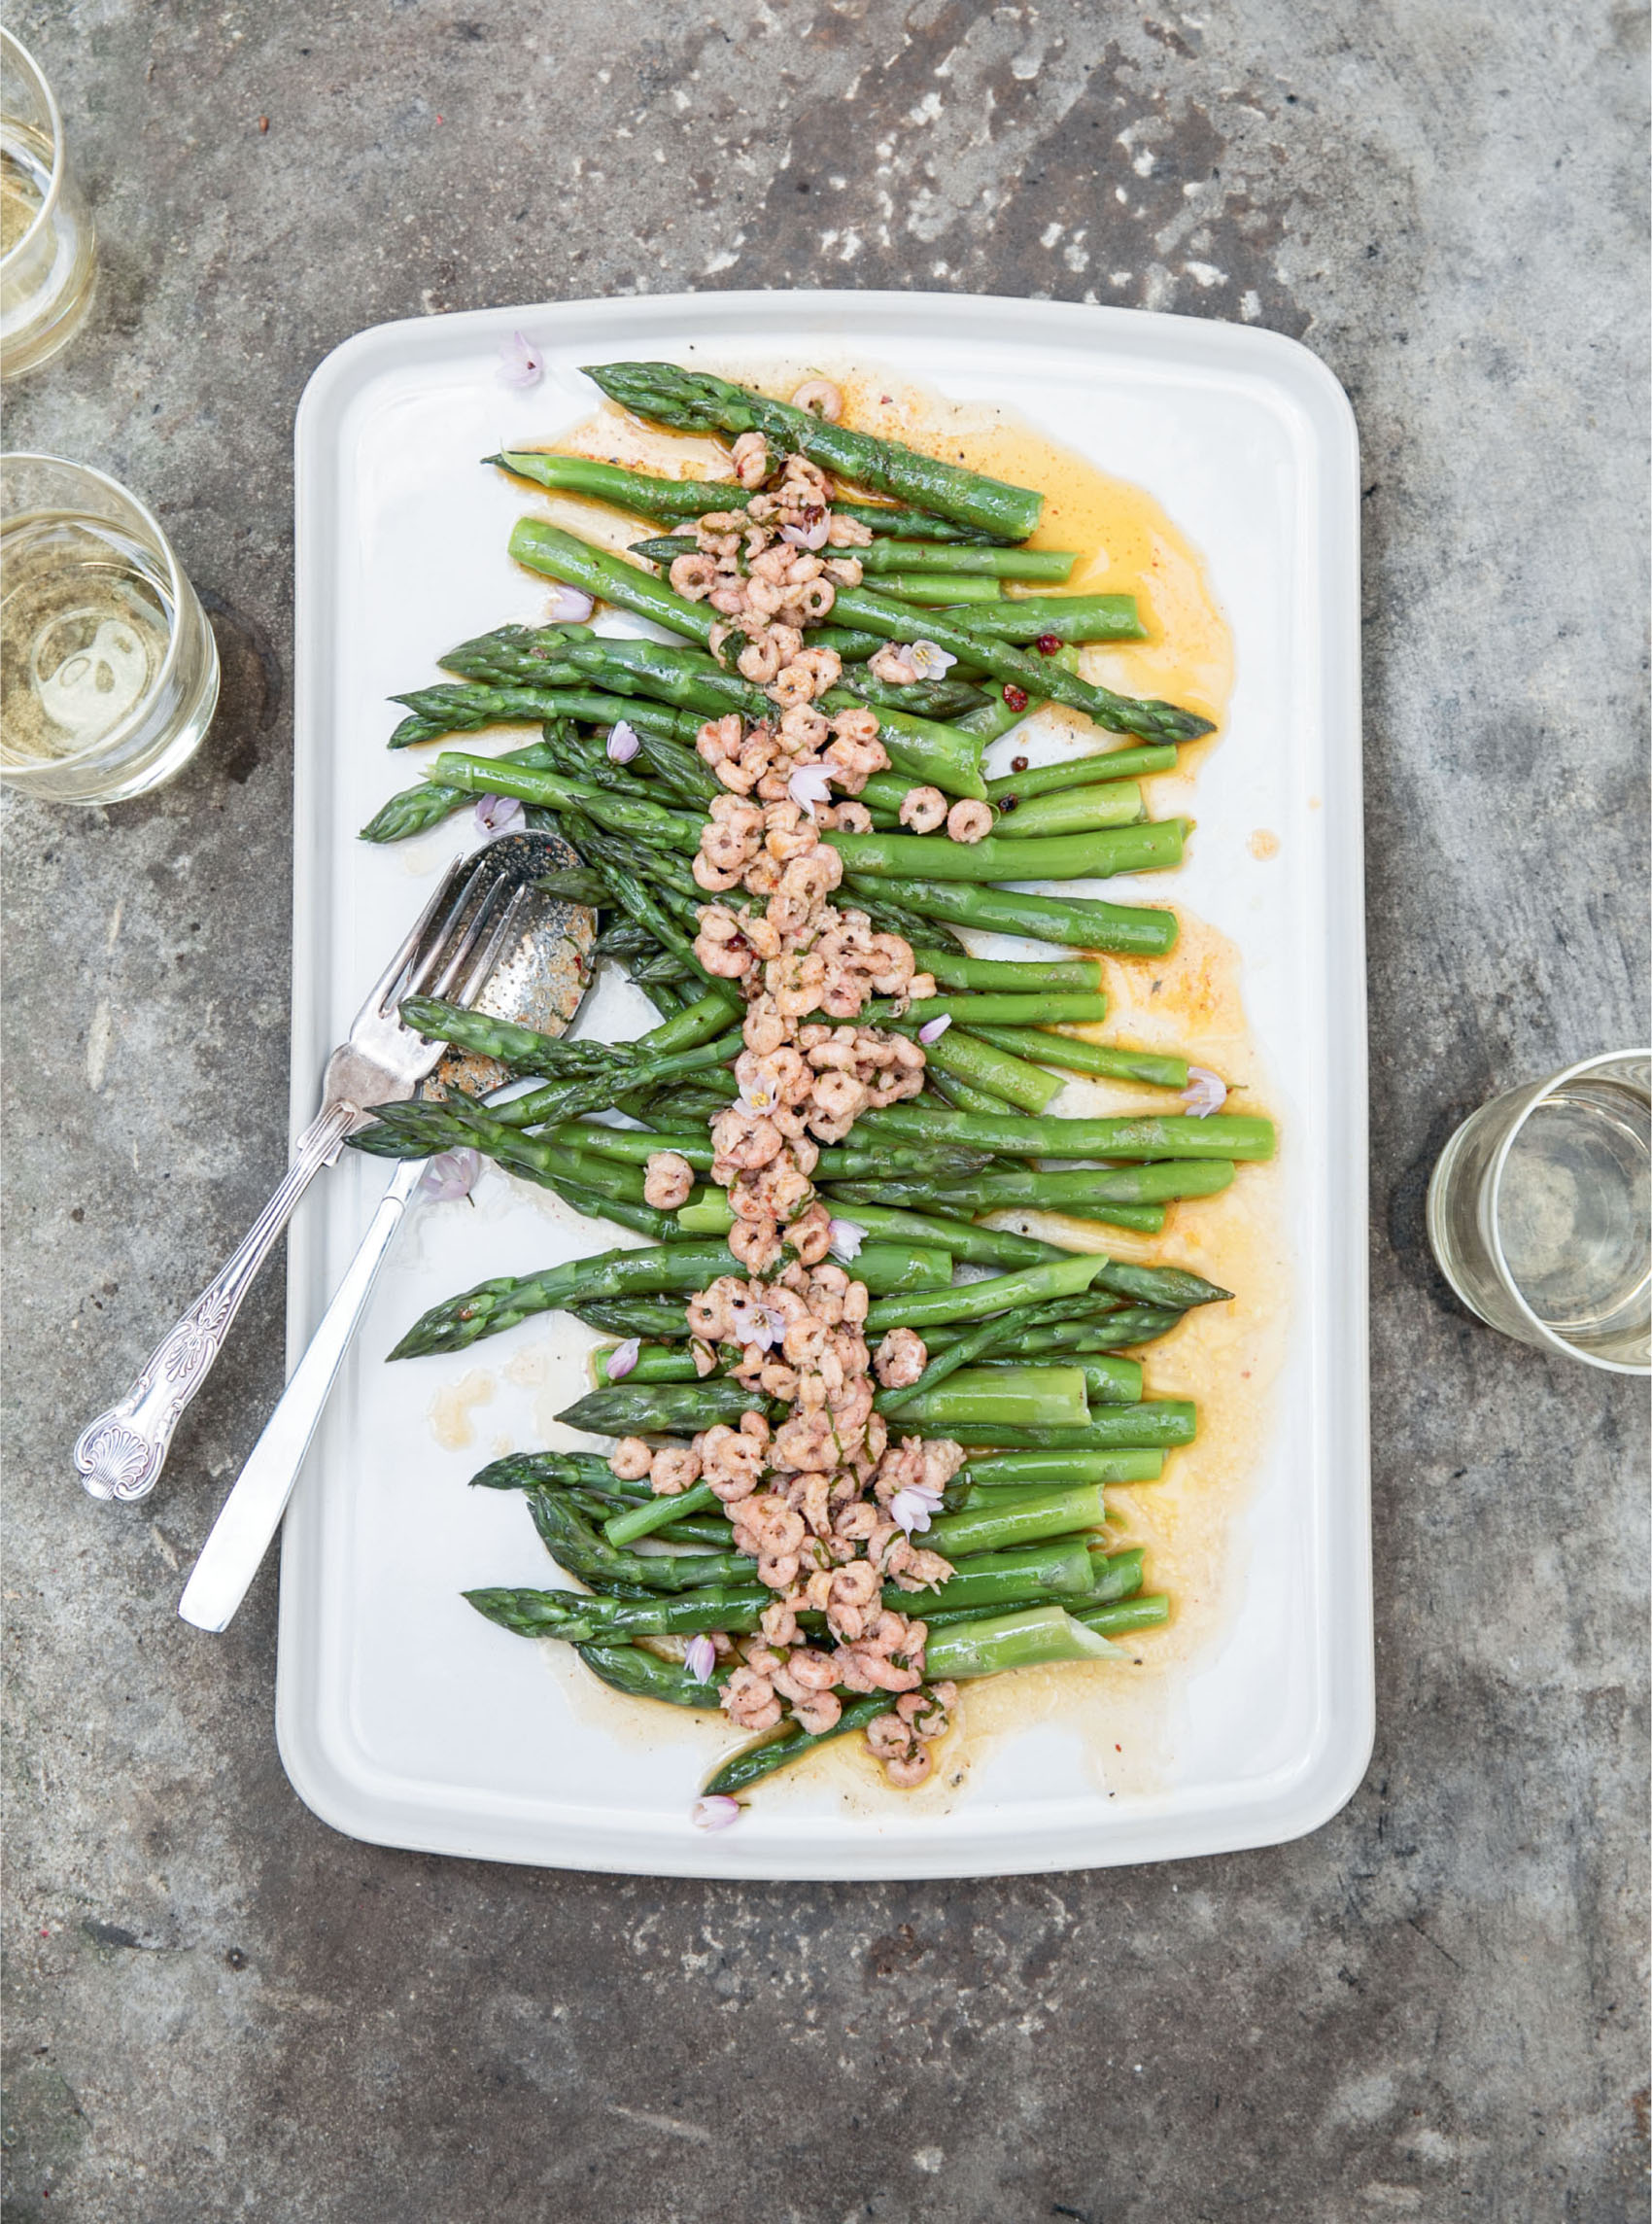
with spiced butter and brown shrimp
Serves 4 as a starter, or 2 as a lunch
Right at the start of asparagus season, at the end of April, there is very little that can improve on the flavour and tenderness of these perfect first spears, but asparagus and butter are always a good idea, so why not throw in some irresistible little brown shrimp too? This is a sort of potted shrimp situation with pools of mace-spiked butter, poured over freshly poached asparagus. The result is something so memorable and magnificent I didn’t feel sheepish serving it to a very brilliant chef for lunch. He loved it. It’s perfect as a celebratory spring lunch, but could work well as a show-stopping sharing starter, too. If you can, make this dish when the early asparagus comes through at the end of April (though later in the season it will still be ridiculously good).
60g unsalted butter
½ tsp sea salt
½ tsp cayenne pepper
½ tsp ground mace
¼ tsp pink peppercorns, lightly crushed in a pestle and mortar
500g asparagus spears, trimmed
200g peeled brown shrimp
2 leaves of wild garlic, or a handful finely shredded chervil or chives
juice of 1 lemon
a few wild garlic or chive flowers (optional)
chunks of crusty white bread, to serve
1 Warm a large platter or plate in the oven.
2 Gently melt the butter in a small saucepan over a low heat, then stir in the salt, spices and peppercorns. Stir to combine, then remove from the heat while you cook the asparagus.
3 Bring a few centimetres of salted water to the boil in a saucepan wide enough to hold the asparagus without crowding it. Add the asparagus and poach for 2–3 minutes, until a knife blade inserted into the thickest part of a spear can be pulled out with no resistance. While it’s poaching, return the spiced butter pan to the heat and add the shrimp, wild garlic or herbs and lemon juice, basting the shrimps in the butter. Taste for seasoning. Drain the asparagus and pile onto the warm platter, then pour over the shrimps and butter. Garnish with the flowers, if using, and serve with chunks of crusty bread to dip in the butter.
TIP: If you don’t eat shellfish, leave out the shrimp and top with crushed roasted hazelnuts or the Savoury Granola (see here).
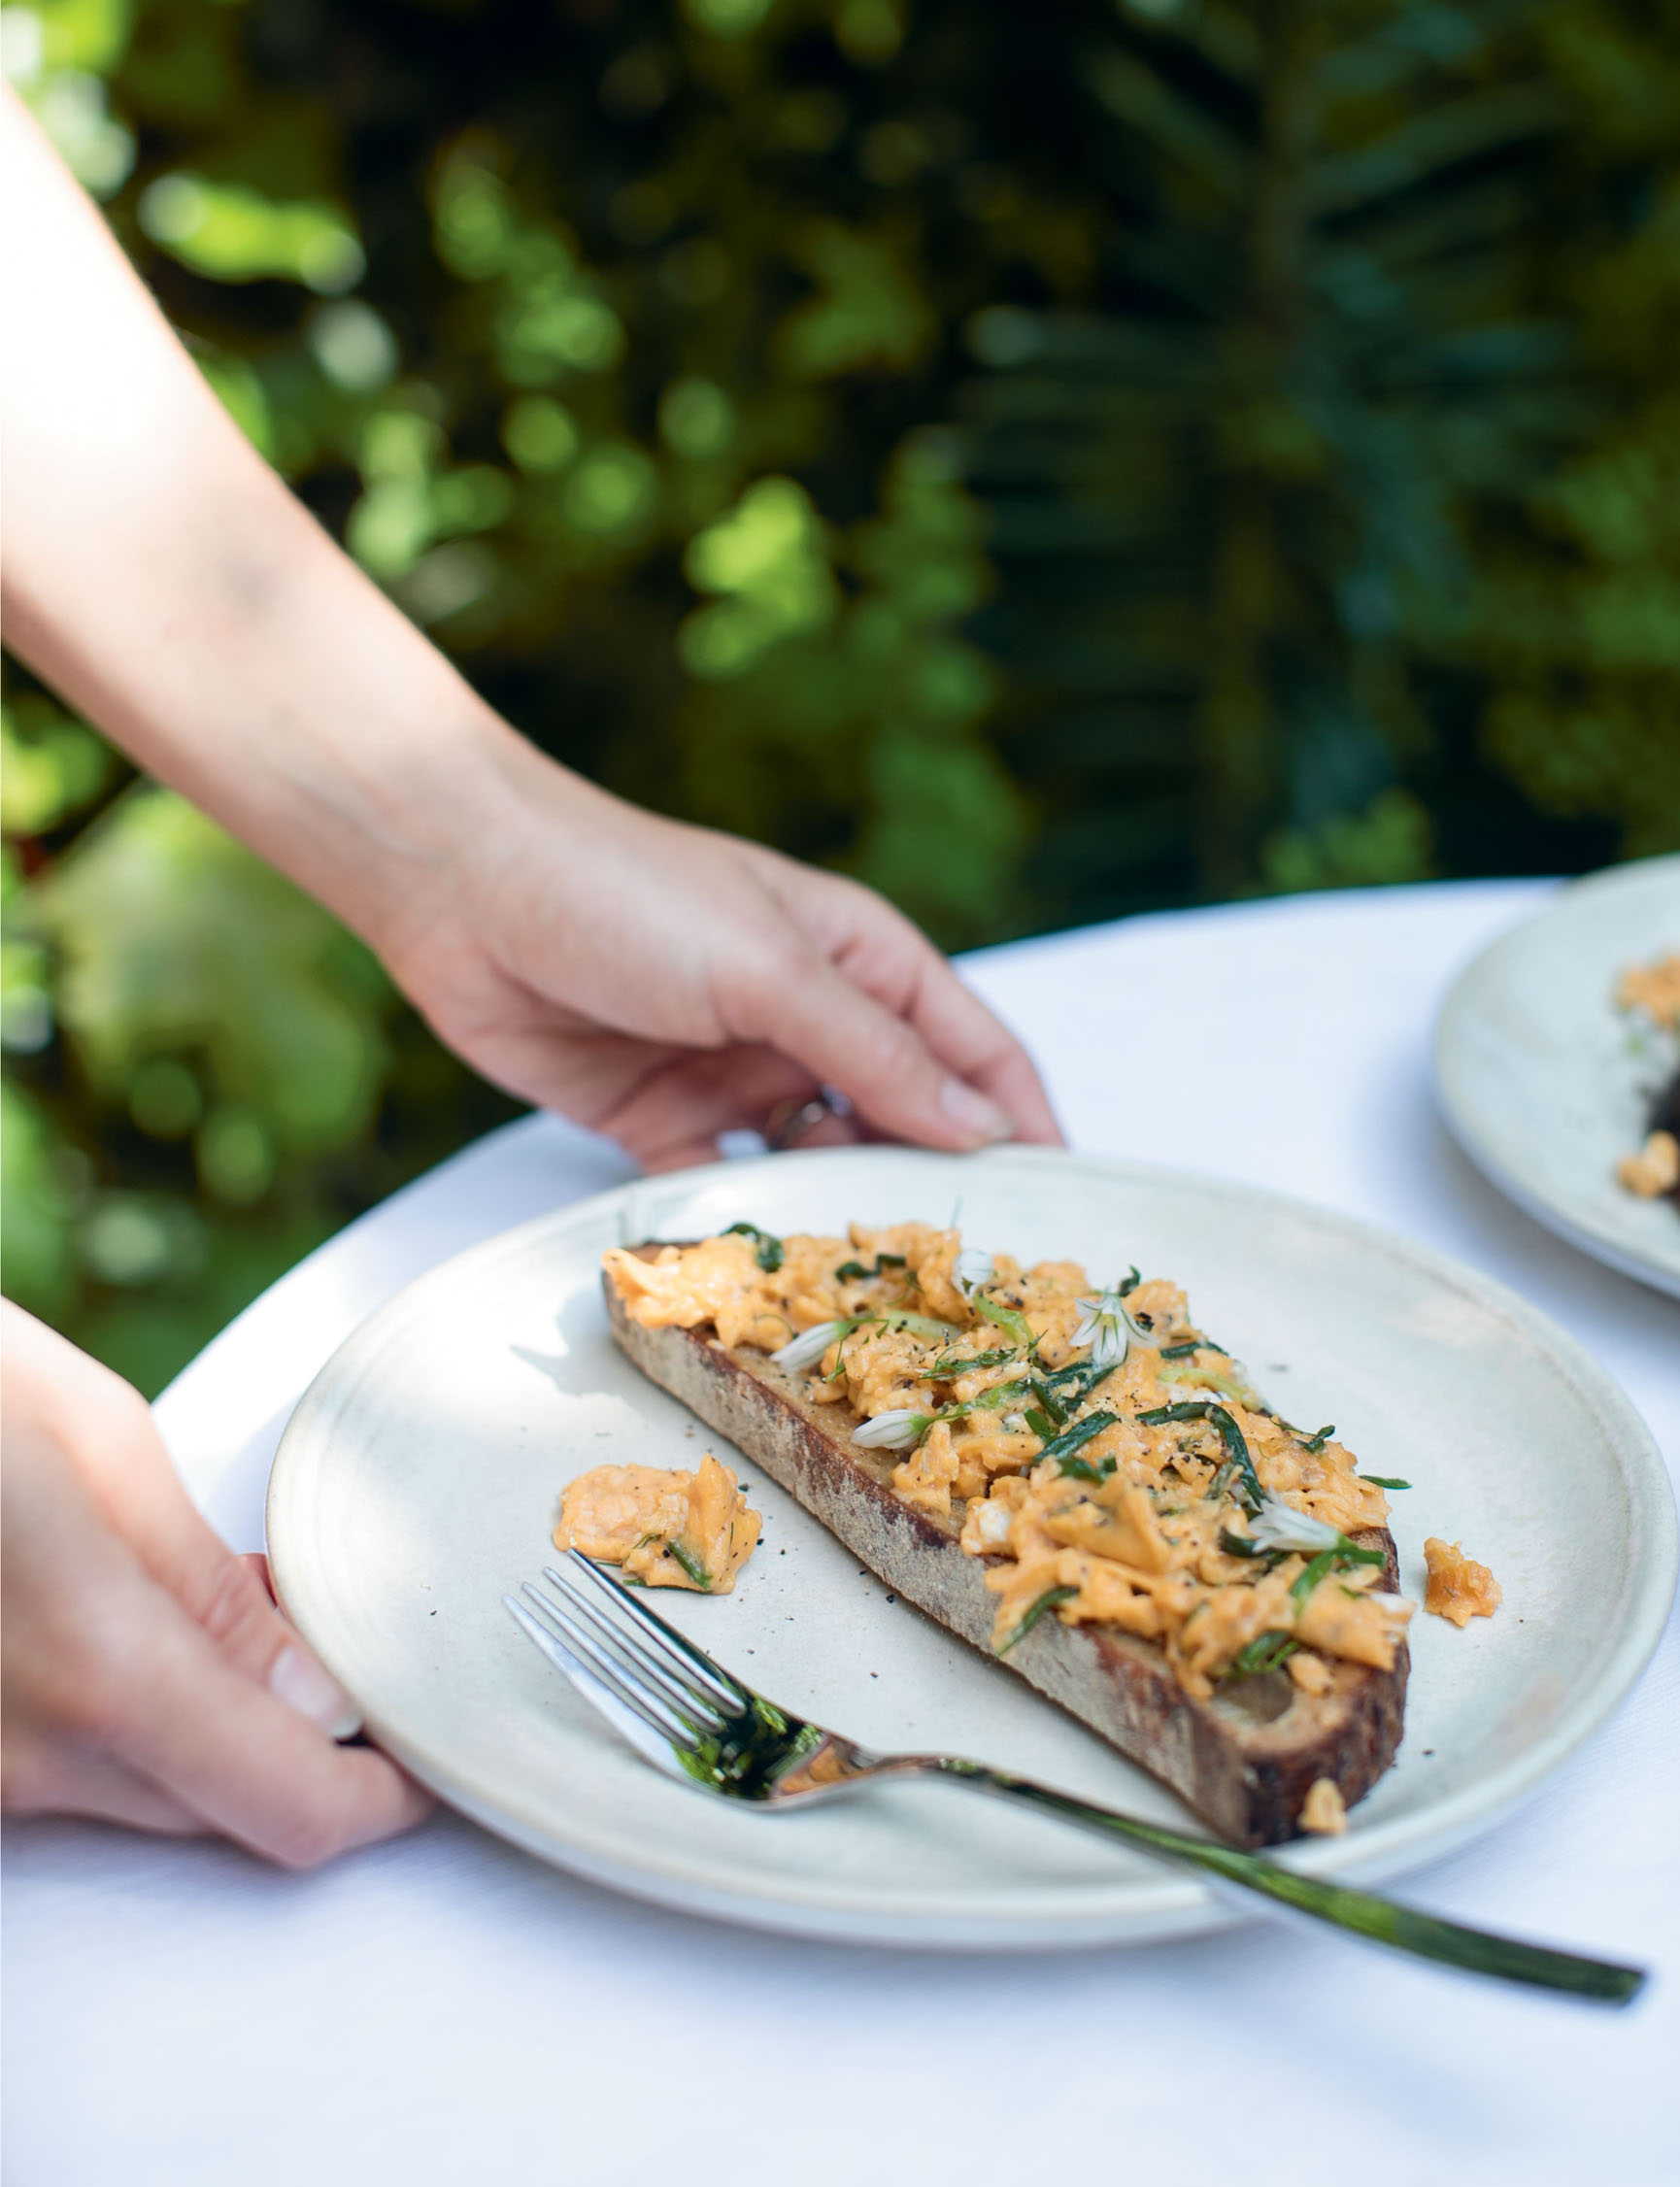
Three-cornered leek and scrambled eggs on toast
Serves 2
Three-cornered leeks often get mistaken for wild garlic, thanks to their allium scent, green stems and pretty white flowers, but they are easy to tell apart. Where wild garlic has fat, flat green leaves and open, star-shaped flowers in clusters, these wild leeks have hollow, three-cornered stalks and droopy, edible bell-shaped flowers, similar to bluebells, except they are white with green stripes running down them. They are in season in the UK from spring until early summer, and have a gentle, mellow green onion-chive flavour which is lovely layered into green salads, added to wilted greens or stir fries. If you can’t find wild leeks use baby leeks, chives or spring onions instead.
4 eggs
25g salted butter, diced, plus extra for spreading
50g three-cornered leek, baby leek or spring onion, washed and roughly chopped
2 slices of sourdough (shop-bought or (see here))
pink peppercorns or dried chilli flakes, to taste
sea salt and freshly ground black pepper
three-cornered leek or chive flowers, to serve (optional)
1 Crack the eggs into a bowl or jug. Whisk lightly with a fork, just to break up the yolks, then stir in three-quarters of the diced butter.
2 Heat a small non-stick frying pan over a medium heat. Add the remaining butter to the pan, followed by the three-cornered leek. Season with salt and cook for a minute or two, stirring, until it has wilted into the melted butter. Toast the bread and warm two plates.
3 Add the egg mixture to the pan with the leeks and cook, stirring, until all the butter has melted and the eggs are coagulated but still silky and creamy. Butter the toast and top with the scrambled eggs, season with salt and some freshly ground pink or black peppercorns or chilli flakes and garnish with some of the three-cornered leek flowers, if you can find some.
Kimchi and sweetcorn fritters
with chilli maple syrup
Serves 2 (makes 4–6 fritters)
Sweetcorn fritters have been a staple since childhood. My mum used to make them to go with her ‘chicken Maryland’ – basically spiced fried chicken. My sister and I used to fight over the fritters, so I’ve given them a recipe in their own right, which makes a great brunch dish and also happens to be gluten free. I’ve added the fire and spice in the form of kimchi, which gives them a lovely sour crunch and an addictive, chilli-spiked maple syrup. Add fried eggs, avocado and streaky bacon to this to make it a brunch for four, otherwise serve two fritters per person with some avocado on the side.
2 eggs
3 tbsp water
½ tbsp soy sauce
65g rice flour
¼ tsp baking powder
½ tsp smoked paprika
½ tsp ground turmeric
100g My ‘Kind Of’ Kimchi (see here), or shop-bought kimchi, drained and finely chopped
165g drained tinned or frozen sweetcorn (or fresh corn boiled and cut from the cob)
2 spring onions, thinly sliced
2 tbsp coconut, rapeseed or vegetable oil
1 avocado, halved and stoned
sea salt flakes
For the chilli maple syrup
80ml maple syrup
½ tsp dried chilli flakes (preferably Urfa chilli flakes), or 1 fresh bird’s-eye chilli, deseeded and finely chopped
10ml dark soy sauce
1 tsp black sesame seeds
spring onion greens
1 Crack the eggs into a bowl, add the water and soy sauce and whisk to combine. Sift in the flour, baking powder and spices and whisk to form a smooth batter. Leave the batter to sit for a few minutes while you make the syrup.
2 Put the maple syrup, chilli flakes, soy sauce and sesame seeds into a small saucepan and stir. Heat until really runny and warm but not reducing or bubbling. Remove from the heat.
3 Stir the kimchi, sweetcorn and spring onions into the batter and coat well to make sure everything is cloaked in the batter. Add a dash more water or soy sauce if you think it needs loosening – it should be loose enough to drop off a spoon.
4 Line a plate with kitchen paper and heat half the oil in a large non-stick frying pan over a medium-high heat. To make the fritters, spoon 2–3 dessertspoonfuls of the batter into the pan in little piles, leaving space between each pile. Use the back of the spoon to flatten them slightly and fry for 4–5 minutes, flipping them over to cook on the other side halfway through, until golden and crispy on the outside and cooked all the way through. Drain on kitchen paper and season with salt. Add the remaining oil to the pan and fry the rest of the batter, keeping the first lot warm in a low oven until you’re ready to serve. Serve the fritters with the syrup poured over, and slices of avocado alongside.

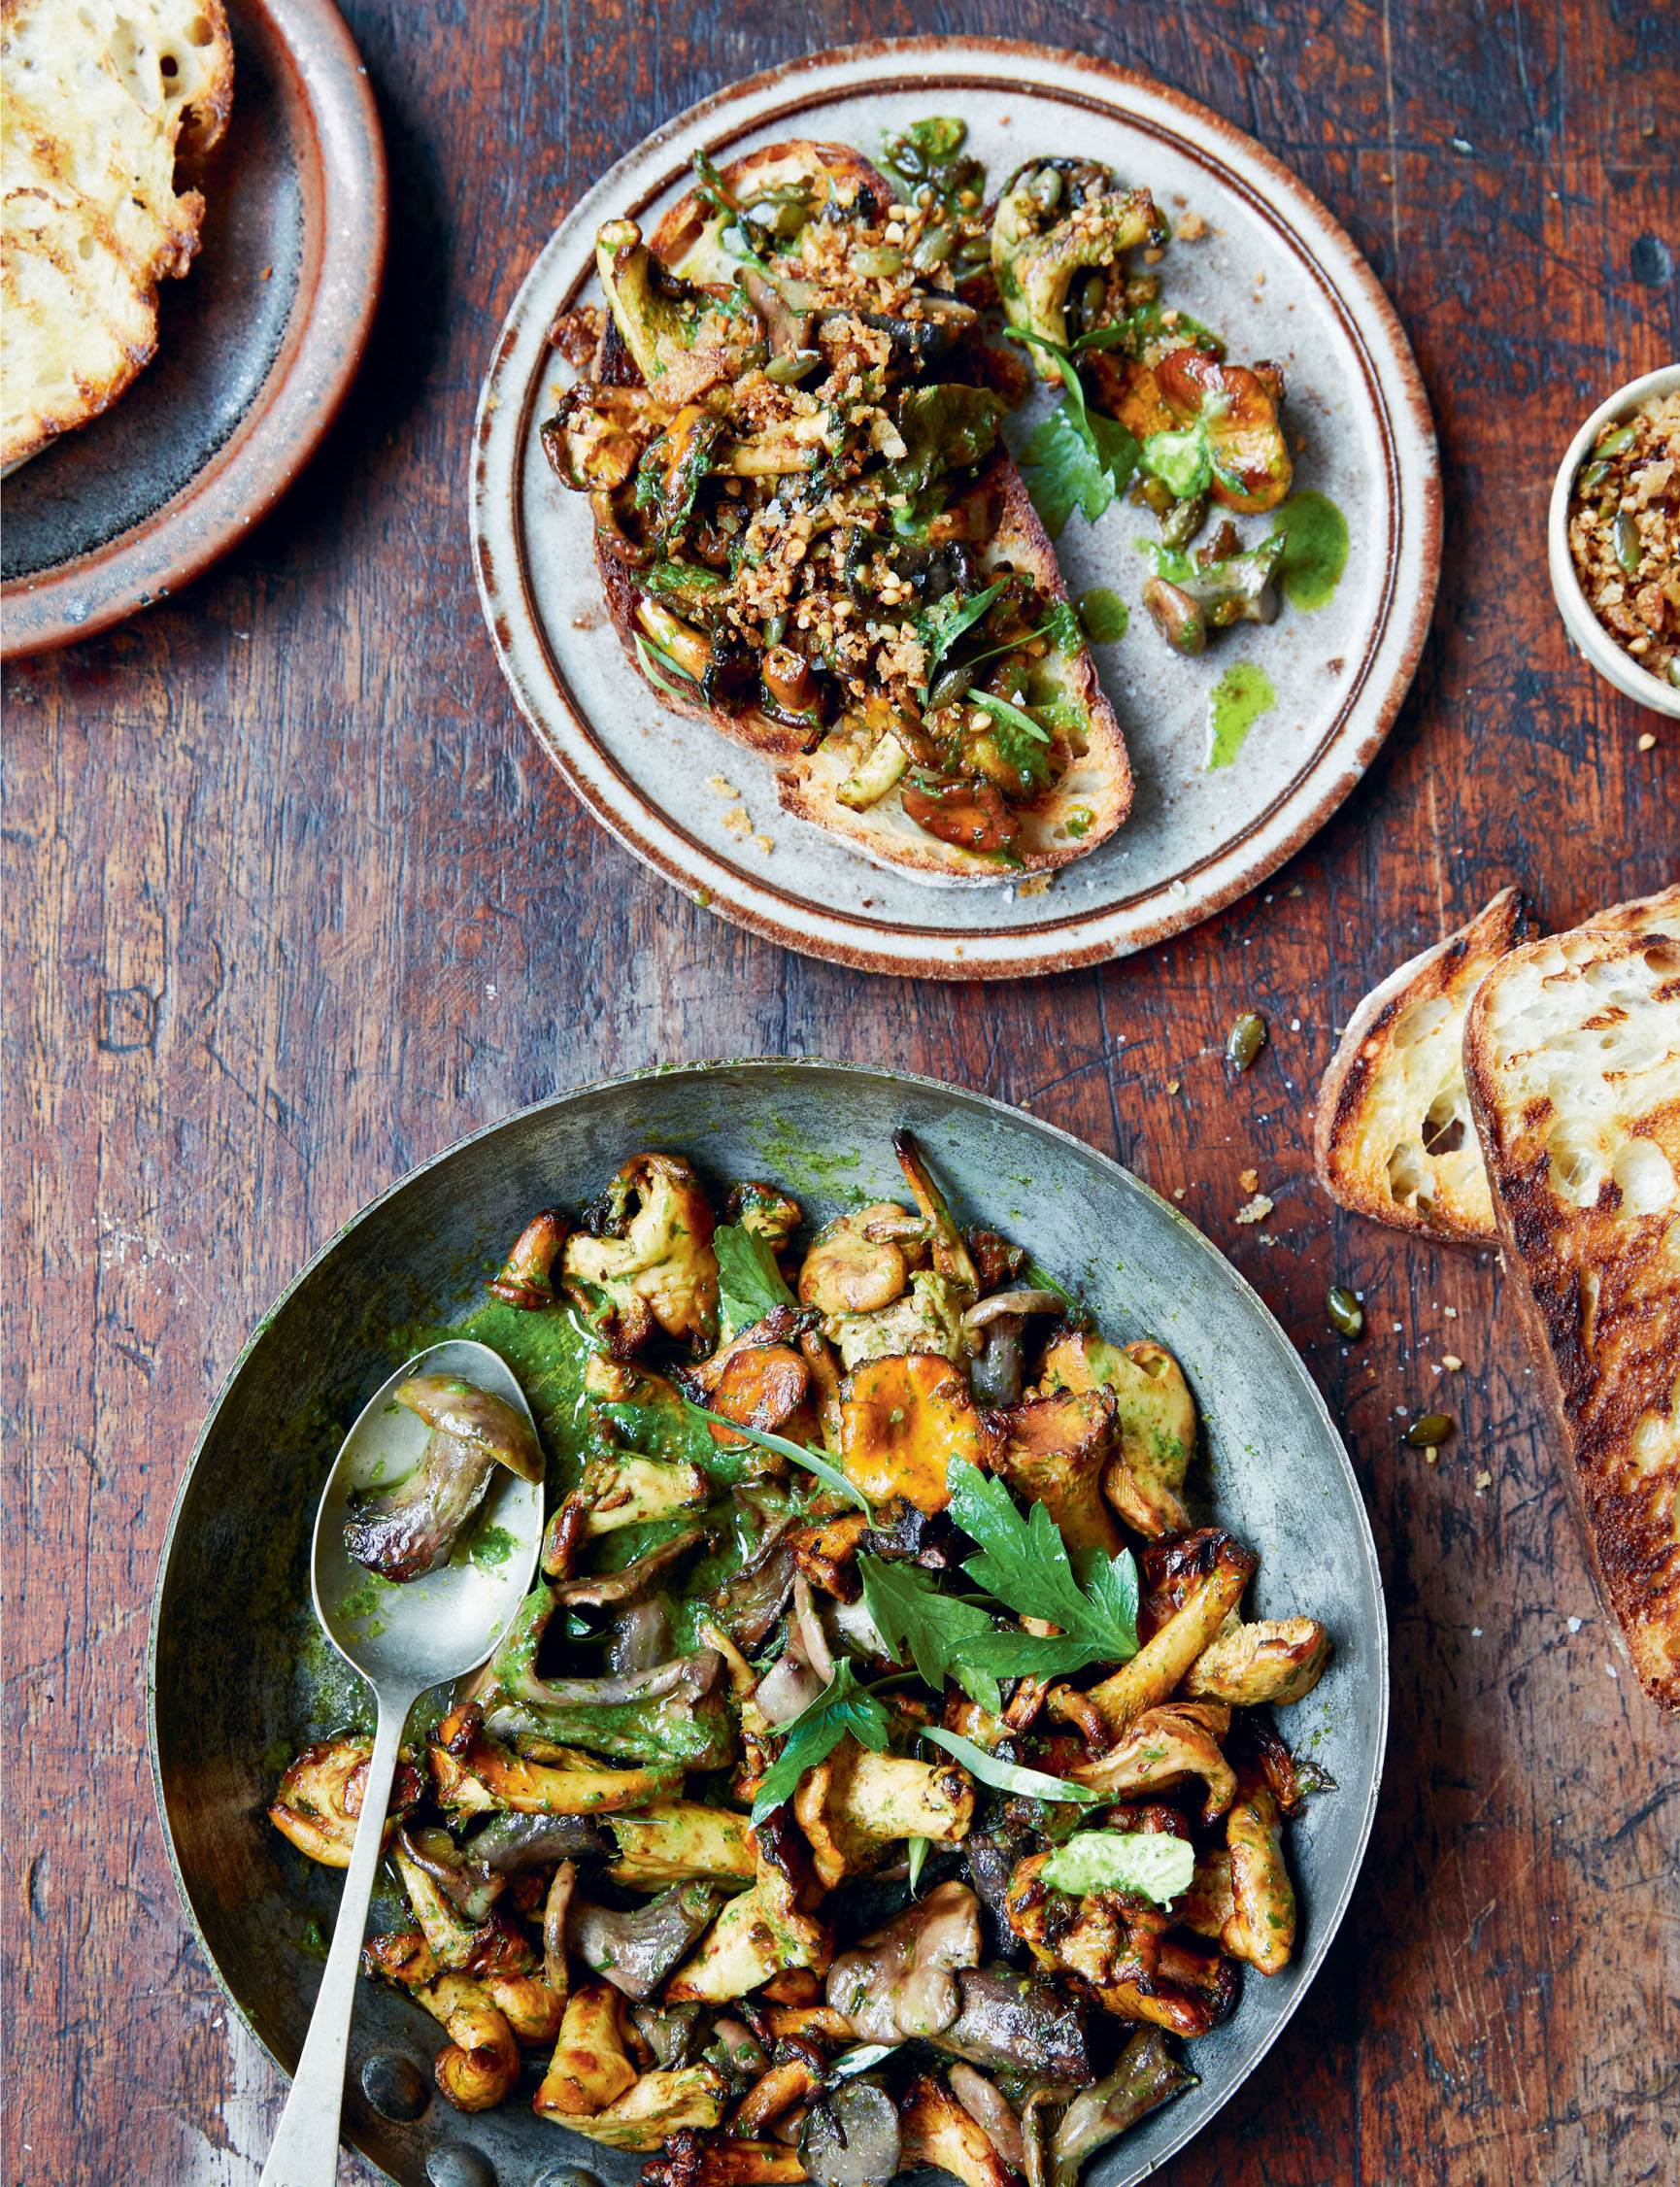
Wild mushrooms on toast
with lemon and thyme seeded crumb
Serves 4 as a starter, or 2 as a lunch
I made this dish for 120 people from the kitchen of a pub in Borough Market with a brigade of brilliant female food writers and chefs. We were cooking a dinner to raise money for the food poverty charity Action Against Hunger, and even though it’s just fancy mushrooms on toast, it went down a storm – though the logistical effort of cleaning wild mushrooms and making toast for that many people is not something I wish to repeat!
Try to sniff out wild mushrooms, which have more of an interesting woodland flavour than standard ‘shrooms, and come into season from early autumn onwards – girolles and porcini work well but if you can’t find them, try chestnut or oyster. The crumb provides extra texture and lovely nuttiness thanks to the toasty, malty quality of the buckwheat. The butter and crumb can both be made in advance.
4 thick slices of sourdough bread (shop-bought or (see here))
1 garlic clove, peeled and halved
½ tbsp rapeseed or neutral oil
500g wild mushrooms (see tip), cleaned (larger ones halved)
leaves from 2 sprigs of thyme
lemon juice, to taste
sea salt and freshly ground black pepper
For the seeded crumb
2 thick slices of sourdough bread (shop-bought or (see here))
2 tbsp pumpkin seeds
2 tbsp buckwheat groats
2 tbsp olive oil
grated zest of 1 unwaxed lemon
leaves from 4 sprigs of thyme
½ tsp dried chilli flakes
sea salt
For the garlic and herb butter
1 shallot, peeled and quartered
1 tsp sea salt
2 garlic cloves
20g flat-leaf parsley, leaves picked
10g tarragon, leaves picked
1 tbsp lemon juice
70g unsalted butter, at room temperature, diced
1 First, make the crumb. Blitz the bread in a food processor until it forms breadcrumbs. Heat a heavy-based dry frying pan or skillet over a medium-high heat. Add the pumpkin seeds and buckwheat groats and toast for 2–3 minutes, until the buckwheat is golden and the pumpkin seeds are puffed, popped and crunchy. Transfer to a bowl and put the pan back on the hob over a medium heat. Add the olive oil along with the lemon zest, thyme and chilli flakes and stir to infuse for a minute, then add the breadcrumbs and toast them in the oil for 3–5 minutes, until golden and crunchy – it usually takes a bit longer than you’d expect. Scrape all the crumbs into the bowl with the pumpkin seeds and buckwheat. Season with sea salt. Pour into a jar or airtight container once cool, or use immediately.
2 Make the butter by blitzing the shallot, salt and garlic cloves in the small bowl of a food processor or mini chopper, followed by most of the herbs (saving a few for garnish) and the lemon juice. Season with salt and pepper, add the diced butter and blitz to make a green butter. Scrape out of the food processor and into a bowl by the hob.
3 Toast the sourdough and rub it with the garlic. Keep warm in a low oven with the plates while you cook the mushrooms.
4 Place the pan back over a medium-high heat and pour in the rapeseed or neutral oil. Add the mushrooms with the thyme and a pinch of salt and fry for a couple of minutes, until they are caramelised and losing their moisture – they will shrink a little and you want to see some nice dark colour on them. Turn the heat down slightly, add all the butter, stirring to melt, and baste the mushrooms with it. Taste, season to your liking and maybe add a little lemon juice to pique the flavours. Serve spooned over the warm toast with the crumb scattered over.
TIP: Look out for a mix of girolles, chestnut, oyster, blewit, black trompette and cep/porcini. If you love wild mushrooms as much as I do, it’s worth investing in a mushroom brush, but you can also use a damp kitchen towel to get rid of any dirt or grit.
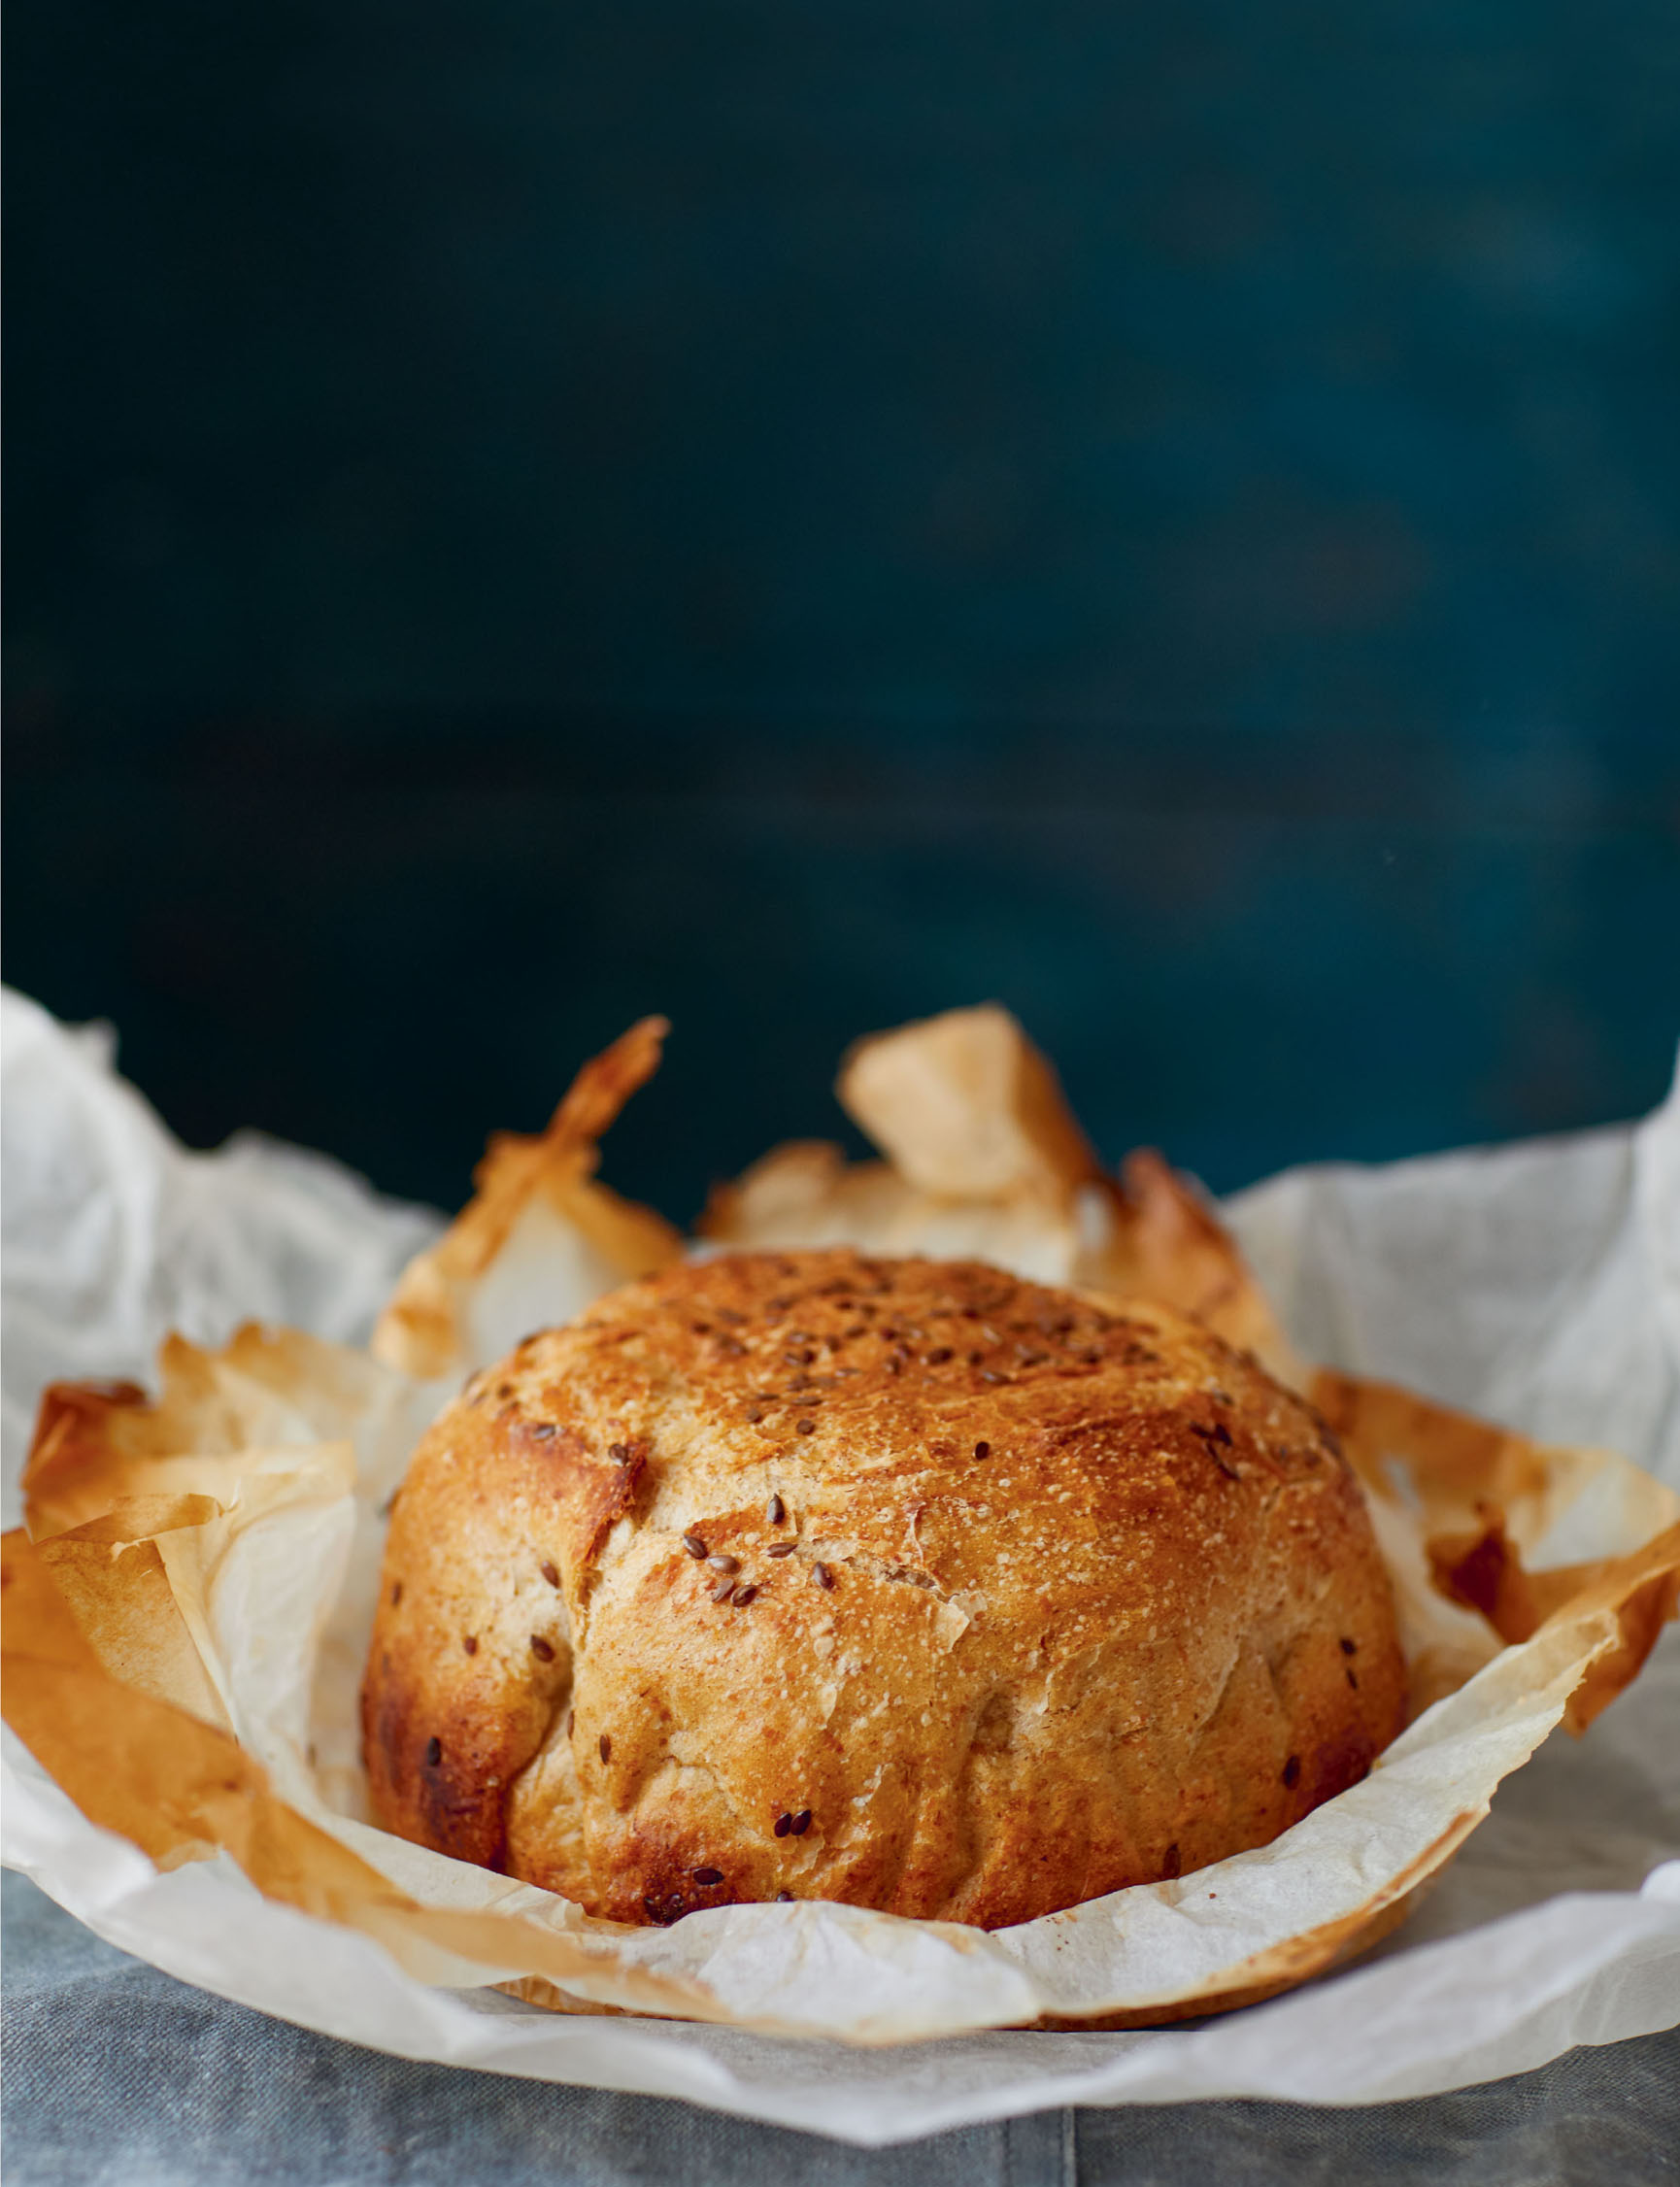
Simple sourdough
Proper sourdough bread is a truly magnificent thing. It’s bread made the old-fashioned way, slowly and reverently, without the use of any industrially produced yeast, but rather leavened or raised with a starter culture made from naturally occurring yeasts and bacteria that awaken when flour and water are mixed together. The resulting fermentation yields something altogether more flavourful and satisfying than mass-produced bread, and in recent years we’ve seen a sourdough revolution, a movement of artisan bakers the world over who are re-embracing the craft of making slow-fermented doughs and beautiful, delicious and nutritious loaves. A really good loaf of sourdough takes time to make, but it becomes the basis for so many good, quick meals that it more than pays you back for the time you’ve invested.
Now, while I do think that squishy white bread still has a place – I can’t imagine a bacon sandwich made with sourdough or, worse still, a chip butty – after interviewing bakers and chefs and tasting this delicious style of bread at many restaurants over the years, I became fascinated by the process, and obsessed with mastering the art of making sourdough at home. The idea that it was possible to raise an army of hard-working yeast who would obligingly leaven loaves of bread, producing gut-friendly acids that make that bread easier on the digestion, more nutritious and tasty in the process, had me hooked.
There are books and courses dedicated to sourdough, and if you want to delve deeper I’d recommend these books for further reading – Do Sourdough by Andrew Whitley, The Handmade Loaf by Dan Lepard, and Flour, Water, Salt, Yeast by Ken Forkish – but please don’t be intimidated. For centuries people have been making bread this way, simply using flour and water, without technical equipment, and once you begin to wrap your head around the process, anyone can bake loaves at home, and really enjoy the journey of discovering what works for you.
The gist of it is that you create a leaven by mixing together good-quality flour and water. The yeasts and bacteria already present in the flour thrive and multiply in this wet environment, feasting on the sugars in the flour and creating carbon dioxide (the bubbles that will eventually raise your bread), and lactic acid, which give the bread its signature sour flavour. You have to feed the starter initially to help the network of yeasts and lactobacilli become strong, and once this starter is a happy and lively culture, you introduce it to more flour and water and allow it to continue its work, creating a fermented and flavourful dough that is then baked into delicious bread.
This is a simple, entry level recipe and it’s relatively hands off. The trick is to let the bread work around your schedule, rather than keeping you prisoner. This method consistently delivers loaves of good bread that I base many meals around, and I hope you will too. You will need a few things to get started, but none of them are outrageously expensive or unattainable: an ovenproof ceramic or cast-iron pot to bake your bread in, good-quality organic wholegrain rye flour, some digital scales and a sharp knife or razor blade for slashing the dough before baking. I use a casserole pot I found in a charity shop to bake mine, but you could use a small Le Creuset, a Pyrex dish with a lid or a stewing pot. Please use this as a jumping off point for your sourdough experiments. I’m convinced, when you see what a natural, simple and satisfying process it is, you too will be hooked.
My simple rye flour starter
The first step is to create a happy starter to levain your bread. All you need in order to make your own is some really good-quality wholegrain flour, some filtered water and a sterilised jar.
You need to make the starter about a week before you want to make your bread and you will have to tend to it– for literally a couple of minutes – every day to start with. You should only have to do this once, and then you can keep your starter dormant in the fridge, refreshing it a day before you want to make bread. A good-quality, organic wholegrain rye flour starter creates beautifully leavened and tasty, wholesome bread, but as you get more confident with sourdough you can start to play around with different starters such as wheat and spelt. Wholegrain flours are better for making starters as the bran of the wheat grain is rich in bacterias and yeasts and organic flour is always a better option as there are no yeast and bacteria-killing chemical pesticides and fungicides involved in its production.
1 In a jar, mix 2 heaped teaspoons (about 20g) of rye flour with 40ml lukewarm filtered or spring water to make a thin, pourable mixture. I use a butter knife to mix the flour and water together, incorporating as much air as possible. Scrape down the sides of the jar, rest the lid on top of the jar so that it’s sealed but not tightly closed, and leave in a warm place. In the summer you should be fine to leave your jar anywhere, but in colder months you’ll want to seek out a warm spot on a shelf above a radiator or in an airing cupboard as the starter needs a certain level of warmth to get going. Just don’t forget about it! I set a reminder on my phone to feed mine as I’m a bit forgetful.
2 The next day, add the same amount of water and flour again, mixing and repeating the cycle. Repeat again on the third and fourth day, but this time using 40g flour and 40ml water each day. By the fourth day, you should be seeing some promising signs of life in the form of small bubbles.
3 On the fifth day, tip off 100g of the starter (to use in the Sour Cream Sourdough Crumpets (see here)) and replace what you’ve lost with with 50g each of flour and water. Leave this to ferment for 12 hours, or until it’s looking really nice and bubbly and smelling good and yeasty. By the sixth day you should be good to get baking – see recipe overleaf. Once you’ve used your starter for the recipe overleaf, keep the rest (there should be about 150g) in the fridge, refreshing as per the recipe below each time you want to bake.
TIP: Always scrape down the sides of your jar before you put the starter back in the fridge to make it less likely to go mouldy.
REFRESHING YOUR STARTER FOR BAKING
Every time you want to bake a loaf of sourdough, you now have the wherewithal, but you will need to refresh and replenish your starter a couple of days ahead to do this as it will get sluggish in the fridge. Just tip your starter into a bowl, add 100g each of wholegrain rye flour and lukewarm filtered or spring water and allow it to ferment overnight at room temperature. Set aside about 100g of this mix in a jar to put back in the fridge for next time, and use the rest to bake your bread and make the crumpets (see here). If you have any spare, give it to a friend and spread the sourdough love.
Sourdough loaf
Makes one small loaf
If you want to make and bake your sourdough loaf on the same day, you need to start in the morning and bear in mind that the dough will need at least 6 hours to ferment before you bake. I prefer how the flavour develops with an overnight fermentation in the fridge, but sometimes we don’t think that far ahead. How long you’ll need for the fermentation will depend on how warm your kitchen is and the time of year etc., so you’ll have to play some of this by ear, but I’ve found the only way to crack it is to keep baking until you get a feel for it.
300ml lukewarm water
130g rye starter
390g flour (310g plain/20g rye/60g spelt)
10g sea salt
Optional additions
20g each of linseed, buckwheat, white sesame seeds, walnuts, flax or pumpkin seeds – or a mixture of all of the above. Basically, whatever you fancy or have in your cupboard that needs using
1 Measure your water into a bowl, spoon in the starter and whisk with a fork until dispersed and no lumps remain. Mix the flours, salt and any seeds or nuts in another bowl. Make a shallow well in the flour and pour in the starter mixture. Using a blunt knife, whisk the liquid into the dough, rotating the bowl and cutting through until you have a well combined, sticky ball. Add a little more water if the dough is not coming together. Leave to rest for 30–40 minutes. This process is known as autolyse – while the dough rests, the flour fully absorbs the water, hydrating and kick-starting enzymes that will stimulate gluten development. Don’t skip this step!
2 Still working in the bowl (the dough will be very sticky and wet) use wet fingers or a silicone spatula to dig under the edge of the dough and bring that edge up over the ball. Turn the bowl clockwise and repeat the lifting, stretching and pulling motion a good 10–15 times round the bowl. Cover and leave for 30 minutes, then repeat the lifting, stretching and pulling motion another 15–20 times. This is to develop the gluten structure of the bread. If you are baking the bread the same day, cover the bowl with a tea towel and leave it somewhere warm, like on a shelf above a radiator, for at least 5 hours. Otherwise (and preferably) leave it overnight in the fridge, covering the bowl with cling film – this will give the bread a fantastic depth of flavour.
3 If it’s been in the fridge, take it out and allow it to warm up for about 20 minutes. Use wet fingers or a clean spatula to repeat the lifting, stretching and pulling motion 12–14 times around the bowl, scraping any dough that sticks to the side of the bowl back into the dough – the aim here is to create air inside the bread so don’t push down too hard. If it’s too tense to stretch and pull this many times then don’t overwork it.
4 Leave the dough for 40 minutes somewhere warm, covered. Repeat the lift and pull motion 10 more times – you should feel now that the dough has some real tension in it.
5 Brush a large sheet of baking parchment with a little olive oil, followed by a little water, and dust with a thin layer of flour. Using a spatula or dough scraper, and without pushing too much air out, gently scrape the dough out of the bowl onto the parchment. Wet your hands slightly and tuck any stray bits under the bottom of the dough to form a neat ball. Dust it lightly with flour.
6 Grab hold of the parchment and lift it, along with the dough, back into a bowl. Dust lightly with a little flour and leave to prove for 45 minutes – 2 hours, until visibly puffed up and almost doubled in size.
7 Preheat the oven to 250°C/230°C fan/gas 9 (or its hottest setting) and put a round, lidded ovenproof pot or casserole dish in there to warm up.
8 Once the dough has proved, remove the pot or casserole dish from the oven (wearing oven gloves and being very careful as it will be stinking hot), place it on a heatproof surface and take the lid off. Now quickly lift the parchment and dough into the pot. Use the spatula to smooth the paper away from the dough and up the edge of the pot. Scatter the top of the dough with a little water and use a very sharp knife to make slashes in the top of the dough to help it rise. I do four in a square about 5cm in from the outer circumference. This gives the steam that builds up inside somewhere to go. If you forget, the bread will naturally break open, which is fine.
9 Cover and bake in the oven for 30 minutes, then lift the lid off. Your bread should be risen and smelling good. Depending on how golden the crust is looking, you might want to turn your oven down to nearer 200°C/180°C fan/gas 6, but if it’s still reasonably pale don’t do this. Bake the bread for another 5-10 minutes, or until golden and crisp.
10 Once you’re happy that your loaf is baked, remove it from the dish and quickly peel off the parchment. Transfer the bread to a wire rack and allow to cool before slicing and tasting. However tempting the smell of the freshly baked bread is, try not to slice it until it’s completely cool as this can squish the crumb.
