Полная версия
Restore
MAKES 1kg
Preparation time 10 minutes
Cooking time 15 minutes
Fermenting time 2–3 weeks
1kg zested limes and/or thin-skinned lemons, cut into eighths, pith removed
120ml sunflower or organic rapeseed oil
30 fresh curry leaves
2 tsp mustard seeds
½ tsp fenugreek seeds
2cm piece of fresh ginger, peeled and grated
5 garlic cloves, thinly sliced
4 green finger chillies, sliced into thirds at an angle
1cm piece of fresh turmeric, peeled and grated
1½ tsp ground turmeric
35g sea salt
1 tbsp golden caster sugar
3 tsp Kashmiri chilli powder
You will need a sterilised 1-litre preserving jar.
First, steam the limes. If you don’t have a steamer, you can make one by simply bringing a saucepan of water to a rolling simmer over a medium heat, putting a colander or sieve on top, then covering the colander or sieve with a saucepan lid to keep the steam in. Sit a batch of lime and/or lemon pieces in one layer in the steamer and steam for 8–10 minutes, until tender. Remove and set aside and steam the remaining lime/lemon pieces.
Heat the oil in a frying pan over a medium heat. When hot, add the curry leaves, mustard seeds and fenugreek seeds. As soon as they start to crackle, add the ginger, garlic, green chillies, fresh and ground turmeric, salt, sugar and chilli powder and stir-fry for a couple of minutes to cook the spices, being careful they don’t burn as this will make them acrid. Add the steamed limes and/or lemons and stir-fry for another couple of minutes, making sure they are well coated in the spicy oil, then take off the heat. Leave to cool, transfer to a sterilised 1-litre preserving jar and seal tightly.
Allow to ferment at room temperature (out of direct sunlight) for 2–3 weeks before eating. As with all fermenting, the speed at which it happens is temperature dependent (the warmer the environment, the faster it happens), so check that the limes/lemons have softened enough before you eat them. If they are still a bit hard you may want to leave it to ferment for another few days. Once opened, it will keep in the fridge for ages, as long as all the citrus is covered in oil (top up with more oil if necessary).
Wonderful watermelons
Looking around the world I see how valuable the watermelon is. It’s not just about the fruit – there are loads of different methods for curing the skins for eating, too. Watermelon is in the same family as a cucumber, and the skin is there to keep the moisture in as it’s one of the most hydrated of all fruits (hence ‘water’ in its name). We all know the fragrance and flavour of the flesh, but the best way to describe how the rind tastes is somewhere between the flavour of watermelon and cucumber. I’ve included two of my favourite recipes here: a pickle and a lacto-ferment. When pickling it with sugar it takes on the sweet edge of the fruit, and when lacto-fermented it becomes very cucumbery. I’ve also thrown in a little watermelon vinegar recipe for any leftover watermelon, as some of them are so monstrously big!
Mexican-spiced Pickled Watermelon Rind
This is absolutely delicious with pork carnitas, hard cheese or fish tacos.
MAKES enough to fill a 3-litre preserving jar
Preparation time 20 minutes
Pickling time 2 weeks minimum
850ml water
300ml apple cider vinegar
a combination of dried (preferably Mexican) chillies (I use 3 sweet ñora peppers and 2 hot guindilla chilli peppers)
75g sea salt
150g golden caster sugar
1.3–5kg watermelon rind, cut into shard-like strips
You will need a sterilised 3-litre preserving jar.
Put the water, vinegar, dried chillies, salt and sugar in a saucepan. Bring to the boil and give it a few stirs to make sure all the sugar and salt has dissolved, then add the watermelon rind, bring to the boil once more and take off the heat, to allow the flavours to infuse. Once it has cooled a little, transfer the whole lot to a sterilised 3-litre preserving jar and seal tightly.
You can eat these pretty much straight away once cooled, if you want, but they will improve with age and can be kept in the fridge for a long time.
Watermelon Juice Vinegar
Using this in a ceviche is really exceptional, especially with some finely chopped watermelon pickle.
MAKES 1 litre
Preparation time 10 minutes
Fermenting time 3–4 weeks
1.3kg watermelon flesh, juiced and sieved to remove pips
2 tbsp apple cider vinegar (with the ‘mother’)
You will need a sterilised 1-litre preserving jar.
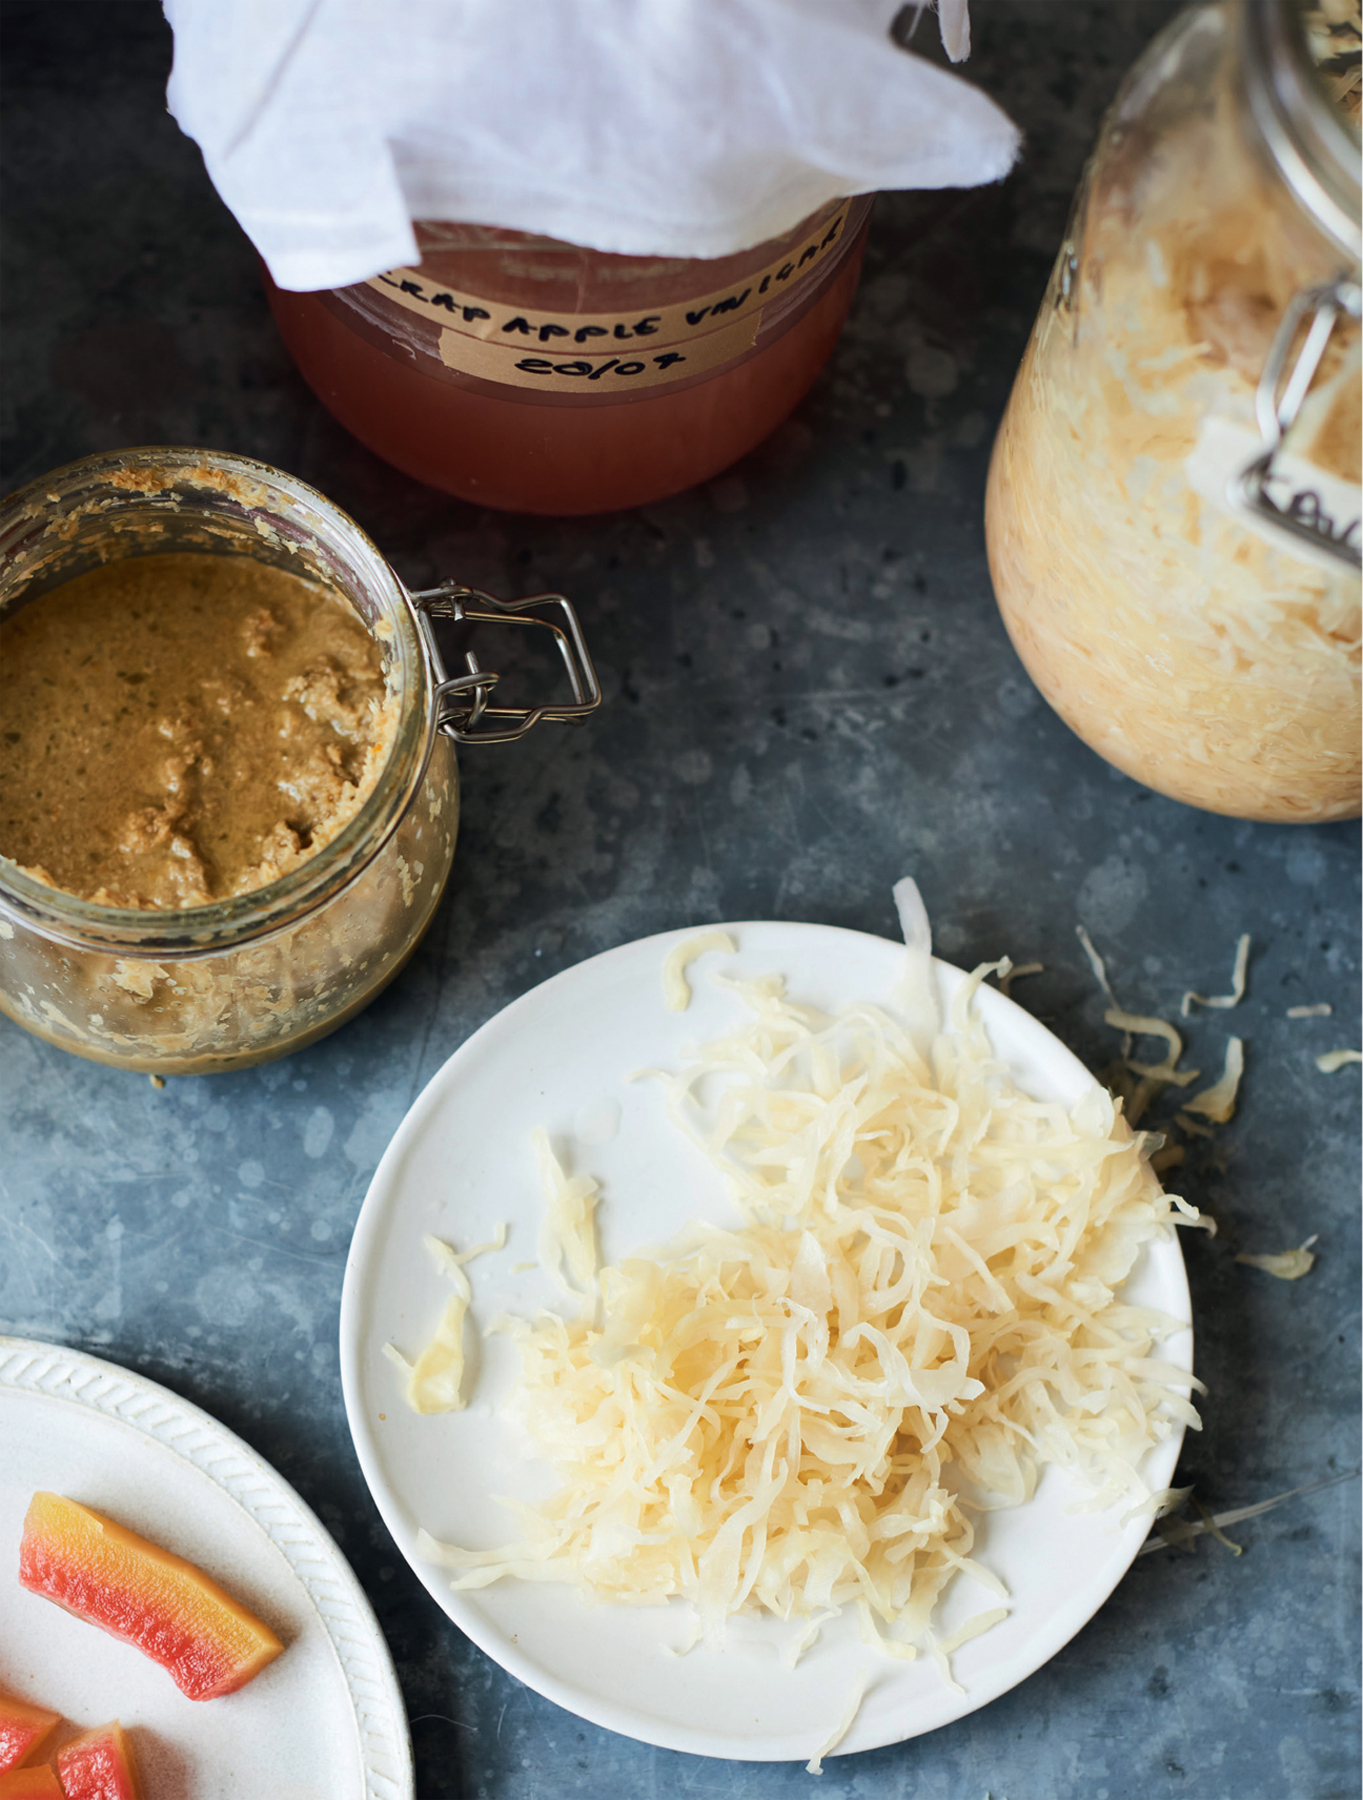
Once you have juiced the watermelon flesh, put it in a sterilised 1-litre preserving jar with the vinegar. Cover the top of the jar with muslin and secure the muslin in place with string or an elastic band – the vinegar needs to be able to ‘breathe’. Leave to ferment at room temperature (out of direct sunlight) for 3–4 weeks. Once it has reached the desired level of ‘vinegary-ness’ (keep tasting it), store it in the jar it was fermented in. It will stay ‘shelf stable’ in the cupboard indefinitely.
Lacto-fermented Watermelon Rind
Use this fermented rind in the same way you would cucumber pickles, in salads and alongside smoked fish. You want to use a 2 per cent ratio of salt to water.
MAKES enough to fill a 3-litre preserving jar
Preparation time 10 minutes
Fermenting time 2 weeks
28g sea salt
1.4 litres filtered water
1kg watermelon rind, green outer skin peeled off and cut into 15cm-long shards
handful of fresh dill
2 tbsp mustard seeds
5 bay leaves
1 tbsp black peppercorns
5 garlic cloves, peeled
You will need a sterilised 3-litre preserving jar.
Stir the salt into the water in a bowl or saucepan, until it has completely dissolved.
Put the watermelon rind, dill, mustard seeds, bay leaves, peppercorns and garlic in a sterilised 3-litre preserving jar. Fill the jar with the salt solution until it is full and the watermelon is submerged. Seal tightly and allow to ferment at room temperature (out of direct sunlight) for about 2 weeks. You can leave these in a cool place or in the fridge for months.

Fridge-raid ‘not quite Branston’s’ Pickle
I consider myself quite the aficionado at recreating famous recipes, but there are some that are so hard to compete with that it’s just not worth it. I’ve lost track of the number of times I’ve tried to recreate Branston pickle but not quite made it. Half of me is not sure why I bother: it’s so accessible and, let’s be honest here, it’s more marmite than Marmite – you either love it or hate it! So many people have really un-fun memories of it. My friend at school used to have thickly-buttered chewy bread rolls filled with Marmite, a thick slice of Cheddar and Branston pickle that she’d never eat, so would give to me, and a love affair was born.
The reason I decided to bother this time is because I wrote this mid lockdown, and I had promised myself to not throw out a single thing during the COVID-19 pandemic. I was rummaging around my fridge and there were some vegetables and apples looking very sorry for themselves – I was pretty certain all these things are what go into Branston pickle, so I went to my last recipe (one that hadn’t quite worked). It was looking good: technically, Branston pickle has swede in it and I only had butternut squash, but I searched the storecupboard and I had everything else. My notes from the last time I’d tried to make it were, ‘stick to the dark brown sugar and malt vinegar – less cornflour’, so I retested it and it’s the closest to Branston’s that I’ve got so far. I wanted to include it in this book as it’s a really good way to use up things that are on their last legs, and refreshing everything in ice-cold water makes it spring back to freshness. Remember that dehydrated veg is just that – it’s simply lost its water. More often than not, it has retained its nutrients (look at the nutritional content of a fresh grape compared to a raisin, for example). When you cook or salt something, generally this is to remove the water from it, so making chutneys is great for veg and fruit past their best that have already begun this process of dehydration.
So here’s my most up-to-date ‘Branston-style’ pickle recipe. It’s not quite Branston’s, but it’s bloody delicious and works marvellously in that very same buttered, Marmite, cheese and pickle sandwich!
Bear in mind it needs at least 3 months’ maturing time before it’s ready to eat, and that you need to sterilise your jars (enough jars for 3kg of pickle).
MAKES 3kg
Preparation time 20 minutes
Cooking time 50 minutes
Maturing time 3 months minimum
FOR THE VEG AND FRUIT
juice of 1 lemon (for acidulating the water)
1 carrot, cut into 1cm dice
1 large courgette, cut into 1cm dice
200g cauliflower (about ½ cauliflower), cut into 1cm dice (you can use leaves and stalk)
200g peeled and deseeded butternut squash (about ½ medium squash), cut into 1cm dice
½ cucumber, deseeded and cut into 1cm dice
2 apples, peeled, cored and cut into small chunks
150g prunes, cut into small dice
200g dates, cut into small dice
5 large pickled gherkins, cut into 1cm dice
FOR THE PICKLE
3 tbsp oil
3 onions, roughly chopped
1 head of garlic, cloves peeled and finely chopped
2 tsp black mustard seeds
1 tbsp chilli powder
1 tbsp freshly ground black pepper
1 tbsp ground coriander
1 tbsp ground cumin
1 heaped tsp ground allspice
1 tsp ground ginger
pinch of ground cloves
200ml water
400g soft dark brown sugar
30g sea salt
700ml malt vinegar
1 tsp cornflour
50ml Worcestershire sauce
50ml lemon juice
You will need a sterilised 3-litre jar or bottle, or several smaller jars.
First, take the biggest bowl or pan you can get your hands on. Fill it with cold water and a load of ice cubes, then add the lemon juice (this stops everything from browning). As you prep your vegetables, throw them into the ice-cold water and lay the fruits and diced gherkin on a plate next to it.
To make the pickling mixture, heat the oil in a large saucepan over a low-ish heat, add the onions and fry for 20 minutes, or until softened. Add the garlic and cook for another 5 minutes or until the garlic is soft and the onions start to tinge golden. Next, add the spices and cook for 30 seconds. Add the apples, half the prunes and dates and the water. Coat the fruits in the spicy onions then add the sugar, salt and vinegar and stir really well to incorporate. Cook for 15 minutes, stirring continuously, until the apples are cooked to a chunky puree and the prunes and dates are soft. Add the cornflour, transfer to a food processor and blitz until the mixture is very, very smooth (I blitz it for about 2 minutes). Return the mixture to the pan then add all the veg (drained of the ice-cold water), gherkins and the rest of the prunes and dates. Coat in the brown pickle puree and cook very gently for 10 minutes, or until the veggies start to soften. They will continue to soften while they mature in the pickle.
Transfer to sterilised jars while hot. I eat A LOT of pickle so I always put it into a sterilised 3-litre jar (I am a Kilner-jar person, as they never let me down), but you can split the 3kg between any amount of jars. Seal and leave to mature in a cool, dark place for at least 3 months. Once open, you can keep it in the fridge for ages. I have Piccalilli (overleaf) that’s still going strong from last year!

Punchy Piccalilli
With this piccalilli, the flavour has been lifted with the addition of curry powder and more spice than is typically used. I love my piccalilli really pickly and although I don’t usually cheat much when it comes to cooking, the addition of pre-peeled pickling onions saves on time and gives the piccalilli some extra va-va-voom! Piccalilli is the perfect partner for cheese, cold ham or pork pies, or whatever you fancy.
MAKES 3kg
Preparation time 15 minutes, plus 2 hours salting time
Cooking time 10 minutes
Pickling time about 1 month
1 cauliflower, florets trimmed and stalk cut into bite-sized chunks
1 yellow and 1 green courgette, cut into bite-sized chunks
1 green pepper, deseeded and cut into bite-sized chunks
1 red pepper, deseeded and cut into bite-sized chunks
3 small Lebanese cucumbers, cored and cut into bite-sized chunks
300g green beans, cut into bite-sized chunks
150g carrots, cut into bite-sized chunks
300g silverskin or tiny pickling onions (I use frozen)
35g fine sea salt
FOR FRYING
80ml sunflower oil
1 tbsp mustard seeds
2 tbsp English mustard powder
1 tsp ground turmeric
1 tsp curry powder
¼ tsp ground cloves
2 garlic cloves, crushed
4cm piece of fresh ginger, peeled and grated
50g sugar
100ml water
750ml cider vinegar
1 tbsp plain flour
2 tbsp cornflour
You will need enough sterilised preserving jars for 3kg piccalilli.
Mix the vegetables with the pickling onions in a large bowl. Sprinkle over the salt and mix thoroughly with your hands so the salt is evenly dispersed. Set aside at room temperature for 2 hours – this begins to break down the vegetables, ready for pickling.
After the 2 hours, rinse the vegetables under cold running water, drain and set aside.
Heat the sunflower oil in a large saucepan over a high heat. Once it’s hot, add the mustard seeds and fry until they start popping, then add the rest of the dry spices and the garlic and ginger, and fry for another 30 seconds, stirring as you go. Add the drained vegetables and fry for 2 minutes, then add the sugar, water and cider vinegar and bring to the boil.
For a good piccalilli you need the spicy sauce to cling to the vegetables, so the next step is to thicken it. In a small bowl, mix together the plain flour and cornflour with a little water to make a paste. Spoon one ladles’ worth of cooking liquor into the bowl and whisk until smooth. Pour this back into the pan of vegetables and cook for 2–3 minutes until it thickens and the vegetables are cooked through but still firm.
Remove from the heat and allow the mixture to cool slightly before carefully pouring into sterilised jars. Seal tightly and leave at room temperature to pickle for about a month. Once opened, it will keep in the fridge for at least a year.

Chilli Sauces
West Indian Hot Sauce
This is a quick chilli sauce that can be used fresh or left to ferment. It’s completely essential with the Rice and Peas and Allotment ‘Ital-style’ Stew.
MAKES 500ml
Preparation time 10 minutes
Cooking time 10 minutes
Fermenting time 3–7 days
3–4 Scotch bonnet chillies
20g fresh turmeric
4 garlic cloves, peeled
350g pineapple, peeled, cored and chopped
2 tbsp English or American yellow mustard
250ml white wine or cider vinegar
40g caster sugar
2 tsp salt
You will need a sterilised 500g preserving jar or bottle.
Throw all of the ingredients into a food processor and blitz until smooth. Transfer the puree to a saucepan and cook over a medium heat for 8–10 minutes until it has begun to thicken and bubble. Take off the heat and immediately transfer to a sterilised 500g preserving jar or bottle and seal tightly. Leave at room temperature (out of direct sunlight) for a few days, until it has started to ferment, then pop it in the fridge to continue to age slowly. It will keep in the fridge for weeks and deepen in flavour as it ages.
Sriracha
This may be the number one thing I can’t live without. When I started experimenting with making my own, none of them had the right viscosity, until I did things a little differently. Normally, people ferment the chillies and then make the sauce, but I swapped the steps, cooking it, thickening it and then letting it ferment, which keeps the viscosity you would expect from a squeezy bottle of sriracha.
MAKES 750g
Preparation time 10 minutes
Fermenting time 2 weeks
800g red chillies, stalks removed and chillies roughly chopped
50g bird’s-eye chillies, deseeded and stalks removed
2 heads of garlic, cloves peeled
100g caster sugar
2½ tbsp tapioca or cornflour
250ml rice wine vinegar
3 tbsp table salt
You will need a sterilised 1-litre preserving jar or bottle.
Put the chillies in a food processor with the garlic, sugar, tapioca or cornflour, vinegar and salt. Blitz on high speed for 3 minutes, or until it is as smooth as possible (I am lucky I have a really powerful Thermomix and Vitamix which processes in double time; the main thing is that you need to let it blitz for as long as it takes to get a smooth paste), then transfer the paste to a saucepan. Bring to the boil then reduce the heat and simmer for 5 minutes, until the sauce has reduced by about an eighth and the flour’s thickening powers have engaged! Transfer to a hot, sterilised 1-litre preserving jar or bottle and seal tightly with a lid.
Allow the paste to sit at room temperature for 2–3 days, stirring it once a day.
After about 3 days you should see bubbles forming on the surface. This means fermentation has begun. Within 2 weeks it will have fully fermented. It will keep in the fridge for ages, and will continue to ferment slowly even when chilled. As is often the case with ferments, the flavour only gets better with age!

FRUIT AND VEGETABLE AGRICULTURE
Since writing my last book, Slow, my perceptions and values regarding the way we eat have changed a little. Slow was written with idealist, virtuous intentions and I’d not taken into account the practical side of things, the social economics and the way most people shop and eat. My life is a privileged one: I am able to sample and afford some of the best produce in the world. I care not only about the ingredients, but also the producers who farm them and the soil in which they are farmed – I’ve become a soil geek. But I’ve had to confront my idealistic ambitions for agriculture: at the time of writing we’re in the middle of a pandemic, poverty levels are reaching an all-time high and food banks and charities like The Trussell Trust are needed and used more than ever. I wince at conversations I’ve had at parties about my views and principles, because on face value, they may not seem so important right now. With this book, I want to approach these issues in a more nuanced way, giving you the science and facts so you can make your own informed choices.
As I write this in July 2020, The Vegan Society has announced that there has been a 20 per cent increase in people lowering their meat consumption and a 15 per cent increase in people lowering their dairy and egg consumption since COVID hit, while sales data from retail analyst Kantar suggests beef sales in the UK have increased by 26 per cent (minced beef by 34.5 per cent, and steaks by 43.9 per cent). These ‘statistics’ illustrate that the way the public are reacting to environmental and sustainability issues, and the way figures are being reported, is anything but clear cut. The ethics of being a responsible modern consumer who is eating more fruit and vegetables, and from sustainable sources is complex: what is the expenditure of resources and water required to grow these crops out of their natural environments? Are the rights of the growers, pickers and labourers fairly respected? How much plastic packaging is involved?
Waste
The Food and Agriculture Organization (FAO) estimates that one third of all food produced, amounting to a staggering 1.3 billion tons, is wasted every year globally. A large part of that can be attributed to fruit and vegetable production, with up to 40 per cent of vegetable crops being rejected simply because they do not meet the arbitrary but extremely stringent aesthetic requirements laid out by supermarkets. In this country, farmers are forced to throw away tons of perfectly good produce which the supermarkets deem to be unsellable, so constantly have to over-produce in order to meet targets. Not only is this a criminal waste of food, it’s a catastrophic waste of the resources that go into growing them! However, there are some brilliant companies who are utilising waste produce: Oddbox delivers affordable wonky veg to your door; FeedBack’s gleaning network rescues surplus produce from farms and distributes it to those in need; Rubies in the Rubble use wonky tomatoes to make the only ketchup that I’ve ever tried that rivals Heinz in taste (they make other sauces too); and Snact makes a chewy fruit ‘jerky’ from surplus fruit (think strawberry laces), Rejuce and Waste Not Juice make juices; and ChicP makes dips. This indicates that people are thinking about reducing food waste, but oddly, the level of waste is still on the rise.
When it comes to household waste, most councils provide food waste bins, and it’s really important that we use them. It’s an easy way to re-purpose what would otherwise go to landfill into something that can feed our soils.
Monoculture agriculture
The biggest problem we have right now in vegetable crop growing is single crop rotation. Particularly prevalent in industrialised regions, monoculture agriculture is useful for farmers because specialising in one crop helps cut down costs and increase yields in the short term. However, it can cause irreversible damage to the ecological system. The eradication of biodiversity and the stripping of soil’s nutrients (which leads to an increased need for synthetic fertilisers and insecticides) only increases exponentially when land is farmed in this way. In contrast, permaculture (a system of crop rotation that utilises the patterns and resilient features of natural ecosystems, which some smaller-scale farmers are putting into practice) ensures the planting of a wide range of crops which work together to increase biodiversity and then by proxy increase the volume of different nutrients in the soils as they rotate around the land, maintaining and improving soil health (which impacts positively onto our foods and our gut and nutritional health). This is why it’s hard for me to fully get behind a vegan diet, because animals are necessary in this cycle and it’s erroneous to believe that eradicating animals from land management is the answer to our problems. See here on Ethical Meat Eating to read more.


